The functions of USB port
Every receiver and transmitter has a mini
USB
( Universal Serial Bus ) port. This
USB
port has two functions:
1.Function as a charging port.
When a designated cable with both ends equipped with mini
USB
jacks is
connected between the receiver and the transmitters UH-1000 or UM-1000, the
receiver will provide the current to charge the transmitter batteries, provided the
receiver is switched on and the batteries used are rechargeable type. The LCD
panel of the receiver has a designated charging icon, which will be flashing
during the charging process. Over the transmitter side, the battery icon will
display the battery status.
2.Downloading of information
When the receiver and transmitter are connected via a cable at the
USB
port.
Pressing the
SCAN
button will activate the
DOWNLOAD
function. Information
such as Frequency, User Name, User / Preset Mode and Edit information will be
downloaded from the receiver to transmitter.
SCAN
function
The
SCAN
button has two functions :
1. Auto Scan
When
SCAN
button is pressed, receiver will start the auto scanning function. It will
compare 200 of the preset frequencies with the environment and select 40 of them
and save it in Group 1 of the 25 groups. The whole
SCAN
process will take about 3
minutes to complete. These frequencies are interference free frequencies but they
do not mean they are inter-modulation free amongst themselves. That means they
do not mean they are interference free amongst themselves.
During the
SCAN
process, press the
SCAN
button again will interrupt the function
and return to the original setting.
2. Downloading of Information
When the receiver and transmitter are connected by a cable via the
USB
ports.
Pressing the
SCAN
button will activate the
DOWNLOAD
function. Frequency, User
Name, User / Preset Mode and Edit information will be downloaded from receiver to
transmitter.
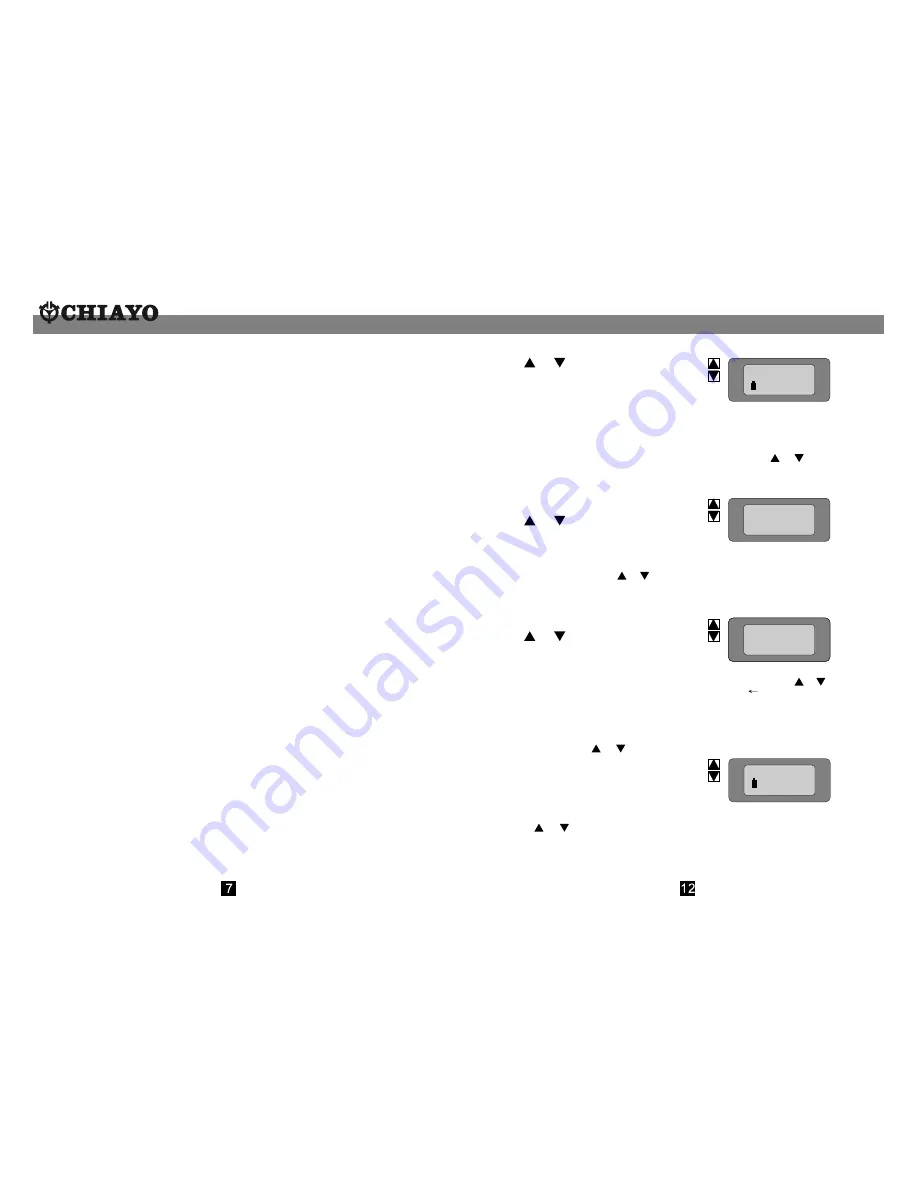
Channel / Frequency Display
Press
or
button to go to
the display.
Press
SET
for about 2 seconds to enter the
SET
mode and the cursor will start
flashing.. Press
SET
each time to move the cursor one step to the desired position
to change the frequency. The first two digits on the left are GROUP ( GP ) and the
two digits on the right are CHANNEL ( CH ). There are altogether 25 preset Groups
and 40 preset Channels available for selection. Press the
or
button to select
the number. As the GP or CH number is changed, the preset frequency will appear in
the second line accordingly. After making the changes, press
SET
button for about 3
seconds will save the changes.
SENSITIVITY DISPLAY
Press
or
button to go to
the display.
Press
SET
for about 3 seconds to enter the
SET
mode and the ( N ) will flash to
accept changes. Press the
or
button to select the Normal (N) or High (H) level.
Press
SET
for about 3 seconds to save the change.
For close-mouth singing or speech application, please select N sensitivity. For
tripod-mounted speech application, please select H sensitivity.
USER / PRESET DISPLAY
Press
or
button to go to
the display.
Press
SET
for about 3 seconds to enter the
SET
mode. Press the
or
button to
select the
USER
or the
PRESET
model.
X
is not select,
is for select. Press
SET
for about 3 seconds to save the change.
When
PRESET
is selected, factory preset data is selected. When
USER
is selected,
user could change the frequency as follow :
Programming of
USER
frequencies.
At the
USER / PRESET Display
, press
SET
for about 2 seconds to enter the
SET
mode , then press the
or
button till Edit channel display appear :
Press
SET
each time to move the cursor one position to the desired position and
press the
or
button to change the digit. Press
SET
for about 3 seconds to save
the change. User is allowed to programe 40 frequencies within the micro range of 25
MHz and this is save in Group 25.
This function is meant for user with extra radio knowledge and it is not advisable for
normal user to use this function.
SENS SET
LEVEL (N)
CH : 01-01
800.000
Edit 01
800.000
USER : X
PRESET :
USER : X
PRESET :
USER : X
PRESET :
USER : X
PRESET :
USER : X
PRESET :
USER : X
PRESET :
USER : X
PRESET :
USER : X
PRESET :
USER : X
PRESET :
U-MODE
P-MODE
Summary of Contents for UB-1000
Page 1: ......


