


Black plate (42,1)
Chevrolet Corvette Navigation System (Includes Mex) - 2012
42
Infotainment System
To use this destination entry
method:
1. Select the category/folder in
which the memory point has
been stored. Select from
PERSONAL, BUSINESS,
ENTERTAINMENT, or MARKED
POINT folders.
2. Sort the list by distance, icon,
name or date stored.
3. Select the desired memory point.
After selecting a memory point
from the list, a map screen
appears with the destination
marked.
4. Press
h
.
5. Press the Guide screen button.
See
“
Getting Started on Your
Route
”
in this section for more
information.
Previous Destination
The previous destination entry
method lets you select a destination
from a list of previous destination
points.
h
(Previous Destination):
Press
this button from the ENTER
DESTINATION screen to access the
PREVIOUS DEST screen. The
system stores up to 100 points that
have been previously input. As new
destinations are entered, the system
automatically deletes the oldest
destinations and add the new
entries.
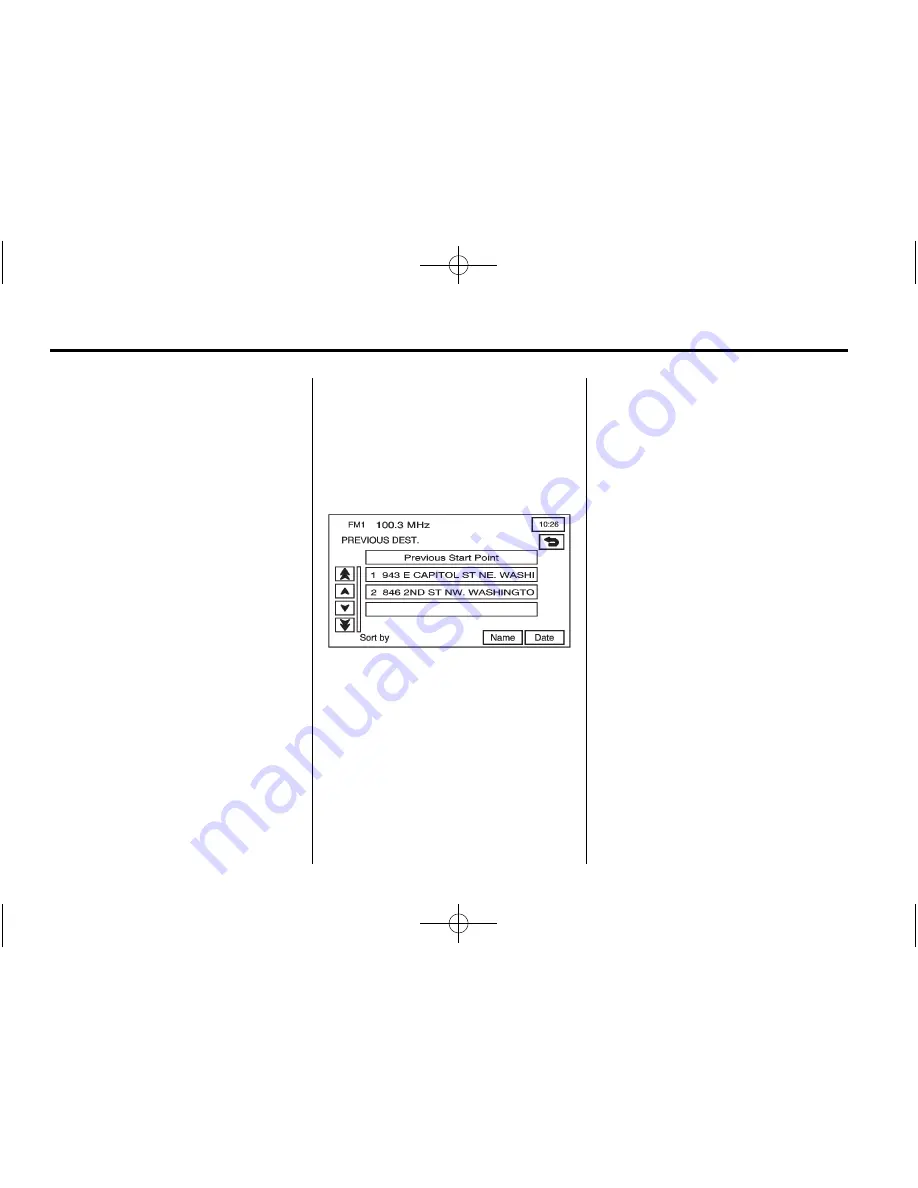
To use the previous destination
entry method:
1. Select a previous destination
from the list. Use the Sort by
Name/Date function as
necessary. Also from this menu
the previous start point option
can be selected. This option is
available while the vehicle is
moving.
To use the previous start point
option from the PREVIOUS
DEST screen, press the
Previous Start Point screen
button.
2. After selecting a destination from
the list, a map screen appears
with the destination marked.


