


Go to the Settings page where you can set the Resolution, Frame Rate and GOV length values as required by the
CheckVideo Gateway. Select Apply to save these settings.
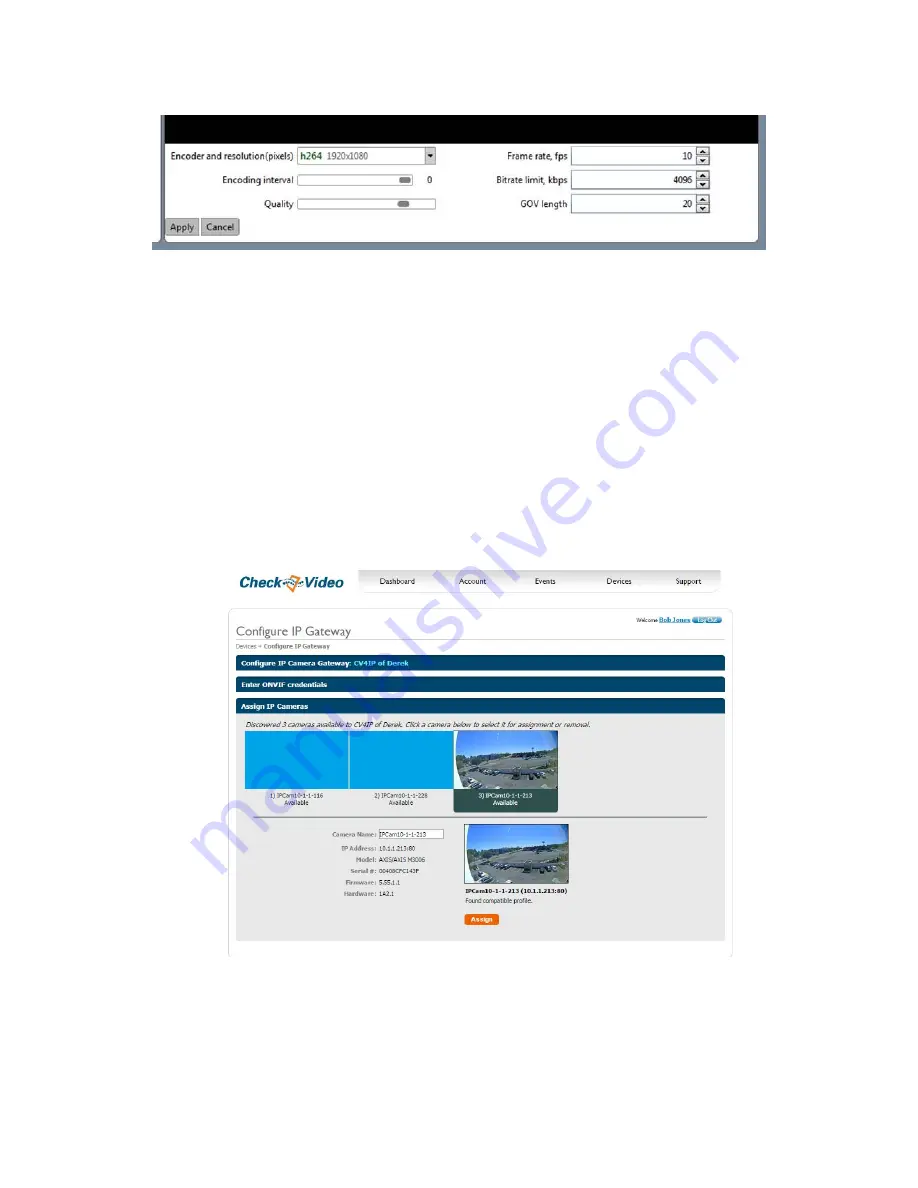
Adding Cameras to the Gateway via the Configure IP Gateway Page:
Now that the camera settings are updated, associate the Gateway to cameras on the same network. From the
CheckVideo portal, go to Devices>Configure IP Gateway:
•
Select the Gateway from the drop-down menu
•
Enter the ONVIF credentials for the camera. If you have more than one set of ONVIF credentials for the cameras
you wish to add, use those credentials that apply to the majority of cameras to be added.
•
Click Discover Cameras. At this point, all cameras visible on the Gateway
’s network will appear at th
e top of
Assign IP Cameras image carousel. The default camera name is created using the local/internal IP address of
that camera.
•
If a background image could be obtained via the ONVIF credentials, the camera view will appear. If not, a blue
box will appear. This does not mean that there is anything necessarily wrong. It is possible that the background
image did not complete in time or that the camera does not support background image.
•
Click a thumbnail within the image carousel to begin camera assignment. The camera details will appear below.
It is at this point that you can rename the camera. If you have not updated your camera settings, you will
receive a reminder to do this before you continue. Click the Assign button. The CheckVideo portal will let you
know if you are successful.


