background image

W260F8U/W320F8U/W370F8U 

PAGE 12 


MENU OPERATION 

1. Use the On Screen Display MENU to adjust the picture’s quality.   
2. multiple operating languages are available.   
3. The display time for the menu ranges from 3~60 seconds. This can be adjusted in the 

General Setting menu. 

4. Use the Panel buttons or the Remote Control to operate 

the MENU. 


FUNCTION INTRODUCTION   


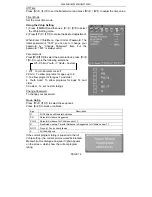
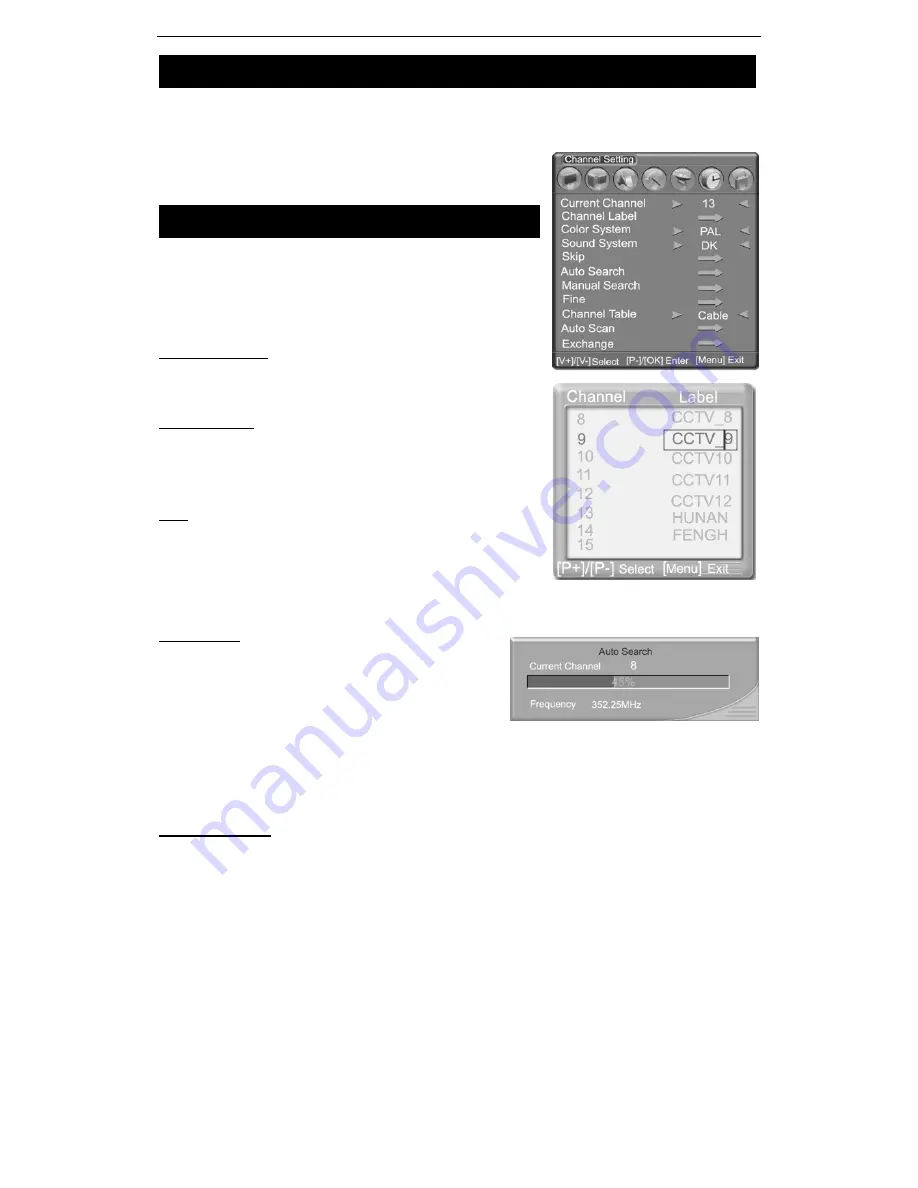
Using the Channel Setting Menu (For TV use Only)


1) Press

MENU

and then use

V

+

/

V

-

 to select the 

Channel Setting menu in TV mode. 
2) Use 

P+

/

P-

to make the desired adjustment. 

 
Current Channel 
Press 

V+

/

V-

 to increase/decrease the channel 

number.  
 
Channel Label 
Press

OK

to enter the edit mode.   

Press

P+

/

P-

to select the desired letter, press

V+

/

V-

for next operation. 

 
Skip 
After Auto Search, there may be some repeated programs 
stored. Skipping the repeated programs can shorten the 
program selection. 

1. Press

P+

/

P

-

to search for the Program skipped. 

2. Input the channel number directly to resume the Program Number skipped. 

 
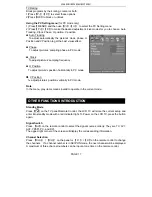
Auto Search 
In the Channel Setting Menu, press 

P+

/

P

-

to select Auto Search and press

OK

/

V+

to start 

Auto Searching mode. 

1. During searching, the sound and color 

systems are automatically adjusted and 
programs are stored. 

2.  When search is finished, all 125 channels are stored, or

MENU

is pressed during the 

search process, the search will automatically stop and go to the channel setting menu 
with channel one. 


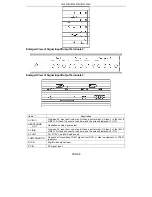
Manual Search 


(This option would be in gray ,which means invalid to operate in the 

current mode)


  In TV mode, select Manual Search option and press

OK

/

V+

to enter into Manual 

Search . 
   

Summary of Contents for W260F8U, W320F8U, W370F8U

Page 1: ...LCD COLOR TELEVISION W260F8U W320F8U W370F8U OPERATION MANUAL Please read this manual carefully before operation...

Page 2: ...14 Using the General Setting Menu 14 Using the Timer Setting Menu 15 Using the Vchip Setting 16 Using the PC Setting Menu 17 OTHER FUNCTIONS INTRODUCTION 17 Standby Mode 17 Signal Switch 17 Channel Sw...

Page 3: ...All the features and specifications are subject to change without notice for improvement W260F8U W320F8U W370F8U JUJ6 491 1164...

Page 4: ...and disconnect the cable system 7 Power cord protection Protect the power cord from being walked on or pinched particularly at plugs convenience receptacles and the point where they exit from the appa...

Page 5: ...ng Unplug this apparatus during lightning storms or when unused for long periods of time For added protection for this television equipment during a lightning storm or when it is left unattended and u...

Page 6: ...rol may not work properly if the remote sensor window of the main unit is under direct sunlight or strong lighting In such a case change the angle of the lighting or LCD TV set or operate the remote c...

Page 7: ...a other Disc s programs AV output Capable of transmitting signal of different AV RF systems to other AV receivers through the current AV cable Y C component signal input same to S Video input Convenie...

Page 8: ...uage On Screen Display menu Ordinary and graphical user interface makes the menu operation more user friendly Power Energy Saving Mode power management mode In PC mode the LCD TV will automatically po...

Page 9: ...W260F8U W320F8U W370F8U Button Description TV AV To switch among TV AV1 AV2 YPbPr PC and DVI modes The same function to AV on remote control MENU To enter or exit from the OSD On Screen Display menu...

Page 10: ...in menu operation To turn the LCD TV on or enter into STANDBY The same function to on remote control Note In this operation manual symbol means Button Rear Panel Items Description AC input AC power in...

Page 11: ...o 1 connect at one time and the screen displays AV1 Y C HEADPHONE OUT Headphone audio signal output AV IN 2 One way AV input port one way S Video input terminal S Video 2 is the first if VIDEO S Video...

Page 12: ...utton Channel Up Enter Volume Up Invalid Buttons Sleep Timer Sound Mute MTS Favorite Invalid Buttons PIP Channel Up PIP Swap PIP On Off PIP Channel Down Recall Signal Source Selection Picture Mode Sel...

Page 13: ...crease audio volume 13 OK Select or confirm sub menu of the OSD 14 DISPLAY Show info of current program 15 SLEEP Select time of TV to sleep mode 16 MUTE Mute sound 17 I II Select between mono or stere...

Page 14: ...GENERAL OPERATION To Turn the TV On 1 When you turn on the power the indicator light on the front panel will blink till the TV displays pictures 2 In Standby mode press on the remote control or front...

Page 15: ...etter press V V for next operation Skip After Auto Search there may be some repeated programs stored Skipping the repeated programs can shorten the program selection 1 Press P P to search for the Prog...

Page 16: ...the middle picture All pictures are scanned beginning with the current program from the upper left side screen in clockwise direction Use P P and V V to select the desired channel Use OK to exit from...

Page 17: ...urround To select the surround mode among Off Normal and Spatial Balance To adjust the balance between the left and right tracks MTS 1 Stereo Select for stereo reception when viewing a program 2 Selec...

Page 18: ...4 3 Wide Cinema and Sub Title Factory Reset All users settings can be reset to the default settings except the TV programs Transparency To adjust the OSD transparency Using the Timer Setting Menu 1 P...

Page 19: ...1 Off To turn Parental Lock off 2 Child To allow programs for ages up to 6 3 To allow programs for ages 7 and older 4 Youth Adult To allow programs for ages 14 and older 5 Custom To set Custom ratings...

Page 20: ...n horizontally in PC mode V Position To adjust picture s position vertically in PC mode Note In the menu gray items means invalid to operate in the current mode OTHER FUNCTIONS INTRODUCTION Standby Mo...

Page 21: ...no valid signal input the TV will be mute but no mute symbol with a blue background Sound Mode Selection Press S MODE to select standard News Music and User modes The value of Standard News Music mod...

Page 22: ...will be set You can press any button of MENU OK to exit from the Favorite Menu MTS switch You can press I II to select among Mono Stereo and SAP in each channel Stereo and SAP mode your selection wil...

Page 23: ...nter into TV mode directly by pressing CH CH in other modes Main Pic Sub Pic TV AV1 AV2 YPbPr PC DVI TV AV1 AV2 YPbPr PC DVI Note All buttons mentioned in this operation are on the remote control sign...

Page 24: ...standard 3 Set the Sound system to the country broadcasting standard Picture is spotted or with snow Signal source is low grade or the signal cord is in a lower quality Use the qualified signal cord B...

Page 25: ...VGA XGA WXGA 60Hz YPbPr Input Format 480i 480p 576i 576p 720p 1080i 1080p Audio Output Consumption 2x5w AV Output One way Headphone Output One way AV S Video Input Two ways audio is using in community...

Page 26: ...XGA WXGA 60Hz YPbPr Input Format 480i 480p 576i 576p 720p 1080i 1080p Audio Output Consumption 2x5w AV Output One way Headphone Output One way AV S Video Input Two ways audio is using in community YP...

Page 27: ...i 480p 576i 576p 720p 1080i 1080p Audio Output Consumption 2x5w AV Video Y C Input One Way Headphone Output One Way AV1 Video RGB Input One Way AV1 TV Video Output One Way AV2 Video Y C Input One Way...

Reviews: