


18 DiViS
w w w .
DiViS
D V R . c o m
5.4. Camera
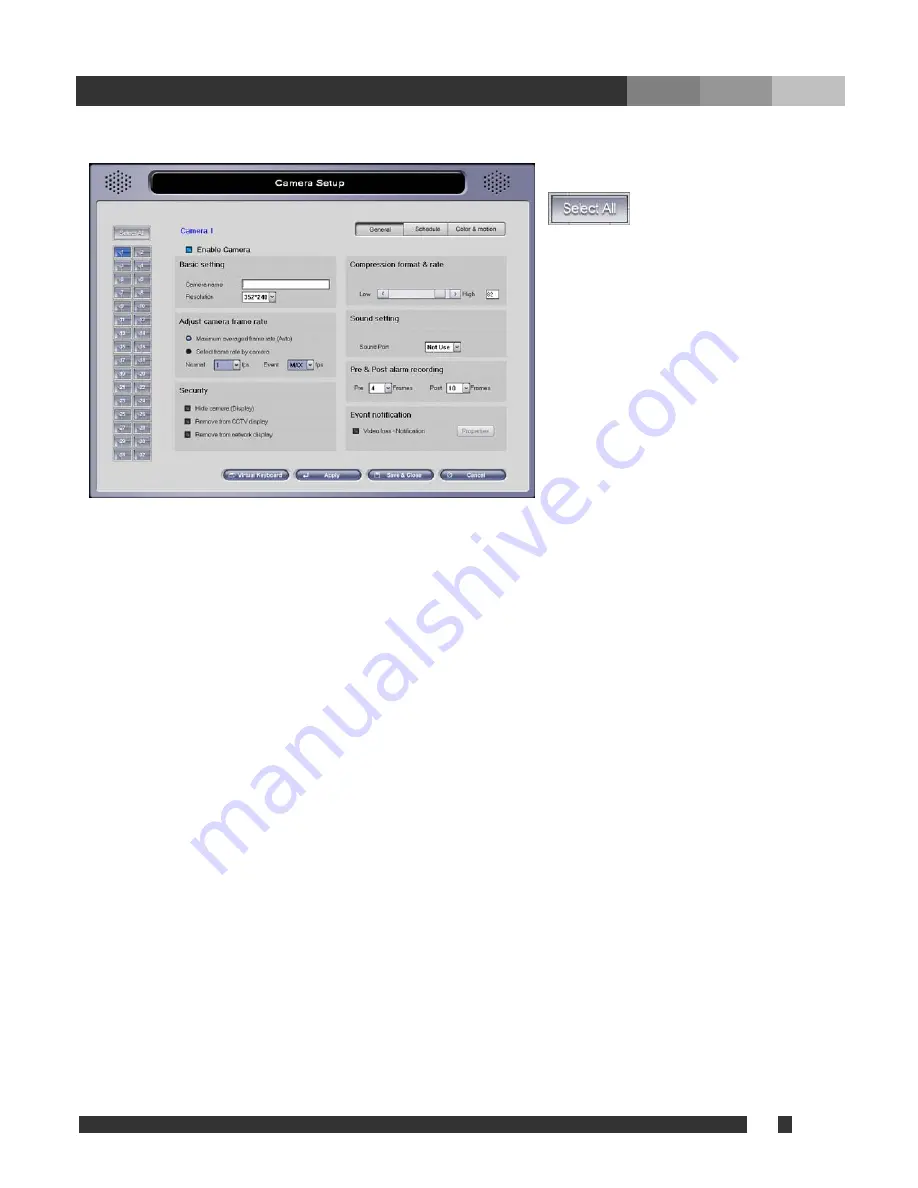
5.4.1. General
:
If selected, the
settings selected in
“General”, “Schedule”, “Color &
Motion” will be applied to all the
cameras.
If you would like to customize each
camera uniquely, select a camera
from the buttons on the left of the
menu (1-16) FIRST, then modify the
following options
•
Enable Camera:
Enables or disables camera. (Ch1 camera is always enabled.)
• Basic setting
- Camera name:
Assigns name of the camera. (Name will be displayed in Main screen.)
-
Resolution:
Chooses the desired resolution for the camera. (Note: higher resolution size of
the recording will lead to a slower frame rate.)
•
Adjust camera frame rate
- Maximum averaged frame rate:
Sets the recording frame rate to the maximum available rate
for each channel.
- Select frame rate by camera:
Allows manual setting of the frame rate per second.
Normal: Frame rate when the camera is scheduled as normal.
Event: Frame rate when the camera is scheduled as Motion or Sensor.
If the camera is scheduled as Normal & Event, Normal frame rate will be applied without event, and
Event frame rate will be applied when motion or sensor input is detected.
•
Security
-
Hide camera (Display):
The camera will not display its image on the monitor.
-
Remove from CCTV display:
the selected camera will not be displayed on the CCTV during
the auto-switch rotation. (For LIVCAP boards, this option may not take effect if “TV-out auto
switching interval” is set to “Normal”).
- Remove from network display:
Blocks from being displayed to remote connections
•
Compress format & rate:
Change compression rate. (Moving bar to the left makes image file size
smaller, but at the same time quality of image gets lower.)
•
Sound Setting:
Select the audio port to synchronize with the camera. “Sound recording” under
System setup must be configured first. It is allowed to record same audio channel from multiple
cameras.


