Install of The Compact Panel Cassette Type Indoor Unit
3
2.3 Important notice
◆
To guarantee the good performance, the unit must be installed by professional personnel
according with this instruction.
◆
Please contact the local
Cooper&Hunter
special nominated repair department before installation.
Any malfunction caused by the unit that is installed by the department that is not special nominated
by
Cooper&Hunter
would not deal with on time by the inconvenience of the business contact.
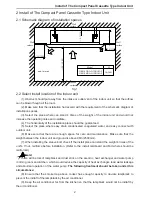
2.4 Dimension of ceiling opening and location of the hoisting screw (M10)
25
in (650mm)
22
in (570mm)
1
6in (400mm)
22in (570mm)
2
4in (604mm)
25in (650mm)
Fig.2 Install dimension of mode
(inches
(mm)
)
GKH(12)BA-D3DNA2A/I,GKH(18)BA-D3DNA2A/I
◆
The drilling of holes in the ceiling must be done by the professional personnel.
Ceiling
Installation stands for main body of the unit
6in
(160
mm
)
Above
0.7
8
in (
20
mm)
Fig.3
Notes: The dimension for the ceiling openings with * marks can be as large as
24in (
610mm
)
.
But the overlapping sections of the ceiling and the decorated surface boards should be
maintained at no less than
0.7
8
in (
20mm
)
.
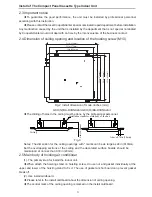
2.5 Main body of hoisting air conditioner
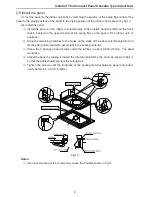
(1). The primary step for install the indoor unit.
◆
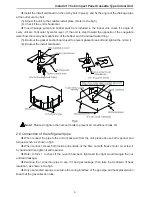
When attach the hoisting stand on hoisting screw, do use nut and gasket individually at the
upper and lower of the hoisting stand to fix it. The use of gasket anchor board can prevent gasket
break off.
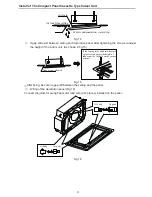
(2). Use install cardboard.
◆
Please refer to the install cardboard about the dimension of ceiling opening.
◆
The central mark of the ceiling opening is marked on the install cardboard.

