6.2. REALPORT CONFIGURATION IN WINDOWS XP
After installation of RealPort drivers can be done configuration by the use the Device Manager of Windows and it is as follow:
1. Press [
Start
], select [
Properties/Setting
], press [
Control Panel
].
2. Double click icon [
Administrative Tools
] and [
Device Manager
]
3. Press [
Ports (COM & LPT)
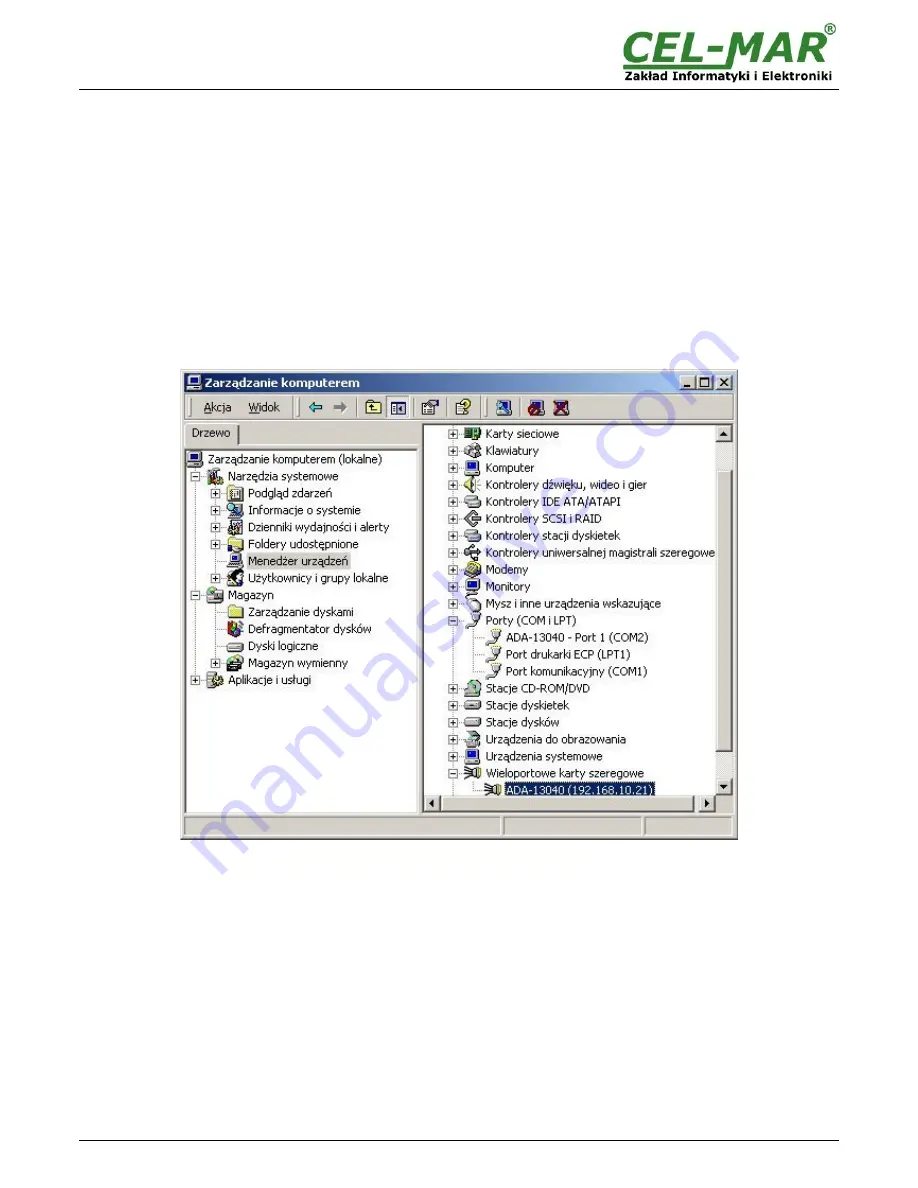
]. On fig. 29 is shown available serial ports COM1, COM2 and
COM3
marked as
ADA-13040MG
which
was create after installation of RealPort driver.
4. Then select [
Multi-port Serial Adapter
], there will be the name
ADA-13040MG
.
5. Double click the name and the window [
Properties
] will appear.
6. Select [
Advanced
] and press [
Properties
].
7.
New name of virtual port for converter
. In the window [
Advanced Properties
] click [
ADA-13040MG
] and then select
[
Properties
], press [
Rename Ports
], now it is possible to change the name of driver virtual port for example COM5, COM11 etc. To
accept the changes press [
OK
].
8.
Select IP address, MAC, DNS server for communication with virtual port driver
. In the window [
Advanced Properties
] click
[
ADA-13040MG
] and then select [
Network
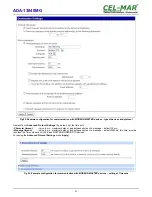
] (Fig. 30), and set the
IP address
,
MAC Address
or
DNS name
.
9. In the next window press [
OK
] to accept the changes.
Fig 29. Devices view on Windows XP
25
ADA-13040MG

