background image

The stapling points are defined (see Defining the stapling point, page 5).
The joint angle has been checked (see Setting the joint angle, page 6).
The distance between the top of the moulding and the bottom of the top clamp is outside
permissible maximum. (See Choice of top presser, page 6).
Correct size wedges (normal wood or hard wood) have been loaded in the machine.

UNDERPINNING THE FRAME

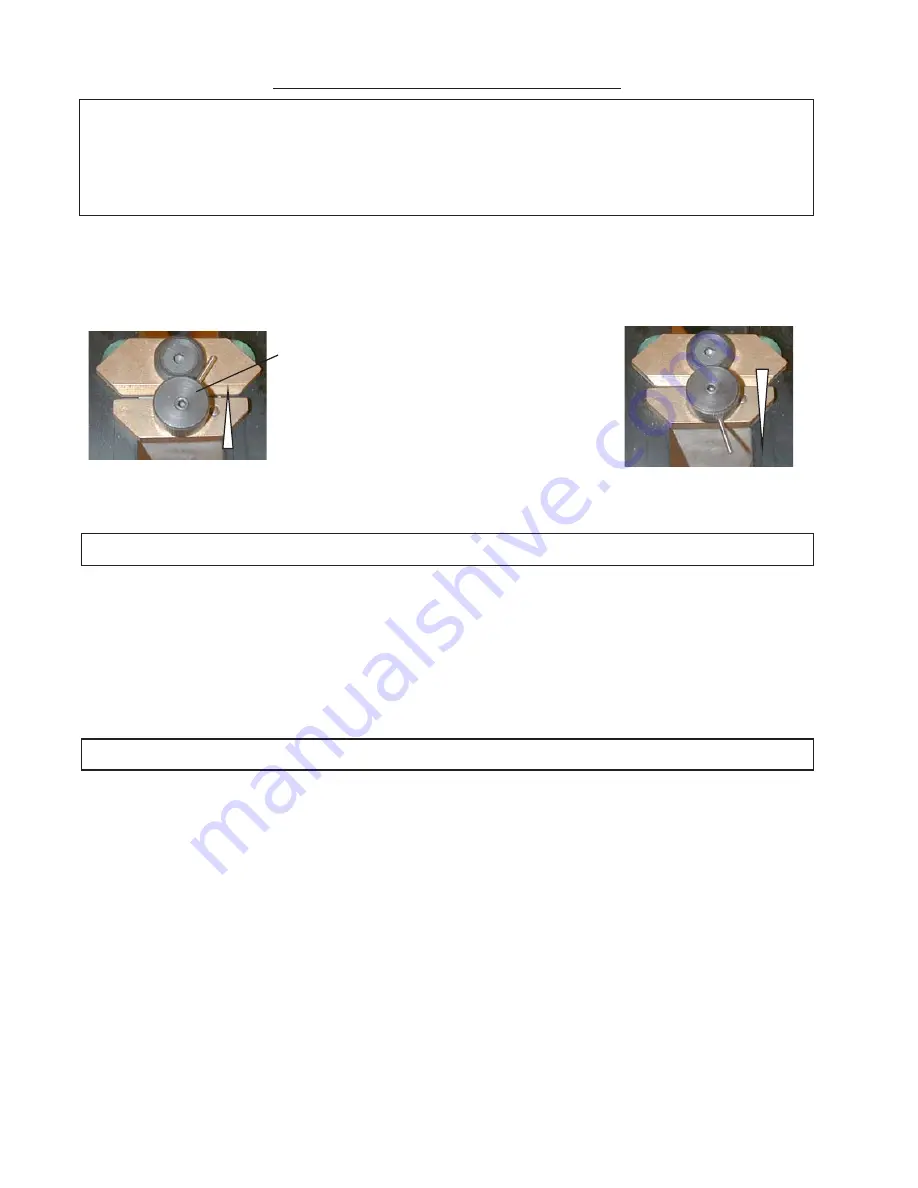
Unscrew the knob of the top clamp, then
move the rebate clamp against the 2
mouldings, without forcing. Lock the
rebate clamp knob again, without pushing
it. Clearance of around 1 mm is left to
make it easier to move the mouldings dur-
ing assembly.

Position the first moulding against the right stop and slide it up to the left stop.
Keeping the first moulding secure, position the second moulding against the left stop, then slide
it into contact with the first moulding.
Position the rebate clamp:

Move the sliding table forwards or backwards to stop P2 or P1 (page 5).
Then:

CS 88

Keeping the mouldings secure, slowly push down the pedal.
When the rebate clamp comes into contact with the moulding, speed up the movement so that
the wedge is inserted more easily.
To stack wedges*

- Release the pedal until the top clamp begins to lift.
- Push the pedal down again.

* When stacking wedges, the sliding table should be locked in place.

CS 89

Keeping the moulding secure, gently push the pedal so that the two mouldings are secured by the
rebate clamp.
Then press the pedal down fully to insert the wedge.
If there is a second stapling position, keep your foot pressing down on the pedal, move the slid-
ing table to the second position, raise your foot slightly then push fully down to insert the second
wedge.
Then release the pedal completely.

Note: If several wedges are inserted, raise your foot slightly to keep horizontal pressure on the
mouldings, then push fully down: the second wedge is inserted and pushes the first wedge fur-
ther in.

8

Summary of Contents for CS 88

Page 1: ...CS 88 CS 89 Version 2 au 12 06 Cassese Communication FOOT OPERATED PNEUMATIC Technical and User Manual UNDERPINNERS...

Page 2: ...invention designed to ensure very tight corners Five standard sizes are available 5 7 10 12 and 15 mm On special request 3 4 are available for slips filets They all come in throw away cartridges that...

Page 3: ...2 3 4 4 5 7 8 9 10 11 12 MAINTENANCE CS 88 CS 89 12 06 Cassese Communication PUTTING INTO OPERATION MEANS OF ASSEMBLY SETTING UP THE WEDGE CARTRIDGE UNDERPINNING THE FRAME ADJUSTMENTS USE CS88 CS 89...

Page 4: ...aluminium support CS 89 only air supply fittings 1 male connector on machine 1 quick release female connector 2 1 standard 1 US hose connectors SPECIFICATlONS Minimum width of moulding 5 mm maximum 9...

Page 5: ...r Plunger Sliding Table Horizontal rebate Clamp For the explanations given in this manual the operator must be standing at the back of the machine keeping the machine slightly in his left See REFERENC...

Page 6: ...the air pressure shown on the manometer is 6 bar 85 p s i otherwise correct it with the regulator D D V EMERGENCY STOP Manometer CS 89 AIR LINE FITTINGS USA AIR SOURCE compressor Male Connector on Mac...

Page 7: ...1 8 above the wedges shall be respected Same sized wedges can be stacked in order to avoid to have to change the cartridge size when joining frames with different thickness AS A GENERAL RULE THE JOIN...

Page 8: ...into contact with the sliding table then lock it Position the first moulding against stop B1 and slide it up to stop B2 5 Release the stapling positioning stops P1 and P2 SETTING AND STORING THE STAPL...

Page 9: ...ault If you get this result check your cutting angle which is wrong in this case because it is less than 45 Carry out the adjustment of the angle of your cutting machine IT IS IMPOSSIBLE TO MAKE A REC...

Page 10: ...using metal wedges a Cassese invention designed to ensure very tight corners Seven sizes are available 3 4 5 7 10 12 and 15 mm They come in throw away cartridges that are colour coded per size for ea...

Page 11: ...Position the rebate clamp Move the sliding table forwards or backwards to stop P2 or P1 page 5 Then CS 88 Keeping the mouldings secure slowly push down the pedal When the rebate clamp comes into conta...

Page 12: ...STRIBUTOR If you push the foot pedal half way and release a wedge may be half engaged in the wedge distributor In this case Close the air valve CS 89 Try to remove the cartridge that is in position If...

Page 13: ...emove the fixed guide completely to free the old hammer If still not possi ble to get rid of the old hammer remove the four screws A B C D and open the block H Remove the old hammer Assemble the Block...

Page 14: ...Reduce the air pressure to 3 bars 3 Set the plunger at less than 50 mm 2 from the table 4 Holding nut E turn the limit screw through 2 to 3 turns 5 Press the pedal as if to start up stapling as the li...

Page 15: ...ecessary Change the wedge driver blade page 10 Reposition the plunger within permissible maximum distance page 6 Secure the moulding firmly on the table Change the wedge driver blade Use hard wood wed...

Page 16: ...ASSEMBLY SOUS ENSEMBLE KOMPLETTE EINHEIT CONJUNTO N 7909A N 7919 N 7909 to N 7919 N 7909 zu N 7919 Valable partir de la machnine N Valid from machine V lido de la m quina N Gultig ab der mashine N 792...

Page 17: ......

Reviews: