Appendix B – The Toolbars
27
Appendix B – The Toolbars
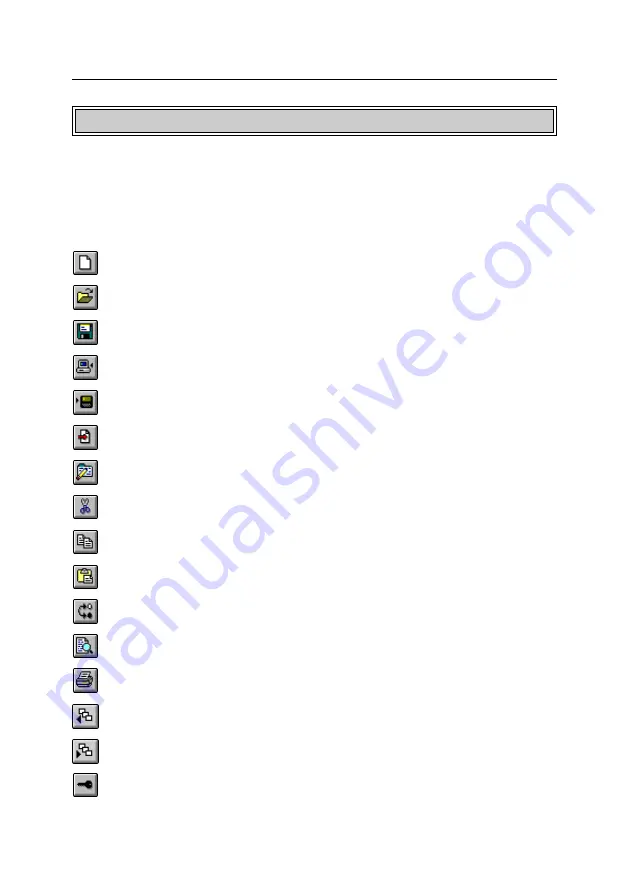
The most frequently used functions from each menu bar can also be found on a toolbar,
where they are conveniently accessible at the click of the mouse. The following list gives
you the meaning and function of each icon.
1. The Toolbar of the Main Window
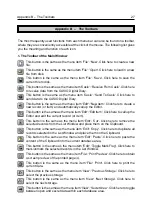
This button is the same as the menu item 'File': 'New'. Click here to create a new
file.
This button is the same as the menu item 'File': 'Open'. Click here to load in a new
file from disk.
This button is the same as the menu item 'File': 'Save'. Click here to save the
current file to disk.
This button is the same as the menu item 'Casio': 'Receive From Casio'. Click here
to receive data from the CASIO Digital Diary.
This button is the same as the menu item 'Casio': 'Send To Casio'. Click here to
send data to the CASIO Digital Diary.
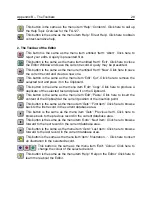
This button is the same as the menu item 'Edit': 'New Item'. Click here to create a
new record (or item) and automatically call up the Editor.
This button is the same as the menu item 'Edit': 'Edit Item'. Click here to call up the
Editor and edit the current record (or item).
This button is the same as the menu item 'Edit': 'Cut'. Click here to remove the
selected records from the List Window and place them on the Clipboard.
This button is the same as the menu item 'Edit': 'Copy'. Click here to duplicate all
records selected in the List Window and place them on the Clipboard.
This button is the same as the menu item 'Edit': 'Paste'. Click here to paste the
content of the Clipboard into the current database area.
This button is the same as the menu item 'Edit': 'Toggle Mark Flag'. Click here to
mark/unmark the selected records in the List Window.
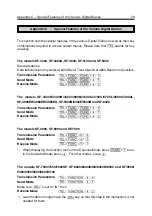
This button is the same as the menu item 'File': 'Print Preview'. Click here to obtain
a screen preview of the printed page(s).
This button is the same as the menu item 'File': 'Print'. Click here to print the
current data.
This button is the same as the menu item 'View': 'Previous Storage'. Click here to
select the previous storage.
This button is the same as the menu item 'View': 'Next Storage'. Click here to
select the next storage.
This button is the same as the menu item 'View': 'Secret Area'. Click here to toggle
between open and secret data within each database area.

