125
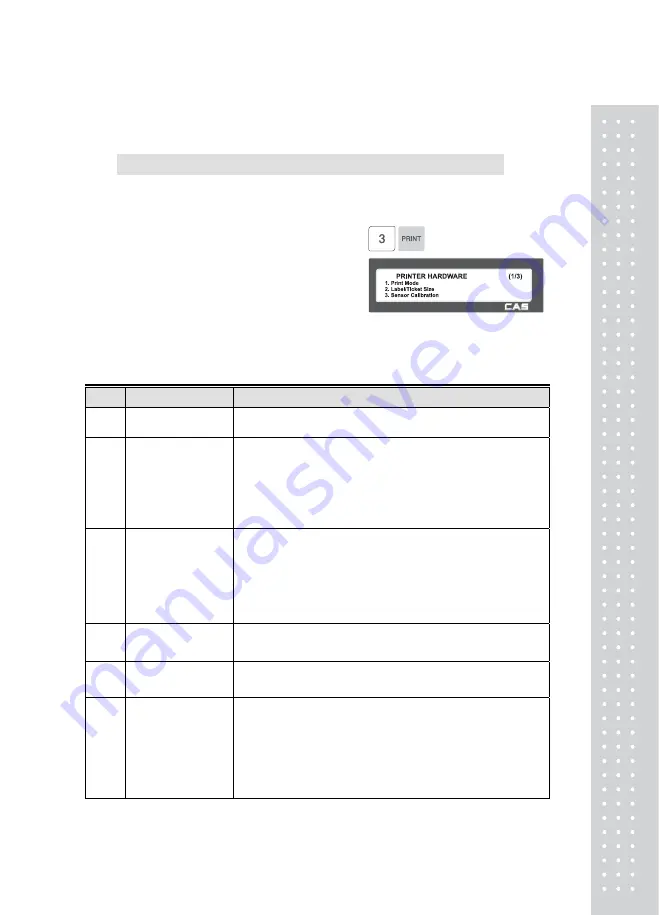
2.13.3 Printer Hardware (Menu code 1730)
( MENU → 7. Print → 1. Printer Hardware )
This section is to explain how to set printing H/W environments in the
following table.
1. Press “3” to get into H/W setting
mode on Print Menu.
▶
Printer Hardware Sub-Menu
No.
Sub-menu
Description
1
Print Mode
Select label, ticket or continuous label mode.
2
Label / Ticket
Size
If it is Label mode,
“Width(60)”, “Height(40)” and “Gap
length(2)”
size is set, If it is Ticket mode,
“Width(60)”,
“
Feed(20)” and “End Margin(30)”
size is set. If you use
Continuous Label Paper in Label mode, “Gap length” value
is applied to “End Margin”.
* The values in ( ) are default.
3
Sensor
Calibration
Enter the
“Gap(128)” and “Peel(128)”
values for printing
sensor calibration.
* The values in ( ) are default.
* If you press “TEST” key, Gap and Peel values are
adjusted automatically.
* In case of Ticket mode, Gap value is not saved.
4
Sensor & Motor
Set Peel-off sensor, Rewind Motor and Label Paper type
5
Print Intensity
Set the extent of intensity of label (ticket) printed.
6
Adjust Feed
Length
Set adjusting values of feed length.
This value can be from -200 to +200. You can change
sign(+, -) by pressing ZERO key.
+ value will print higher than THP.
* Pressing “TEST” key automatically feeds to adjust the
feed length.
Summary of Contents for CL5000 Series
Page 1: ...2 ...
Page 8: ...9 1 GENERAL 1 1 PRECAUTIONS ...
Page 14: ...15 1 4 NAMEAND FUNCTIONS OVERALLVIEW ...
Page 15: ...16 ...
Page 16: ...17 ...
Page 17: ...18 ...
Page 18: ...19 CL7200 ...
Page 19: ...20 OVERALLVIEW TYPE I 5 8 9 TYPE II 4 5 6 6 CL5000 CL5500 TYPE III CL5000 G TYPE Ⅳ CL5500 D ...
Page 20: ...21 ...
Page 21: ...22 TYPE Ⅴ CL5200 P CL5200 B ...
Page 22: ...23 KEYBOARD Poletype Standard ...
Page 23: ...24 H Type hangingtype S Type Selfkeytype ...
Page 24: ...25 D Type Doublebodytype CL5200 P Poletype ...
Page 25: ...26 CL5200 B Standard ...
Page 26: ...27 CL7200 Sale mode Operator View CL7200 Salemode Customer View ...
Page 27: ...28 CL7200 Input Mode ...
Page 28: ...29 1 5 Basic set up ...
Page 30: ...31 SERVER Connection status indicator LN Ethernet Link Status indicator ...
Page 38: ...39 1273 Delete Tare ...
Page 75: ...76 4 AfterhavinginputtedIngredient2afterthe pressthe SAVE key ...
Page 103: ...104 ...
Page 108: ...109 8 100 00c 12c Greek When total amount is less than 1 only Last currency symbol shows up ...
Page 113: ...114 Table No entered to be deleted ...
Page 125: ...126 7 Label Preprint You can set preprint length ...
Page 140: ...141 Setting Configuration Permission ...
Page 141: ...142 ...
Page 152: ...153 190 PLU LIST Show PLU List and Call CL7200 0 or 9999 PLU Key ...
Page 167: ...168 Sample Clerk Report ...
Page 171: ...172 ...
Page 208: ...209 1 1 Label Format Sample 1 2 3 4 5 6 ...
Page 209: ...210 7 8 9 10 11 12 13 14 ...
Page 210: ...211 15 16 17 18 19 20 ...
Page 211: ...212 21 22 23 24 ...
Page 212: ...213 25 26 27 28 29 30 ...
Page 213: ...214 31 32 33 34 35 36 37 38 ...
Page 214: ...215 39 40 41 42 43 44 ...
Page 215: ...216 45 1 2 Label Format s field Sample 1 Label sample 1 2 Label sample 2 ...
Page 216: ...217 ...
Page 218: ...219 3 Window Character Set Information ...
Page 219: ...220 MEMO ...
Page 220: ...221 MEMO ...
Page 221: ...222 MEMO ...
Page 222: ...223 MEMO ...
Page 223: ...224 MEMO ...
Page 224: ...225 MEMO ...
Page 225: ...226 MEMO ...
Page 226: ...227 MEMO ...
Page 227: ...228 ...
Page 228: ...229 뒷표지 ...


