


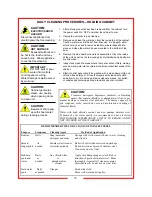


17
CABINET MAINTENANCE
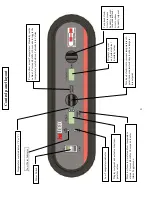
CASTERS
Caster bearings are equipped with Zerk grease fittings so that they
may be easily lubricated with a grease gun. Lubricate bearings at
least once every six months.
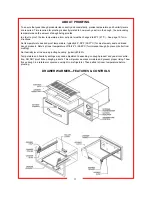
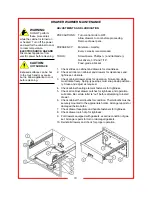
REPLACING THE DOOR GASKET
1. Remove the screws located under the gasket on the cabinet.
2.
Remove the gasket and discard.
3.
Install the new gasket and replace the screws.
REVERSING THE DOOR
Reversing the door takes about 30 minutes & requires two people.
1. Using a small screwdriver, pry off the hinge covers and set
aside. Removing the covers will allow access to the inside
hinge screws. Remove the three screws that hold each hinge
to the cabinet. DO NOT REMOVE THE SCREWS THAT
HOLD THE HINGES TO THE DOOR. Remove the door, tak-
ing care not to let it fall.
2. Remove the door strike plate and screws adjacent to the door
opening on the cabinet. Reinstall door strike plate and screws
on opposite side of the cabinet.
3. Screw hinges onto opposite side of the door.
4. With the help of another person, hold door up to the cabinet
and attach with the screws removed in step one. Before tight-
ening the screws, be sure the door is flush, level and square.
Replace the hinge covers.
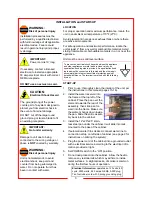
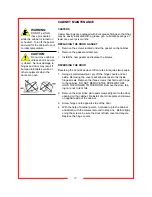
WARNING:
DO NOT perform
these procedures
while the cabinet is turned on
or heated. Turn off the power
and wait for the cabinet to cool
to room temperature.
CAUTION:
Do not move cabinet
unless door is secure-
ly closed. Serious damage to
hinges and door may result if
bumped into tables, walls, or
other equipment when the
doors are open.


