

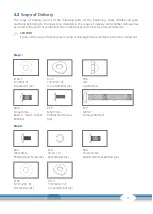

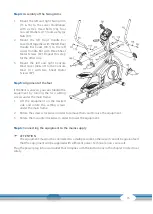

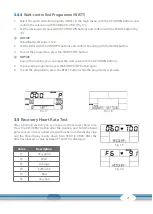
13
2.3
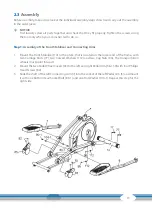
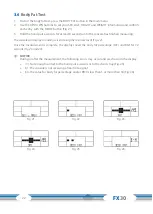
Assembly
Before assembly, take a close look at the individual assembly steps shown and carry out the assembly
in the order given.
L
NOTICE
First loosely screw all parts together and check that they fit properly. Tighten the screws using
the tool only when you are instructed to do so.
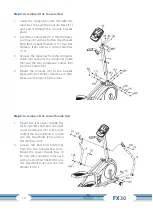
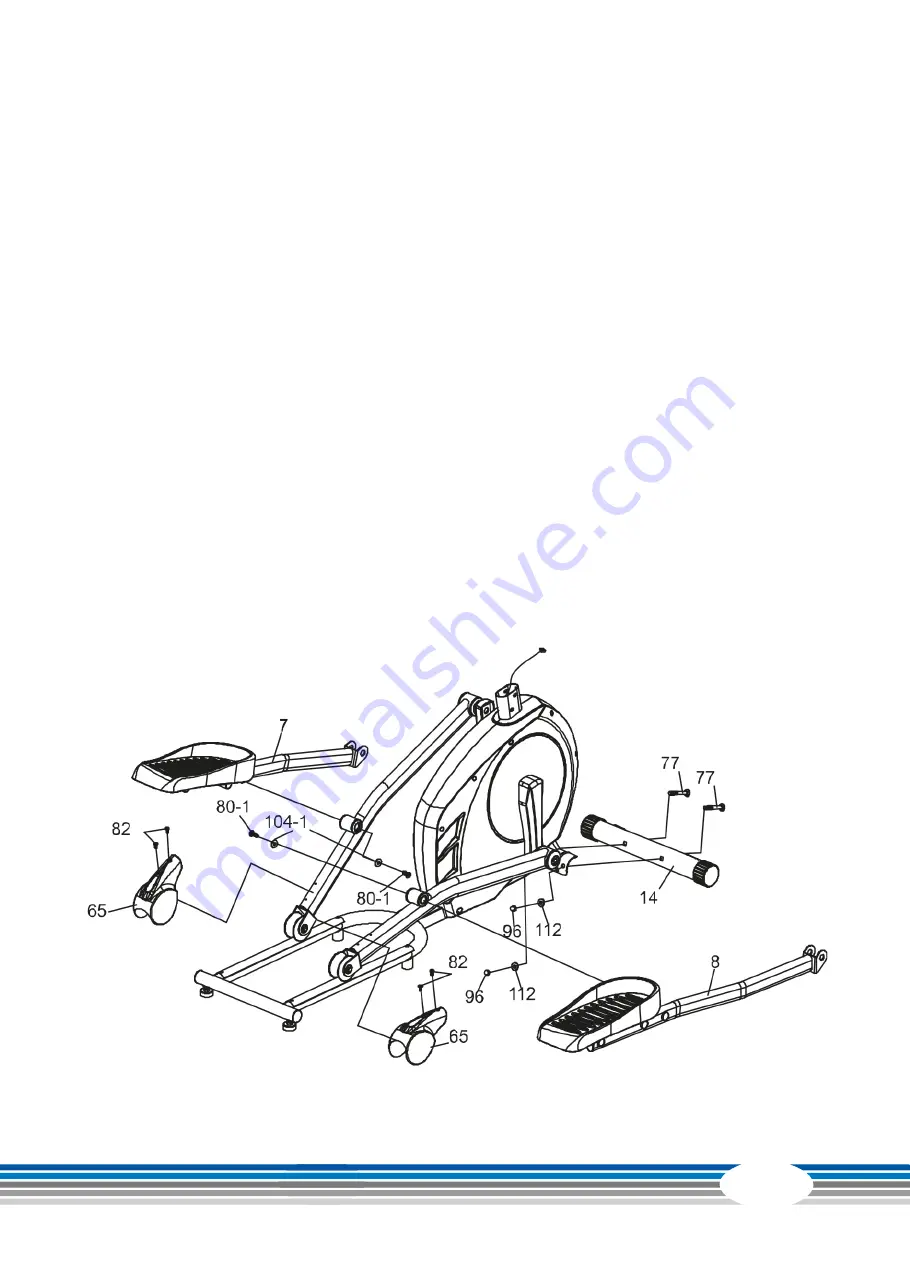
Step 1:
Assembly of the Front Stabilizer and Connecting Arms
1. Mount the Front Stabilizer (14) to the plate, that is located on the lower end of the frame, with
two Carriage Bolts (77), two Curved Washers (112) and two Cap Nuts (96). The transportation
wheels must point forward.
2. Mount the two Slide Wheel Covers (65) to the left and right Pedal Arm (5 & 139) with four Phillips
Head Screws (82).
3. Slide the shaft of the left Connecting Arm (7) into the socket of the left Pedal Arm (5) and mount
it with one Button Head Socket Bolt (80-1) and one Flat Washer (104-1). Repeat this step for the
right side.


