


21
9.3 Programming Functions
You can enter the programming mode by pressing the Scan button (
SCAN
) and holding for approximately 5 seconds. The display
will then flash “Prg” to indicate that you have entered the programming mode. Use ( ) and ( ) buttons to modify the
values and press the Scan (
SCAN
) button to save the value and go to the next screen.
Note
If the alarms are enabled, all parameters are read only and cannot be edited.
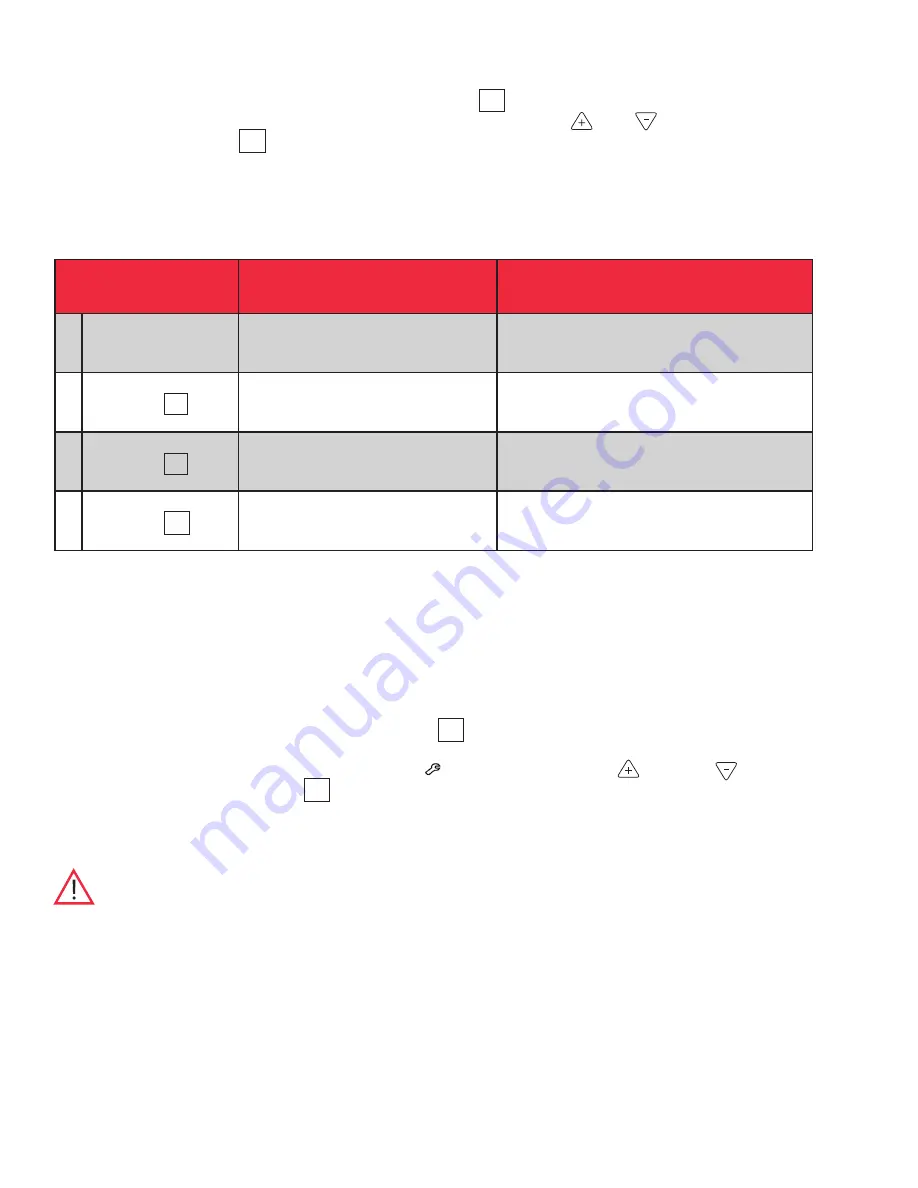
Table 7. Setpoint Programming Functions
If the unit is left idle for a period of approximately 30 seconds during program mode, the program mode shall be exited.
If at any point the scan button is pressed and held for a period of approximately 10 seconds, the unit shall enter the service mode.
9.4 Service Parameters
You can enter the service mode by pressing the Scan button (
SCAN
) and holding for approximately 10 seconds while in Programming
mode (refer to
Section 9.3
). The display will then flash “SEr” to indicate that you have entered the service mode followed by the software
checksum values flashing on the screen. The service icon (
) will also illuminate. Use up ( ) and down ( ) buttons to
modify the values and press the scan (
SCAN
) button to save the value and go to the next screen.
Note
If the alarms are enabled, the unit will not enter Service Mode.
CAUTION:
Resetting any of the following parameter values could adversely affect the performance of your refrigerator.
Be sure to understand your product requirements prior to making any adjustments to the service parameter values.
Call Technical Support if you have any questions prior to making any adjustments to service parameter values.
Screen/Button
Function
Summary
1
Initial Screen
Unit Set point
The temperature that the unit is set to run
2
Press Scan (
SCAN
)
Cold Alarm Temperature
The temperature that will actuate the cold alarm
(if active)
3
Press Scan (
SCAN
)
Warm Alarm Temperature
The temperature that will actuate the warm
alarm (if active)
4
Press Scan (
SCAN
)
Exit Program Mode
Returns to normal operating screen


