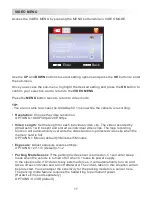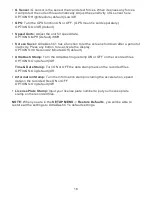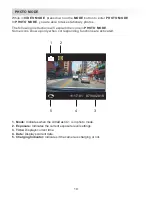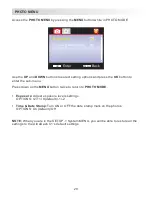
08
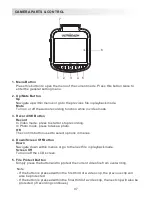
6. Screen
UltraDash C1 is equipped with a standard 2.0” LCD color screen to let you view
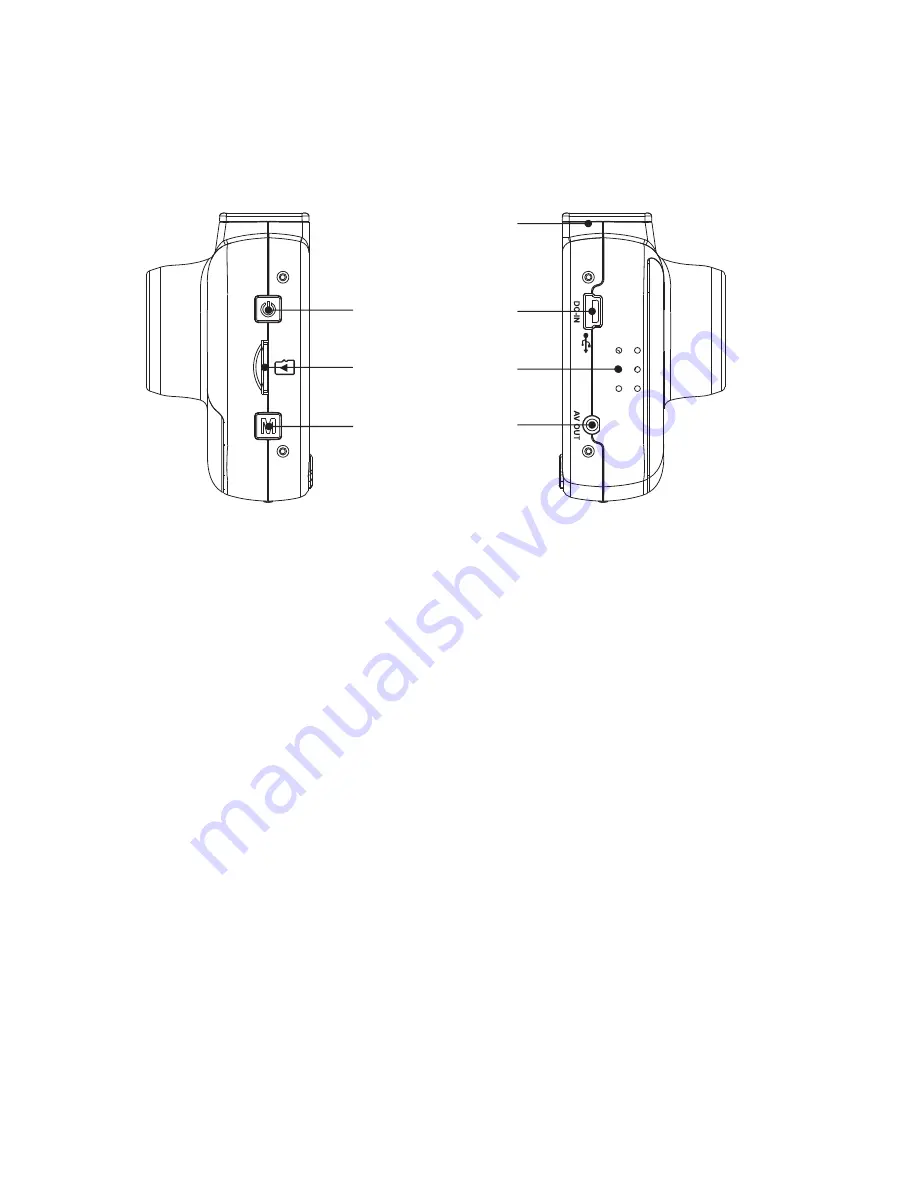
7. Status LED Indicator
Red:
Power On
Red (Flashing):
Recording
Blue:
Charging
8
9
10
8.
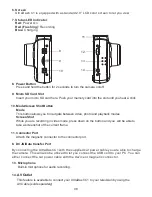
Power Button
Press and hold the button for 2 seconds to turn the camera on/off.
9.
Micro SD Card Slot
Insert your micro SD card here. Push your memory card into the slot until you hear a click.
10.
Mode/Screen Shot Button
Mode
This button allows you to navigate between video, photo and playback modes.
Screen Shot
While you are recording in video mode, press down on the button and you will be able to
take a screenshot of the current frame.
11.
Connector Port
Attach the magnetic connector to the connector port.
8.
DC-IN/Data transfer Port
By connecting the UltraDash C1 with the supplied car power cable you are able to charge
the camera. This will also be utilized to let you connect the USB cord to your PC. You can
either connect the car power cable with the device or magnetic connector.
13.
Microphone
Built-in microphone for audio recording.
14.
AV Outlet
This feature is available to connect your UltraDash C1 to your television by using the
AV Cable (sold separately)
12
13
14
11


