11
■
Plain Paper
This printer can print plain paper that is 76.2 to 215.9 mm wide, 127.0 to 355.6 mm long,
and that weighs between 60 and 105 g/m
2
, including the standard paper sizes: A4, B5,
A5, Legal, Letter, Executive, Postcard, Reply postcard, and 4 on 1 postcard.
Plain paper can be loaded in the paper cassettes and multi-purpose tray. Also, paper at a
size of A4, Legal, or Letter is available for automatic 2-sided printing.
■
Heavy Paper
This printer can print heavy paper that is 76.2 to 215.9 mm wide, 127.0 to 355.6 mm long,
and that weighs between 106 and 220 g/m
2
, including the standard paper sizes: A4, B5,
A5, Legal, Letter, Executive, Postcard, Reply postcard, and 4 on 1 postcard (However, it is
not recommended to print on heavy paper that weighs between 177 and 220 g/m
2
(other
than Postcard, Reply postcard, and 4 on 1 postcard). Set the paper type to "Heavy Paper
3" if you have to perform the printing.).
Heavy paper can be loaded in the multi-purpose tray. Also, heavy paper at a size of A4,
Legal, or Letter that weighs between 106 and 120 g/m
2
is available for automatic 2-sided
printing.
IMPORTANT
Printing speed drops when printing heavy paper.
NOTE
Paper at a size of Postcard, Reply postcard, or 4 on 1 postcard can be used as heavy
paper that weighs between 106 and 176 g/m
2
.
■
Transparency
This printer can print A4 and Letter size transparencies.
IMPORTANT
•
Transparencies can only be printed in black and white.
•
Use "A4 size transparencies for LBP recommended by Canon". "A4 size transparencies
for LBP recommended by Canon" weighs 8.7 g per sheet.
•
Thoroughly fan the transparencies before loading them as they may stick to each other.
•
Printing speed drops when printing transparencies.
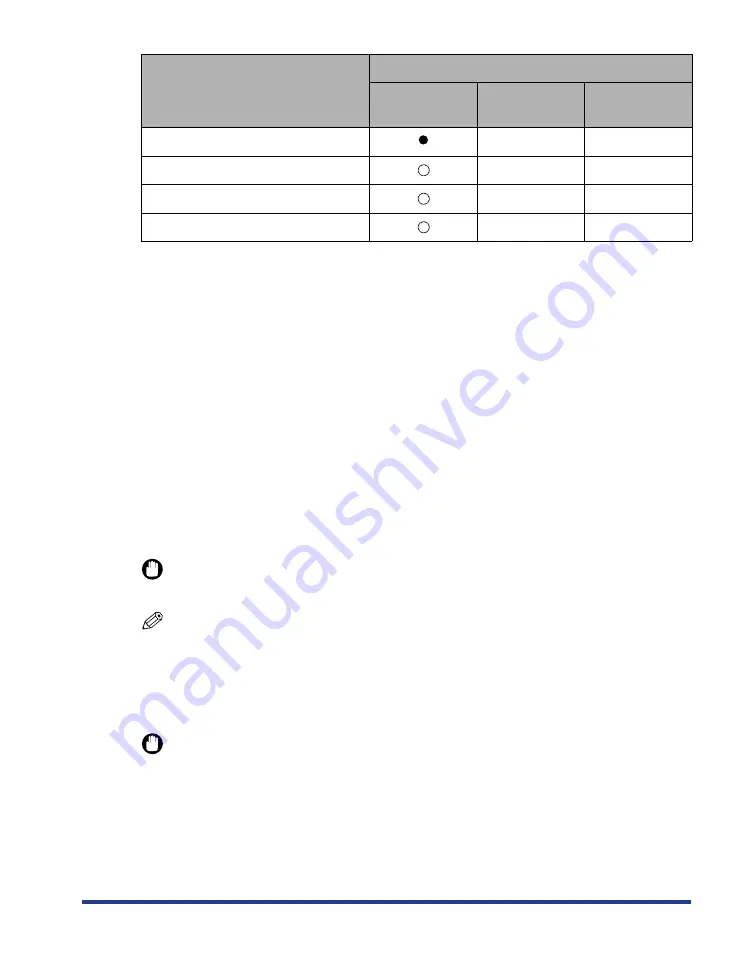
Coated paper (105 - 120 g/m
2
)
-
-
Coated paper (121 - 160 g/m
2
)
-
-
Postcard
-
-
Envelope
-
-
Paper Type
Paper Source
Multi-purpose
Tray
Cassette 1
Cassette 2
(Optional)
Summary of Contents for satera LBP-5400
Page 1: ...Laser Beam Printer User s Guide User s Guide ...
Page 7: ...6 5 When the message デンゲンヲオキリクダサイ appears press of the power switch on the printer ...
Page 63: ...62 1 Turn the printer OFF 2 Open the top cover ...
Page 66: ...65 5 Install the fixing unit 6 Close the top cover 7 Turn the printer ON ...


