


When
(Thumbnail) is displayed on Toolbar:
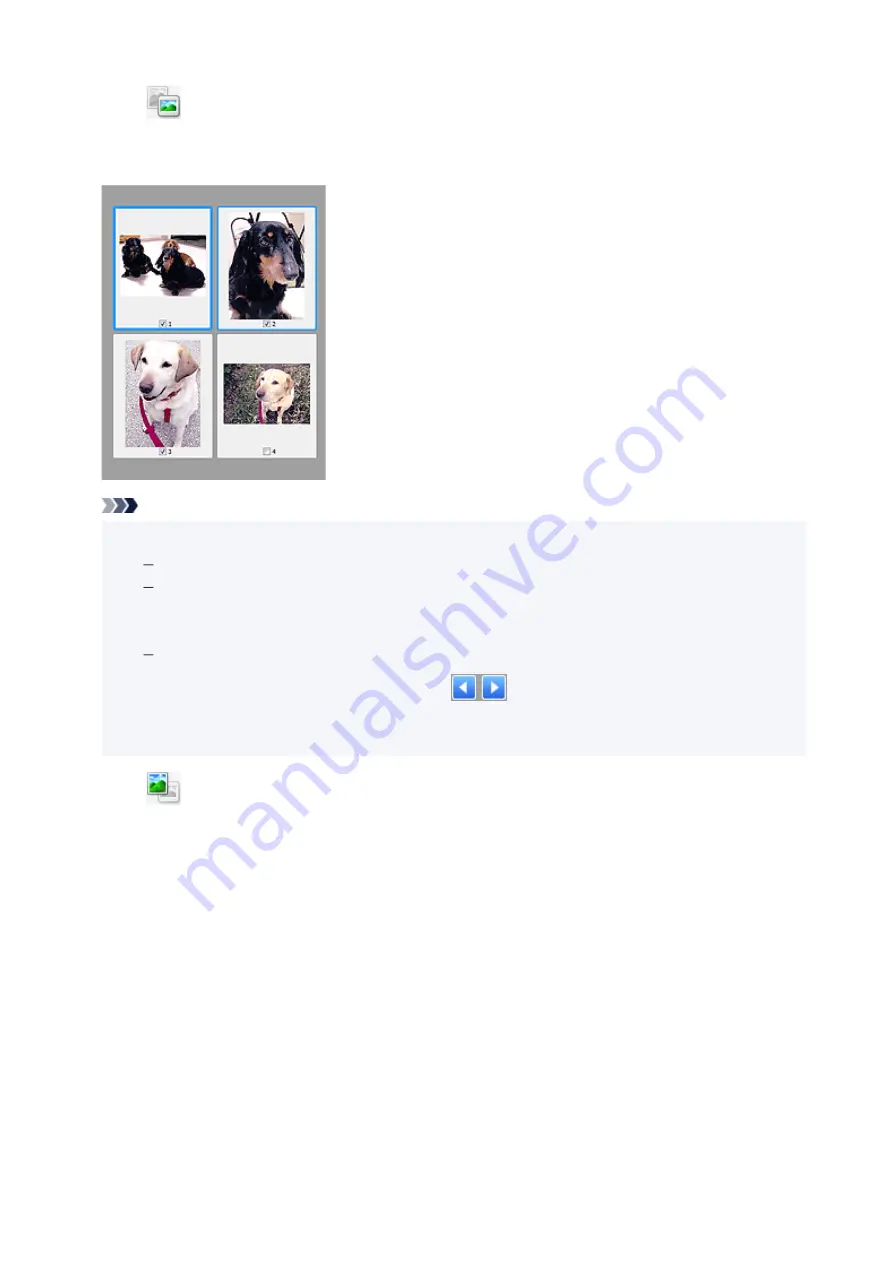
Cropping frames are specified according to the document size, and thumbnails of scanned images
appear. Only the images with the checkbox selected will be scanned.
Note
• When multiple images are previewed, different outlines indicate different selection status.
Focus Frame (thick blue outline): The displayed settings will be applied.
Selected Frame (thin blue outline): The settings will be applied to the Focus Frame and
Selected Frames simultaneously. To select multiple images, click them while pressing the Ctrl
key.
Unselected (no outline): The settings will not be applied.
• Double-click a frame to enlarge the image. Click
(Frame Advance) at the bottom of the
screen to display the previous or next frame. Double-click the enlarged frame again to return it to its
original state.
When
(Whole Image) is displayed on Toolbar:
Items on the Platen are scanned and appear as a single image. All portions in the cropping frames will be
scanned.
349
Summary of Contents for PIXMA G7000 Series
Page 1: ...G7000 series Online Manual English ...
Page 11: ...5100 590 5200 591 5B00 592 6000 593 C000 594 ...
Page 63: ... XX represents alphanumeric characters 63 ...
Page 86: ... TR9530 series TS3300 series E3300 series 86 ...
Page 87: ...Handling Paper Originals Ink Tanks etc Loading Paper Loading Originals Refilling Ink Tanks 87 ...
Page 110: ...110 ...
Page 116: ...Refilling Ink Tanks Refilling Ink Tanks Checking Ink Level Ink Tips 116 ...
Page 128: ...Adjusting Print Head Position Automatically For macOS Adjusting Print Head Position 128 ...
Page 141: ...Safety Safety Precautions Regulatory Information WEEE EU EEA 141 ...
Page 169: ...Main Components Front View Rear View Inside View Operation Panel 169 ...
Page 172: ...P Document Cover Open to load an original on the platen Q Platen Load an original here 172 ...
Page 187: ...pqrs PQRS 7 tuv TUV 8 wxyz WXYZ 9 0 _ SP 2 Switch the input mode 2 SP indicates a space 187 ...
Page 216: ...3 Press the OK button after deleting all the numbers and the letters 216 ...
Page 246: ...Custom Size Others 246 ...
Page 256: ...Note Selecting Scaled changes the printable area of the document 256 ...
Page 274: ...In such cases take the appropriate action as described 274 ...
Page 309: ...Printing Using Canon Application Software Easy PhotoPrint Editor Guide 309 ...
Page 329: ...Note To set the applications to integrate with see Settings Dialog Box 329 ...
Page 342: ...ScanGear Scanner Driver Screens Basic Mode Tab Advanced Mode Tab 342 ...
Page 428: ...4 When a confirmation message is displayed click Yes 428 ...
Page 445: ...Other Useful Fax Functions Document Stored in Printer s Memory 445 ...
Page 490: ...Other Network Problems Checking Network Information Restoring to Factory Defaults 490 ...
Page 523: ...Scanning Problems Windows Scanning Problems 523 ...
Page 524: ...Scanning Problems Scanner Does Not Work ScanGear Scanner Driver Does Not Start 524 ...
Page 528: ...Problems Sending Faxes Cannot Send a Fax Errors Often Occur When Send a Fax 528 ...
Page 536: ...Telephone Problems Cannot Dial Telephone Disconnects During a Call 536 ...


