10
Granting Access Permission
When saving scanned data in a specific location, a screen asking for
permission to access the smart device is displayed. You can save
scanned data if you grant access permission. If you do not grant
access permission, you cannot save the scanned data. You can
change granting/denial of access permission by the following
procedure.
CAUTION
The operating procedure may differ depending on OS version and
terminal type.
Android devices
1
Tap [Settings].
The [Settings] screen appears.
2
Tap [Apps].
The [Apps] screen appears.
3
Tap [COTJT].
The [App info] screen appears.
4
Tap [Permissions].
iOS devices
1
Tap [Settings].
The [Settings] screen appears.
2
Tap [COTJT].
The access permission setting screen is displayed.
3
Tap [Photos], and select [Add Photos Only] or [Never].
Job Scanning from the App
You can register a job in the CaptureOnTouch Job Tool and execute
scanning according to the job's scan settings. Scanned data is saved
in a shared folder on the specified computer or smart device.
1
Start the CaptureOnTouch Job Tool.
The [Scan from app job] screen appears.
Hint
You can change the screen displayed at startup by tapping [
]
and selecting [Initial screen setting].
2
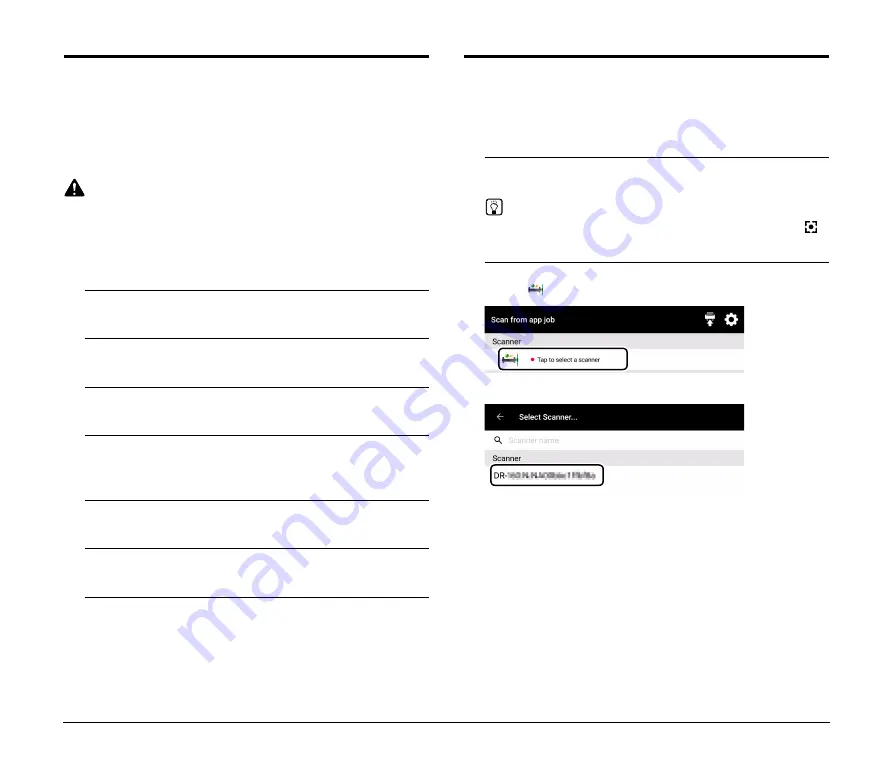
Select the scanner.
A
Tap [
].
B
Select the scanner on the [Select Scanner] screen.


