19
B
a
s
ic Fu
nc
ti
o
n
s
Re
co
rd
in
g
E
About the LCD and viewfinder screen: The screens are produced with
extremely high-precision manufacturing techniques, with more than
99.99% of the pixels operating to specification. Less than 0.01% of the
pixels may occasionally misfire or appear as black or green dots. This has
no effect on the recorded image and does not constitute a malfunction.
When powered by a battery pack, the camcorder shuts off to save power if
left without any operation for 5 minutes. Approximately 30 seconds before
the camcorder shuts off the message “
AUTO POWER OFF” will
appear. To continue recording, turn the
switch to
and then
back to CAMERA.
Wait until the tape counter stops completely before you start recording.
When you do not remove the cassette, you can record the next scene without
producing any noise or blank sections between the recordings even if you turn
the camcorder off.
Bright light may make it difficult to use the LCD screen. In such case, use the
viewfinder instead.
When recording near loud sounds (such as fireworks, drums or concerts),
sound may become distorted or may be recorded not in the actual sound level.
This is not a malfunction.
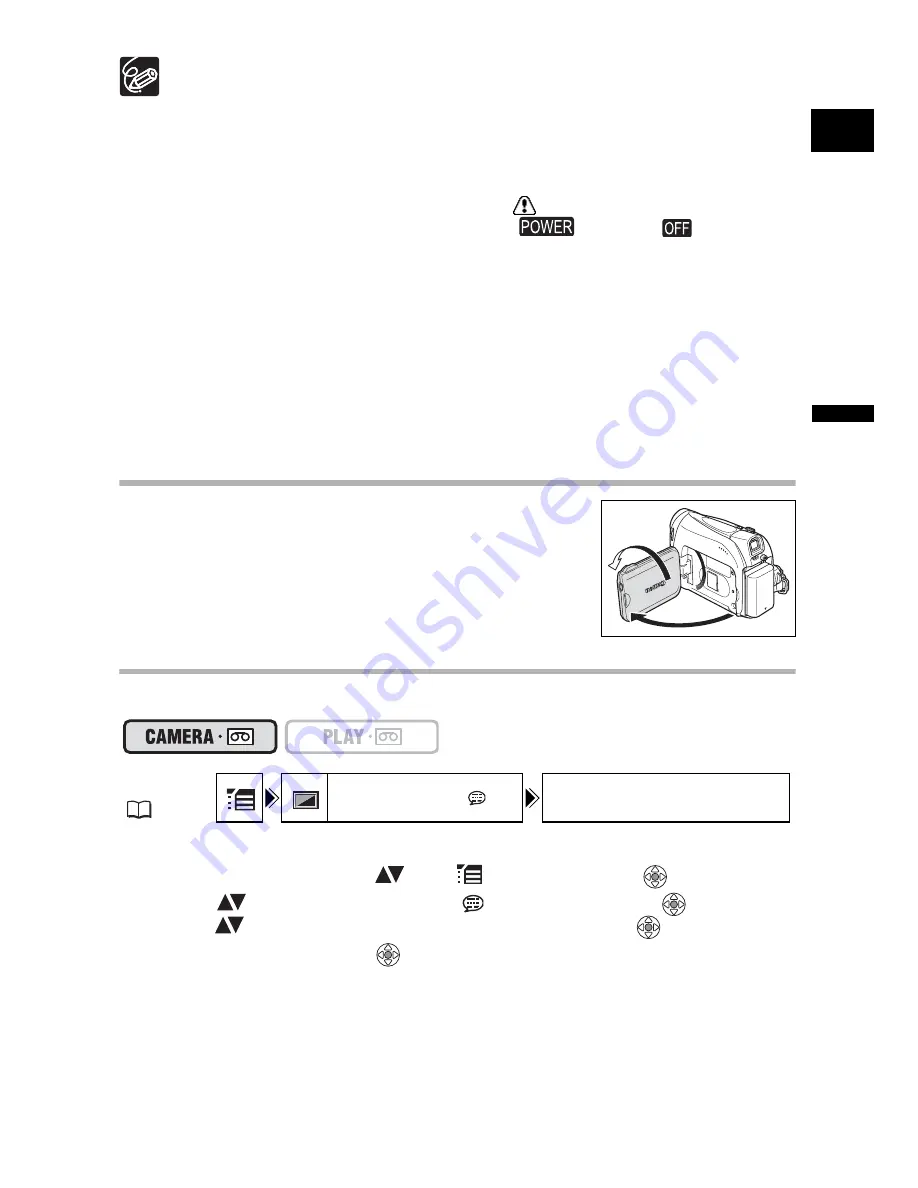
Allowing the Subject to Monitor the LCD Screen
You can rotate the LCD panel so that the screen faces in the
same direction as the lens. The viewfinder switches on allowing
you to use the viewfinder while the subject can monitor the
screen.
Displaying the Level Marker
Use the level marker as a horizontal guideline to frame subjects more accurately.
1. Press the FUNC. button to open the FUNC. menu.
2. With the joystick select (
) the
icon and press (
).
3. Select (
) the [DISPLAY SETUP/
] menu and press (
). Then,
select (
) the [LEVEL MARKER] option and press (
).
4. Set it to [ON] and press (
) to save the changes.
5. Press the FUNC. button to close the menu.
The level marker will appear.
MENU
(
33)
DISPLAY SETUP/
LEVEL MARKER OFF


