


– 30 –
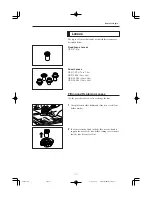
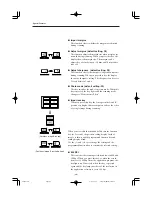
ZOOM
M1
M
2
M
3
AF
FOCUS
ROTATE
Adjusting the Image
The instructions below describe how to adjust the image
projected onto the scanner screen.
Note
The image can be adjusted using the operation
panel below the screen or the optional operation
keyboard.
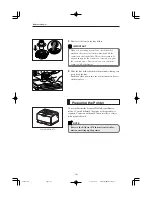
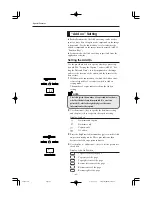
Focusing the Image
The image projected on the screen can be focused either
automatically (Auto Focus) or manually.
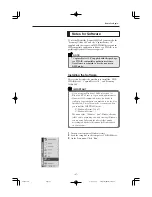
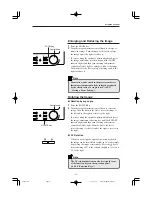
Auto Focus
1
Check that the AF key on the operation panel is lit.
• Auto Focus does not function when the AF key is unlit.
2
Press the AF key.
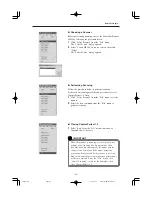
• If you press the AF key when it is lit, the image sensor
moves to automatically adjust the focus before returning
to its original position.
• The AF key flashes during auto focusing.
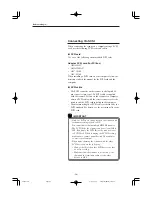
Note
AF operates more easily when the image projected on
the screen is rotated slightly so that it appears skewed.
AF operates more successfully when the image
projected on the screen is rotated slightly so that it
appears skewed.
IMPORTANT
AF may not operate normally for some images. In this
event, focus the image manually or retry auto focusing.
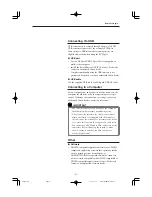
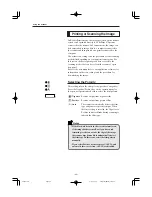
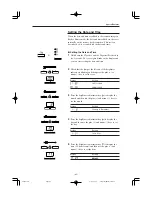
Manual Focus
1
Press the FOCUS key.
2
Turn the image adjustment control knob left or right to
focus the image.
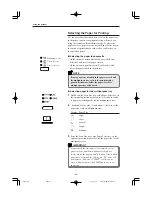
Note
To adjust the focus using the operation keyboard,
press the image adjustment selection key to select
the mode (the ZOOM, FOCUS or ROTATE mode
indicator lights) and then use the image adjust-
ment control dial to adjust the image.
(Operation keyboard)
AF key
FOCUS key
Control knob
Image adjust
mode indicators
Image adjustment
selection key
image adjustment
control dial
Using the Scanner
Using the Scanner
CE-IE-323-01
07.5.14, 11:06
Page 30
Adobe PageMaker 6.5J/PPC


