background image

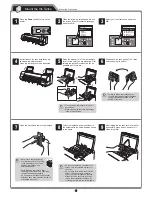
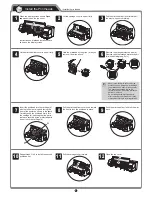
3

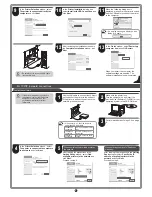
Mount the Ink Tanks

Mount the 8 ink tanks.

4

Instructions on ink tank installation are 

shown on the display screen.

Open the ink tank covers as instructed.

5

Raise the stopper (a) of the ink tank lock 

lever for the color you are mounting. After 

raising the ink tank lock lever as far as 

possible, pull it forward.

BK 

BK 

a

• Press down on the ink tank lock lever 

until it locks.

• Make sure the ink tank lock lever stays 

in the locked position.

6

Shake each ink tank gently 7 to 8 times 

before opening its pouch.

• Failure to shake the ink tanks may 

result in reduced print quality because 

ink ingredients have settled on the 

bottom of the tank.

7

Open the pouch and remove the ink tank.

• Never touch the ink holes (a) 

or metal contacts (b). Touching 

these parts may cause stains, 

damage the ink tank, and 

affect print quality.

• Avoid dropping the ink tank after 

removing it from the pouch. Otherwise, 

ink may leak and cause stains.

• Do not remove ink tanks to shake them 

after they have been mounted. Doing so 

may cause ink to spill.

8

Orient the ink tanks and mount them in 

the holders with ink holes down as shown 

in the figure.

BK

• An ink tank cannot be mounted in the 

holder if it is not oriented correctly for 

the color.

• Do not try to force an ink tank into the 

holder if it does not go in normally. 

Check the color indicated on the label 

affixed to the ink tank lock lever and 

the ink tank orientation, and then try 

mounting the tank into the holder again.

9

After raising the ink tank lock lever as far 

as possible, press it back down until it 

clicks into place.

GY

Y

1

Press the 

Power

 button to turn on the 

printer.

2

When the following screen appears, use 

the 

 and 

 keys to select a language 

and press 

OK

.

㪈㪆㪉

Language

English

ᣣᧄ⺆

Français
Italiano
Deutsch

3

Select your local time zone and press 

OK

.

㪈㪆㪌

Time Zone

0:London   (GMT)

+1:Paris,Rome
+2:Athens,Cairo
+3:Moscow   
+4:Eerevan,Baku

a

b

Summary of Contents for iPF8400S Series

Page 1: ...and Error messages Preparations for transferring the printer Electronic Manuals User s Guide This guide describes advanced usage of the printer such as paper saving tips how to print a poster and bann...

Page 2: ...Pull the carriage spacer b in the direction indicated by the arrow to remove it a b MEMO The Belt Stopper carriage spacer and Allen Wrench are needed when moving the printer to another location later...

Page 3: ...ng the ink tank after removing it from the pouch Otherwise ink may leak and cause stains Do not remove ink tanks to shake them after they have been mounted Doing so may cause ink to spill 8 Orient the...

Page 4: ...the ink lamp does not light repeat steps 5 and 9 11 Check that the ink lamp is alight and then push the ink tank more strongly until is touches the base R G B BK 12 Repeat steps 5 to 11 to mount each...

Page 5: ...a up and facing the front of the printer as shown in the figure Carefully push the printhead firmly into the carriage b ensuring that the parts that were covered by the protective parts do not touch...

Page 6: ...re it may roll off A falling paper roll creates the risk of personal injury Do not allow the roll holder to be subjected to strong impact when loading a roll of paper Strong impact can damage the roll...

Page 7: ...EMO If Paper loaded crooked appears on the display screen refer to steps 10 and 11 to reload the roll of paper If the error occurs again after you reload the paper remove the roll holder from the prin...

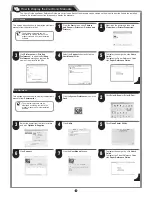
Page 8: ...during installation depending on the security settings of your computer Select Deactivate the block and click Next You can print from Windows via USB or TCP IP network connections The installation pr...

Page 9: ...ailable printer on the network After reading the precautions in the Getting Ready window select Find available printers in the network and click Next Proceed to step 6 When entering the printer s IP a...

Page 10: ...nfigure manually in Method of Configuring IP Addresses and enter the IP address To have the IP addresses allocated automatically using the DHCP server function Select Configure automatically Note that...

Page 11: ...ess of available printers in the network and click Next When the IP Address Specifications window appears follow the instructions of When entering the printer s IP address manually in step 8 to 11 on...

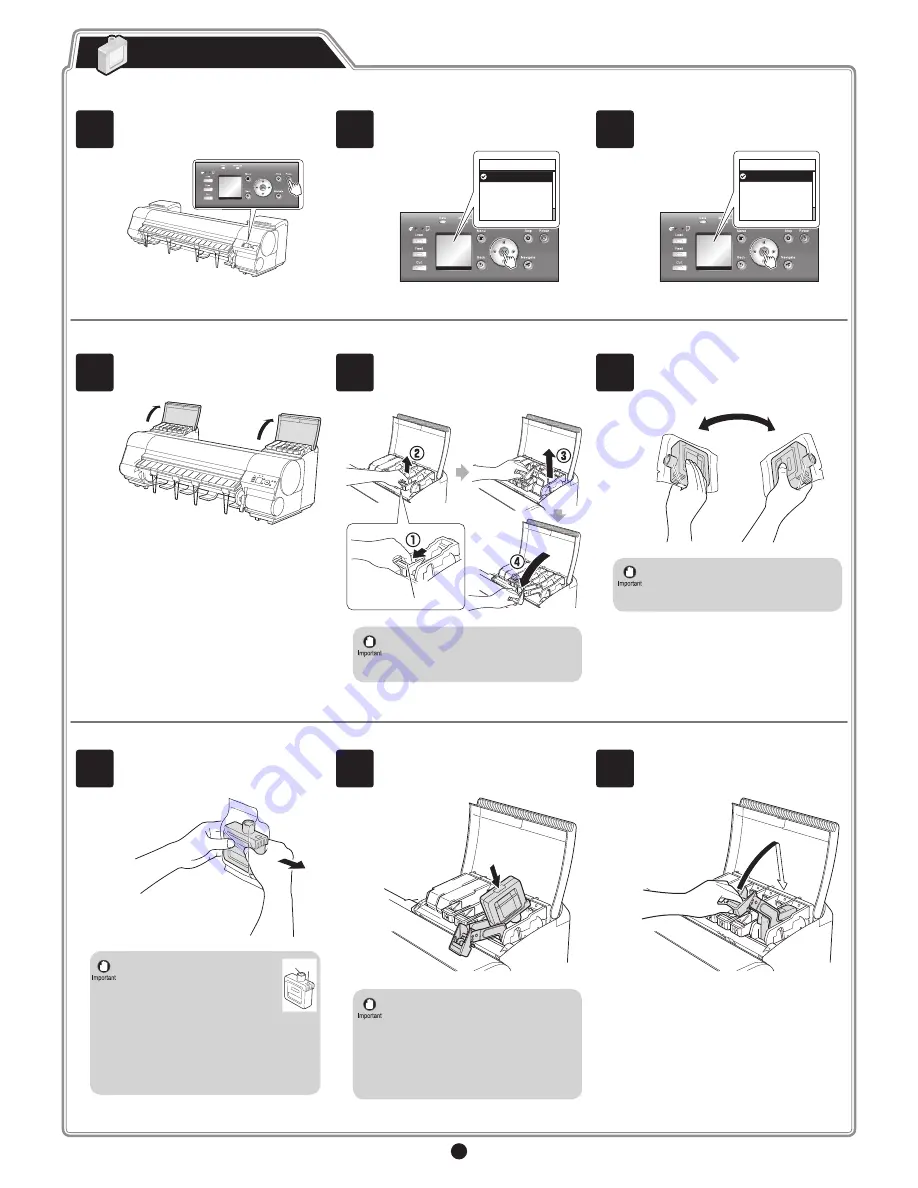
Page 12: ...k OK or Install Helper on OS X v10 7 or later 5 Select the country or region where you are using the printer and click Next 6 Select the software to install and click Next Move the mouse pointer near...

Page 13: ...ayed on the screen You can also add the printer by specifying the IP address by selecting IP Select the printer 16 Click Next 17 Select the Execute media type update check box and click Next 18 Click...

Page 14: ...ations routine maintenance and troubleshooting tips so you can refer to it as needed 2 If you are using a stand store accessories such as the 3 inch paper core attachment in the accessory pocket MEMO...

Page 15: ...t of printers and click Options Supplies Click Utility Click Open Printer Utility Click the User Manual button Click Support To display the user guide click User s Guide To display the Paper Reference...

Page 16: ...move the roll holder from the printer and check to make sure that the paper is in close contact with the roll holder flange See step 5 on page 6 No maintenance cartridge installed The maintenance cart...

Reviews: