


23
Uninstallation Procedure
Before you remove the
driver, make sure of the
following:
●
You have the installation
software available for
installation.
●
No application is running
on your computer.
NOTE
– To uninstall the software in
Windows 2000/XP/Server
2003, you must be the user with
administrative privileges.
– When removing the software,
first remove the MF Toolbox,
and then the MF drivers.
Removing the MF Toolbox
Removing the MF Drivers
1
Click [start] on the
Windows task bar
→
[(All)
Programs]
→
[Canon]
→
[MF Toolbox 4.9]
→
[Toolbox Uninstall].
2
Follow the on-screen
instructions.
When the Repair or Remove
program selection screen is
displayed, check [Remove], then
click [Next >].
If asked to confirm removal of an
application etc., click [OK].
Restart your computer if asked to
do so.
3
Click [Exit].
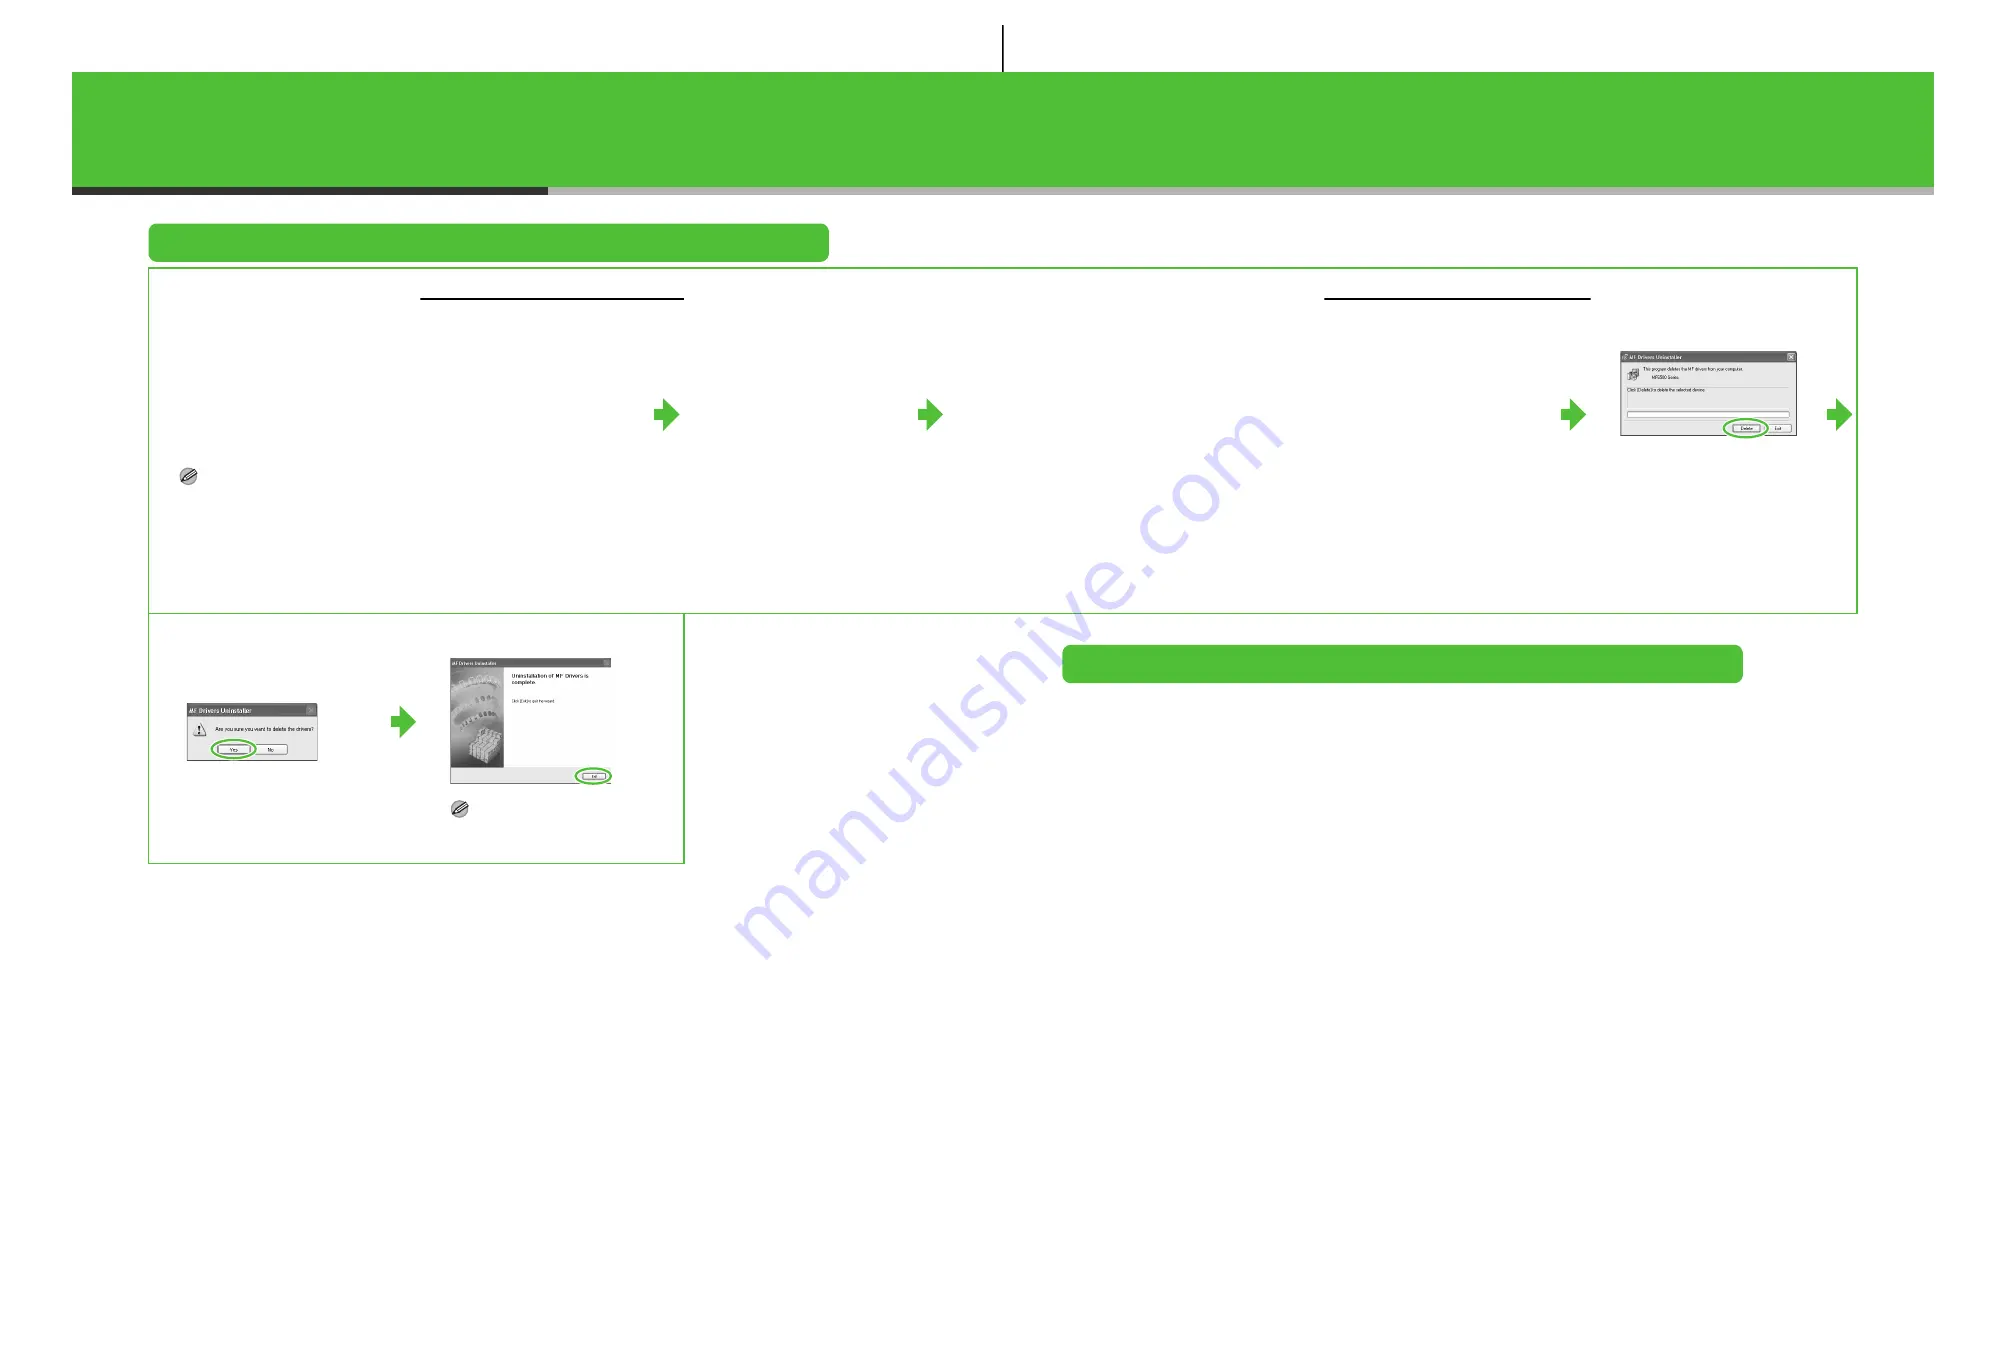
1
Click [start] on the
Windows task bar
→
[(All)
Programs]
→
[Canon]
→
[MF6500 Series]
→
[Uninstall Drivers].
The [MF Drivers Uninstaller] dialog
box appears.
2
Click [Delete].
3
Click [Yes].
Uninstallation proceeds
automatically and next dialog box
appears.
4
Click [Exit].
NOTE
Restart your computer if asked to
do so.
Bundled on the User Software CD
When you install the following programs, click on the [Additional Software Programs] button in step 2 of
“Installation Procedure – For USB Connection” or in step 2 of “Installation Procedure – For Network
Connection – Install Software,” then follow the instructions that appear on the screen.
●
Canon Cover Sheet Editor
The Canon Cover Sheet Editor enables you to create original fax cover sheet templates for use with Canon
fax driver. For details, see the online help for this program.
●
NetSpot Device Installer (NSDI)
NetSpot Device Installer enables you to set up the machine for network operations.
For details, see the Readme file and online help for this program.
24


