142
w
Printing
4
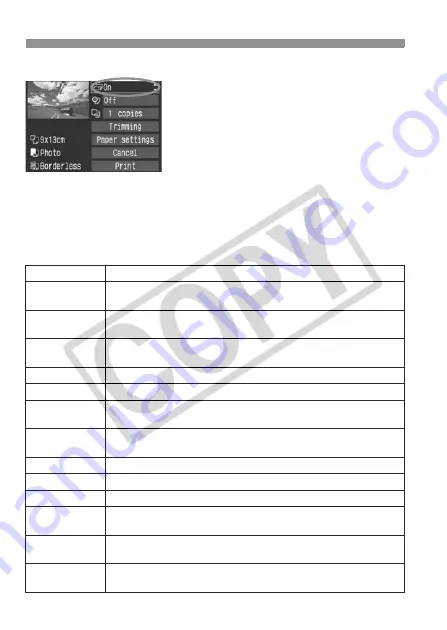
Set the printing effects.
Set as necessary. If you need not set
any printing effects, go to step 5.
The screen display may differ
depending on the printer.
Turn the <
5
> dial to select the item
on the upper right, then press <
0
>.
If the <
e
> icon is displayed next to
<
z
>, the printing effects can also
be adjusted. (p.145)
Next, turn the <
5
> dial to select the
desired printing effect, then press <
0
>.
Item
Description
E
Off
Same as the printing characteristics turned “On”. No automatic
correction will be performed.
E
On
The image will be printed according to the printer’s standard colors.
The image’s Exif data is used to make automatic corrections.
E
Vivid
The image will be printed with higher saturation to produce
more vivid blues and greens.
E
NR
The image noise is reduced before printing.
E
Vivid+NR
Vivid and NR are applied before printing.
E
Face
k
Effective in backlit conditions which can make the subject’s
face look dark. The face will be brightened for printing.
E
Red-Eye1
Effective in flash images where the subject has red eye. The
red eye is corrected before printing.
0
B/W
Prints in black-and-white with true blacks.
0
Cool tone
Prints in black-and-white with cool, bluish blacks.
0
Warm tone
Prints in black-and-white with warm, yellowish blacks.
z
Natural
Prints the image in the actual colors and contrast. No automatic
color adjustments will be applied.
z
Natural M
The printing characteristics are the same as the “Natural” setting. However,
this setting enables finer printing adjustments than with “Natural.”
E
Default
The printing will differ depending on the printer. For details, see
the printer’s instruction manual.


