


31
Menu Operations
<
z
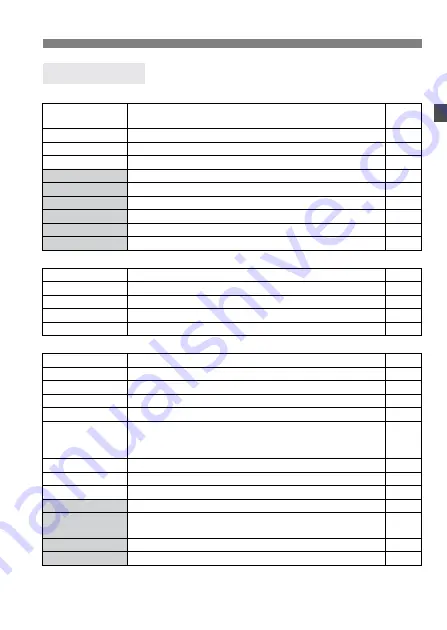
> Shooting menu (Red)
<
x
> Playback menu (Blue)
<
c
> Set-up menu (Yellow)
¡
These shaded menu items are not displayed in Basic Zone modes.
¡
In Basic Zone modes, the RAW and RAW+JPEG recording quality modes are not displayed.
Menu Settings
Quality
73
/
83
/
74
/
84
/
76
/
86
/
RAW
/
RAW+
73
/
+
83
/
+
74
/
+
84
/
+
76
/
+
86
46
Red-eye On/Off
Off / On
94
Beep
On / Off
90
Shoot w/o card
On / Off
90
AEB
1/3-stop increments, ±2 stops
84
WB SHIFT/BKT
9 levels of B/A/M/G color bias / B/A and M/G bias 1 level, ±3 levels
53,54
Custom WB
Manual setting of white balance
51
Color temp.
Set to 2800K - 10000K (100K increments)
52
Color space
sRGB / Adobe RGB
56
Parameters
Parameter 1, 2 / Set 1, 2, 3 / B/W
57,58
Protect
Protect image
111
Rotate
Rotate image
109
Print Order
Specifies images to be printed (DPOF).
131
Auto Play
Auto playback of images
108
Review time
2 sec. / 4 sec. / 8 sec. / Hold / Off
100
Auto power off
Off / 1min. / 2 min. / 4 min. / 8 min. / 15 min. / 30 min.
33
Auto rotate
On / Off
101
LCD Brightness
5 levels
102
Date/Time
Setting the Date/Time
34
File numbering
Continuous / Auto reset
61
Language
12 languages provided (English, German, French, Dutch,
Danish, Finnish, Italian, Norwegian, Swedish, Spanish,
Simplified Chinese, and Japanese.)
33
Video system
NTSC / PAL
110
Communication
Normal / PTP
116
Format
Initializes and erases card
114
Custom Functions (C.Fn)
Customize the camera
140
Clear settings
Clear all camera settings (Reset the camera to the default settings.)
Clear all Custom Functions (Resets all Custom Function settings to the def ault.)
32
140
Sensor clean.
Select to clean the sensor.
36
Firmware Ver.
Select to update the firmware.
–
Reference
pages


