66
Applying Image Enhancing Effects
You can record with different color saturation and contrast effects.
1. Set the camcorder to a recording mode (
or
)
and set the mode dial to .
2. Press the FUNC. button.
3. First, select (
) the current image effect symbol from the left side
column and then select (
) the desired option from the bottom bar.
To set the custom image effect when you select [
CUSTOM]:
4. Press (
). Select (
) the custom setting option (brightness,
contrast, sharpness and color depth) and adjust (
) each setting as
desired. Press (
) again to save the customized adjustments.
5. Press the FUNC. button to save the setting and close the menu.
[SOFT SKIN DETAIL]: To obtain the best effect, use this function when recording a
person in close-up. Note that areas similar to the skin color may lack in detail.
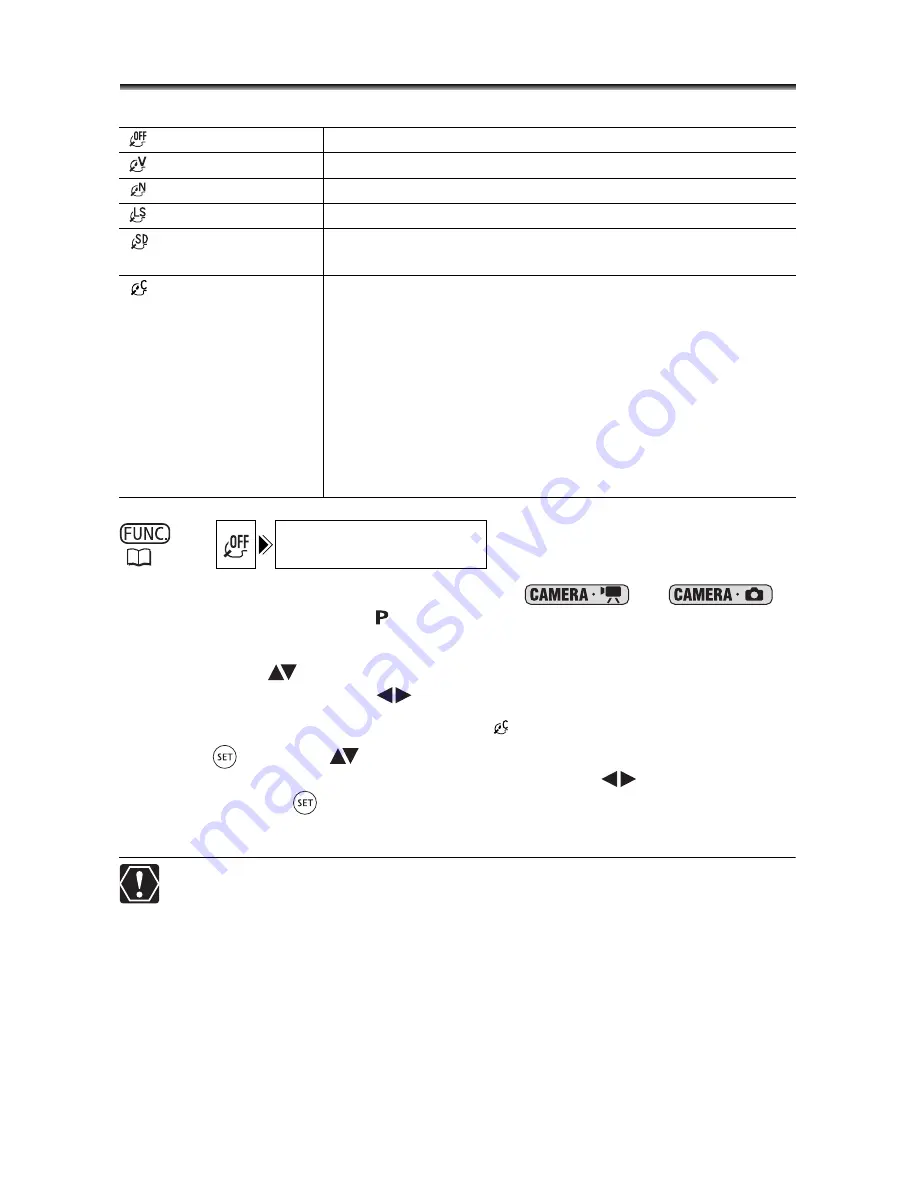
IMAGE EFFECT OFF
Records with no image enhancing effects.
VIVID
Emphasizes the contrast and color saturation.
NEUTRAL
Tones down the contrast and color saturation.
LOW SHARPENING
Records subjects with softened outlines.
SOFT SKIN DETAIL
Softens the details in the skin tone area for a more
complimentary appearance.
CUSTOM
Allows you to adjust the brightness, contrast, sharpness and
color depth of the image.
[BRIGHTN.]:
(-) Darker picture,
(+) Brighter picture
[CONTRAST]: (-) Flatter picture,
(+) More defined light and shade
[SHARPNESS]: (-) Vaguer outlines,
(+) Sharper outlines
[COL.DEPTH]: (-) Shallower colors,
(+) Richer color tonality
(
60)
IMAGE EFFECT OFF


