You can select either Portrait or Landscape orientation by clicking
on the appropriate selection in the Orientation box. The default is
portrait orientation.
Click on About in the main dialog box to display copyright
information regarding the Windows driver and its version number.
Click on Help in the main dialog box to enter Microsoft's
Universal Driver Help program. The Printer Setup screen displays
information that will help you specify your printer settings.
Options
As part of your printer setup, you can specify certain options that
control the darkness and fineness of your printed graphics and text.
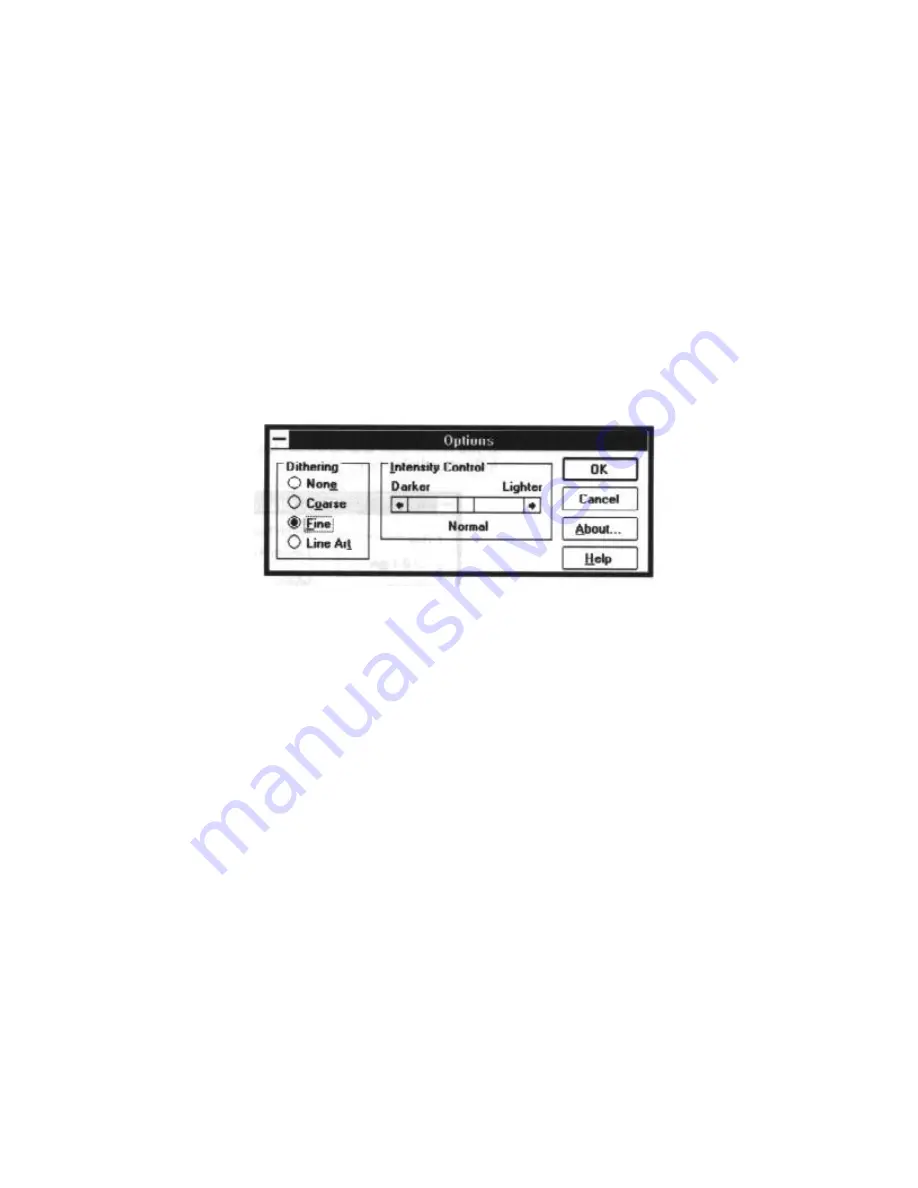
Click on Opitions in the main dialog box to display the Options dialog
box:
From this screen you can select dithering options and an intensity level.
You can select one of four dithering options: None, Course, Fine
or Line Art. The dithering option you select changes the quality of
a gray-scale or color image. None causes all color values to
appear either black or white; no in-between colors are
represented. The default dithering option is Fine.
You can control the intensity with which text is printed using the
Intensity Control box. This controls the threshold at which a pixel
value is turned on or off. Settign the slide bar to the left results in
darker print and setting it to the right results in lighter print. This
control affects all dithering options. The default is the value
represented at the center of the slide bar. (In some applications,
setting the slide bar all the way to the right causes nothing to
print.)
Printing a Document
This procedure provides general steps for printing from the various
applications you may run in the Windows environment. The exact steps
for printing a document may vary depending on the application program
you are using. Refer to your program's user's manual for the exact


