61
Installation Procedure
Inst
allation Guide
In
st
allation
Pr
oced
ur
e
■
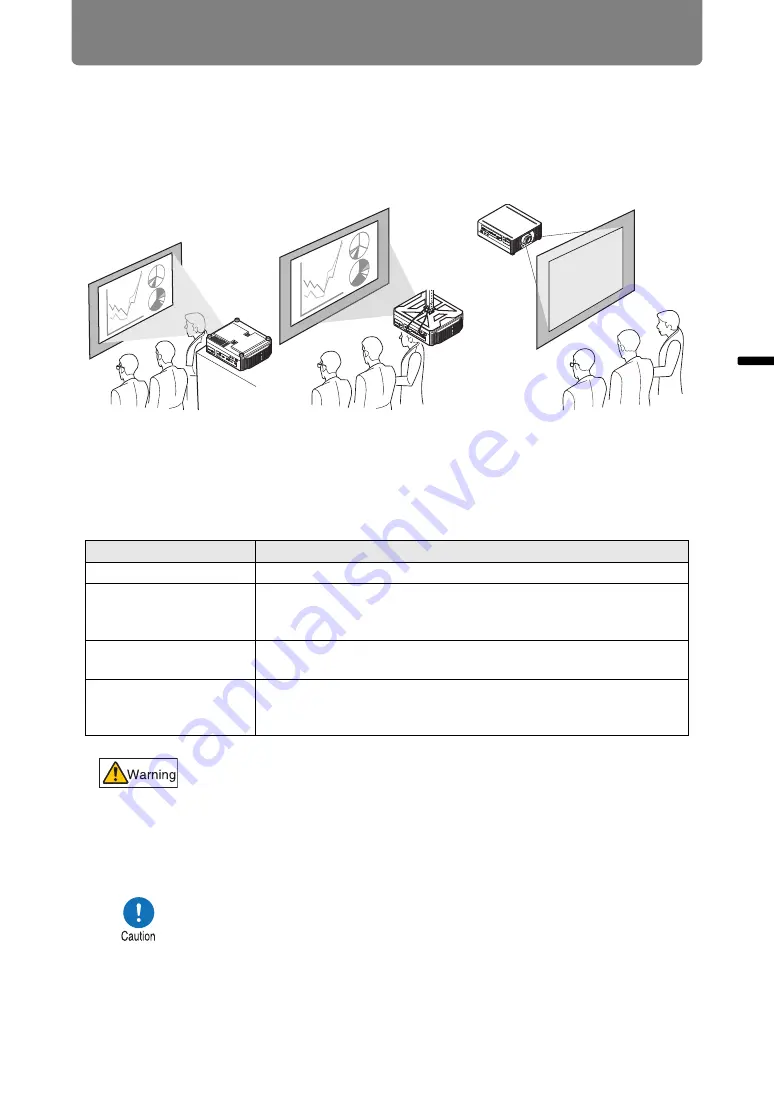
High Installation, Ceiling Mounting, and Rear Projection
Projector features enable projection from a shelf or other high surface. You can also
mount the projector on the ceiling (ceiling mounting) with it turned upside down or
place it behind the screen (rear projection) if you use a translucent screen.
In [Image flip H/V] (
) in the menu, choose a method of projection that
corresponds to how the projector is installed.
1
Press the MENU button on the remote control or projector, and then
select [Install settings] > [Image flip H/V].
2
Select the orientation of how the projector is installed.
Ceiling mounting requires an optional ceiling attachment (part no.: RS-CL15) and
ceiling-mount arm (part no.: RS-CL17). Depending on the installation environment,
an extension pipe (part no.: RS-CL08 or RS-CL09) may also be required. Contact
the Canon Customer Support Center for more detailed information.
Option
Function
None
Select for normal projection, without inversion.
Ceiling mounted
Select when the projector is installed upside-down on the ceiling.
The projected image is inverted in both vertical and horizontal
directions.
Rear
Select this to project an image from behind the screen.
The projected image is inverted in the horizontal direction.
Rear, Ceiling mounted
Select this to project an image from behind the screen with the
projector hung from the ceiling.
The projected image is inverted in the vertical direction.
When setting the projector on a high surface for projection, be sure
the surface is flat and stable. Failure to do so poses a risk of the
projector falling and causing accidents or injury.
• Make sure to use the optional ceiling attachment.
• You should never install the ceiling attachment by yourself.
Ceiling mounting
Rear projection
Installation on high surfaces
Summary of Contents for 4K6021Z
Page 40: ...38 Basic Guide ...
Page 42: ...Projection Procedure 40 Step 1 Connect Other Equipment HDMI input ...
Page 52: ...50 Installation Guide Before setting up the projector be sure to read Before Installation P21 ...
Page 103: ...101 Menu Guide ...
Page 192: ...190 Maintenance Product Specifications Troubleshooting ...


