background image

Input: AC100-240V/ 50-60Hz 0.3A ; Output: DC5V 1.5A
The AC Adaptor is low voltage power source. Connect the AC Adaptor to Camera. Afterwards plug into mains
electrical outlet in your home. The plug is used to connect device with the mains grid, the device shall remain
easily reachable.
CAUTION: The adaptor is made with a specific design for this product. It cannot be used with any other
appliance. Never use a different type of adaptor with this Baby Monitor, which is not supplied by the
manufacturer/ importer.

ADAPTER (POWER CORD)

FUNCTIONS AND FEATURES OF THE PRODUCT

The product has many features:
-3.0MP Resolution;
-Easy to set up, connects to your home Wi-Fi network or via LAN cable.
-Two – way Audio Communication – built – in microphone and speaker
-360° rotation of the camera; Pan and tilt; Remote control of the camera
-Infrared night vision
-Motion Auto Tracking
-Multi Camera split screen
-Complies with Android, iOS, Windows
-Free app - YCC365 Plus
-With the camera can connect maximum 3 users
-Can be attached to desk/ wall

TECHNICAL SPECIFICATIONS

1. AC supply cord: Input Rated Voltage 100 – 240 V; Frequency 50-60 Hz; Output Rated Voltage DC5V 1.5A
2. Connecting via: Wi-Fi 2.4 GHz or LAN network cable.
3. Application: YCC365 Plus, compatible with Android, iOS, Windows
4. Lens: 3.6mm; Night mode(range 5 – 10m)
5. Sensor: CMOS
6. Resolution: 3MP (1984 x 1488); 25~30fps
7. Memory: TF Card slot (Max up to 128GB, the card is not included)

16

1.Before setting up the product check:

If you have access to the Wi-Fi network (2.4 GHz Wi-Fi).

If you are close near to the Wi-Fi router, to gain a better Wi-Fi signal.

If you use Wi-Fi repeater, make sure that your router and the Wi-Fi repeater have the same SSID and that you

use the same password for the router and repeater.

You have the password at your hand. Always connect the baby camera to a secure network.

Make sure that your smart device runs on iOS and Android.

2. Download the YCC365 Plus app from App Store or Google Play.
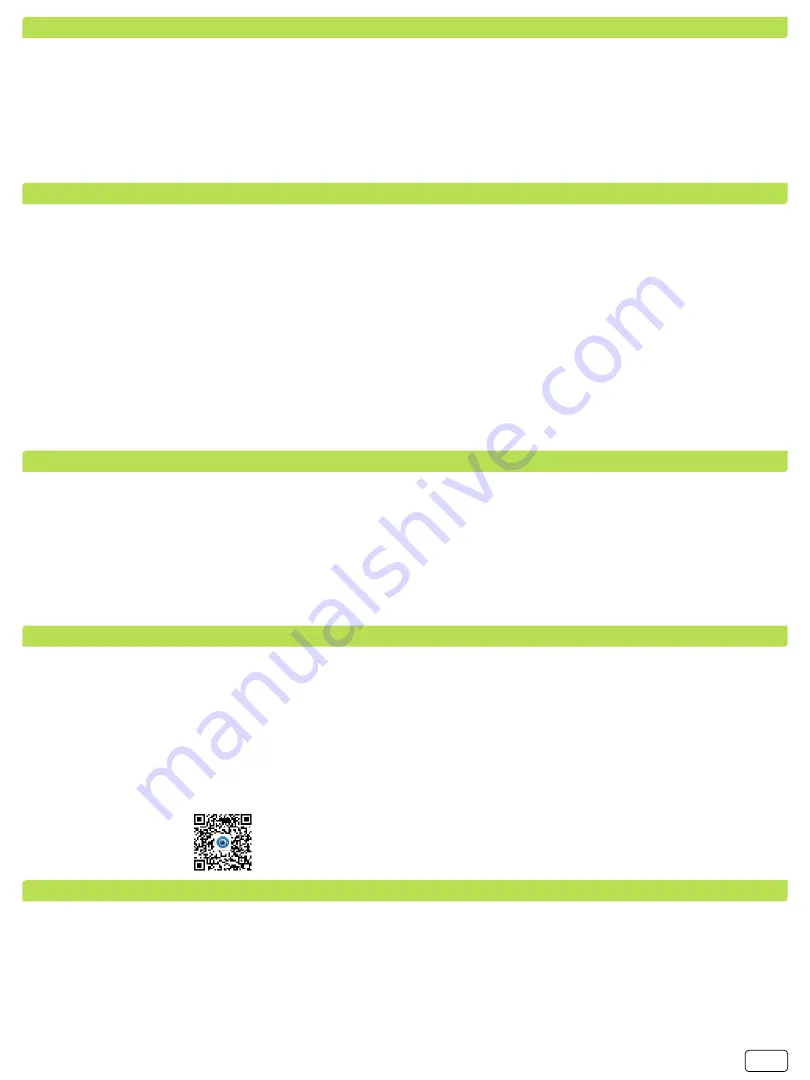
3.Or Scan the QR code:

BEFORE SET-UP AND USE OF THE PRODUCT

CONNECTING TO THE CAMERA

1. Creating an account – See the figures on page 1:

When you use this app for the first time, you need to use your e-mail address to register an account. The

current version supports registration AND via your mobile phone number, but only in some countries. We
recommend you to use your e-mail address in order to sign.
A. Click on Sign Up to enter your e-mail and set the password. If you forget your password, you can reset it.
Just click on Forgot password on the login page.

Summary of Contents for Hype

Page 1: ...BG 3MP Wi Fi GB USER MANUAL OF 3MP Wi Fi BABY CAMERA BG Hype Teya IP 013H IP 014H GB The user manual applies for models Hype and Teya with the respective item numbers IP 013H and IP 014H...

Page 2: ...1 SIGN UP AN ACCOUNT QR SCAN A QR CODE TO ADD THE DEVICE...

Page 3: ...2 LAN CONNECTING VIA LAN CABLE...

Page 4: ...AP CONNECTING VIA AP HOTSPOT 3...

Page 5: ...AP AP DIRECT MODE OF CONNECTING 4...

Page 6: ...HOW TO USE THE MENU VIDEO PLAYBACK SETTINGS 5...

Page 7: ...SPLIT SCREEN TO WATCH HOW TO CONNECT WITH THE CAMERA VIA YOUR PC 6...

Page 8: ...013H IP 014H EN 62368 1 2014 A11 2017 N 62311 2008 EN 301 489 1 V2 1 1 2017 EN 301 489 17 V3 1 1 2017 EN 300 328 V2 1 1 2016 BG 1 2 3 4 5 6 1 7 8 1 9 10 11 12 13 14 15 16 17 18 19 20 AC100 240V 50 60H...

Page 9: ...23 24 25 26 27 28 29 30 31 32 10 40 33 34 TF 35 36 3 A B IP 014H C D 1 x D 8 IP 014H IP 013H A B C...

Page 10: ...ndows YCC365 Plus 3 9 1 AC 100 240 V 50 60 Hz DC5V 1 5A 2 Wi Fi 2 4 GHz LAN 3 YCC365 Plus Android iOS Windows 4 3 6mm 5 10 5 CMOS 6 3MP 1984 x 1488 25 30fps 7 128GB 1 2 4 GHz Wi Fi Wi Fi Wi Fi Wi Fi W...

Page 11: ...Wi Fi Wi Fi Next QR When you hear a beep or a green light Device is under connecting Wi Fi Addition is successful Shop Bedroom Living room Entrance Office Meeting room Start to experience B LAN LAN 2...

Page 12: ...cal login YCC365 Plus AP networked device preview Next Network setting Next CLOUDCAM_XXXX Next AP networking device preview admin 12345 next Addition success 5 A B C D E F G H Cloud I J Cloud K 1 2 PT...

Page 13: ...1 Please configure camera by scanning code or AP hot spot AP hotspot 2 Wi Fi Please wait for Wi Fi connecting Wi Fi 3 Please wait for internet connecting ip 4 Internet connected welcome to use cloud c...

Page 14: ...Phone Wi Fi 9 Share 10 Wi Fi A Wi Fi Parameter setting Wi Fi network Wi Fi Select the Wi Fi Wi Fi B Wi Fi Device offline TROUBLESHOOT Wi Fi Parameter setting Network information Select Wi Fi 13 1 http...

Page 15: ...or damage 6 WARNING The camera supply cord must be plugged into a wall outlet farthest from your baby Place the camera as far away as possible from your baby Cables are potential choking hazard They s...

Page 16: ...from which you bought the product 30 Do not use spare parts which are not original ones supplied by the manufacturers or the importer 31 Do not store the camera or its power cord near direct heat sour...

Page 17: ...g via Wi Fi 2 4 GHz or LAN network cable 3 Application YCC365 Plus compatible with Android iOS Windows 4 Lens 3 6mm Night mode range 5 10m 5 Sensor CMOS 6 Resolution 3MP 1984 x 1488 25 30fps 7 Memory...

Page 18: ...to experience A new window will open with the video stream directly from the camera You may need to refresh the page several times until the video is loaded B Connecting via LAN network cable applies...

Page 19: ...haracteristics of the camera From Device settings you can adjust the time zone time and date on turning on or off of the camera Also how often to repeat this schedule You can do that from the menu Dev...

Page 20: ...the video cannot be recorded If the TF card works always but the video files expire check the status via Check TF card state If everything is normal with the card but the videos are not recorded on it...

Page 21: ...recycling By doing this you help to preserve the environment 9 If you find any damage or missing broken parts stop using the camera until the damages are removed 10 Do not try to repair the product b...

Reviews: