background image

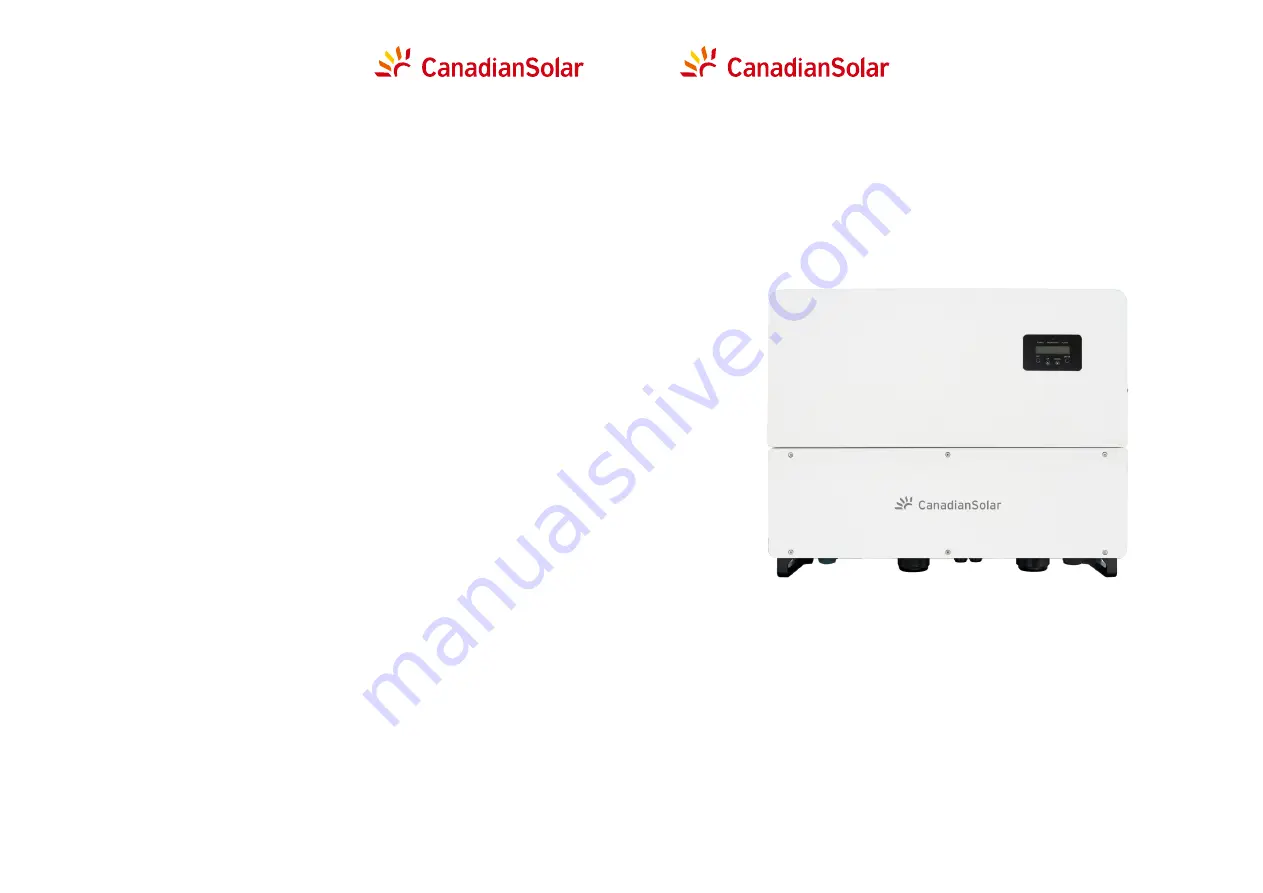
CSI GRID-TIED PV INVERTER

INSTALLATION AND OPERATION MANUAL 

CSI-125-T600GL02-U

Please adhere to the actual products in case of any discrepancies in this user manual. 

CSI Solar Co., Ltd.  
199 Lushan Road, SND, Suzhou, Jiangsu, China, 215129
P +1 519 837 1881
F +1 519 837 2550
Sales Inquiries Email: [email protected]
Customer Support Email: [email protected]

This manual is subject to change without prior notification. Copyright is reserved. 
Duplication of any part of this issue is prohibited without written permission.


www.csisolar.com

CSI Solar Co., Ltd.  
199 Lushan Road, SND, Suzhou, Jiangsu, China, 215129 

Version 1.1, Release Date: 05,2021

Summary of Contents for CSI-125-T600GL02-U

Page 1: ...gsu China 215129 P 1 519 837 1881 F 1 519 837 2550 Sales Inquiries Email info csisolar com Customer Support Email service ca csisolar com This manual is subject to change without prior noti cation Cop...

Page 2: ...equipment has supplied The customer is fully liable for any modifications made to the system therefore any hardware or software modification manipulation or alteration not expressly approved by the ma...

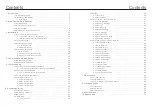
Page 3: ...reen 3 3 2 Rack mounting 3 4 Electrical Connections 17 18 3 4 1 Grounding 20 3 4 2 Connect PV side of inverter 23 3 4 3 Connect grid side of inverter 26 4 Communication Monitoring 6 5 1 Set Time 40 6...

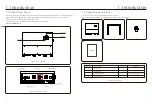
Page 4: ...emarks The inverter ships with all accessories in one carton When unpacking please verify all the parts listed below are included 3 4 Fastening screw 2 User manual 1 1 2 3 4 Manual Canadian Solar Thre...

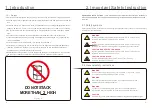
Page 5: ...en 0 to 100 non condensing Do not stack more than two 2 inverters high on a single pallet Do not stack more than 2 pallets high Keep the box es away from corrosive materials to avoid damage to the inv...

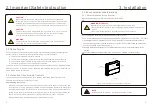
Page 6: ...against the inverter 3 Installation To meet relevant codes and standards the Canadian Solar three phase inverter line is equipped with protective circuitry and controls Anti Islanding Protection Isla...

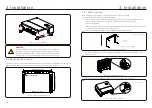
Page 7: ...verter can be quite high 3 2 Product handling Figure 3 3 Handles used to move the inverter shown circled in red 3 1 2 4 Air circulation Do not install in small closed rooms where air cannot freely cir...

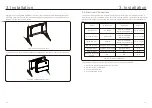
Page 8: ...1 Refer to Figure 3 6 drill holes for mounting screws based on the hole diameter of bracket using a precision drill keeping the drill perpendicular to the wall Max depth is 90mm 2 Make sure the brack...

Page 9: ...gle Please install the inverter vertically If the inverter cannot be mounted vertically it may be tilted backward to 15 degrees from vertical Vertical 15 Backward Figure 3 9 Correct installation Angle...

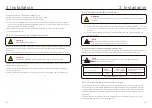
Page 10: ...3 Connect the AC wires 4 Connect the DC wires The inverter is designed with a wiring box at the bottom Before the electrical connection it requires the cover for the bottom wiring box to be removed Ta...

Page 11: ...ion 3 4 3 Connect the external grounding terminal 1 Prepare the grounding cable recommend to use the outdoor copper core cable The grounding wire should be at least half size of the hot wires To conne...

Page 12: ...ol to crimp the terminal The crimped portion of the terminal must be insulated with heat shrinkable tube or insulating tape 4 Insert the cable through the nut sheath and DC terminal cover Connect the...

Page 13: ...we recommend installing a device for protection against over current and leakage with the following characteristics noted in Table 3 2 3 4 2 1 DC connection high voltage danger notice CAUTION RISK OF...

Page 14: ...erminal then use a hydraulic crimp tool to crimp the terminal The crimped portion of the terminal must be insulated with heat shrinkable tube or insulating tape 1 Strip the end of AC cable insulating...

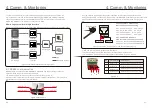
Page 15: ...net OUT Figure 4 3 Strip the insulation layer and connect to RJ45 plug Correspondence between the cables and the stitches of plug Pin 1 white and orange Pin 2 orange Pin 3 white and green Pin 4 blue P...

Page 16: ...for onsite Ethernet communication commissioning If the router doesn t support automatic IP address use an Ethernet cable to connect the Ethernet module and your laptop Change the Laptop s IP address...

Page 17: ...0 100 254 via web browser Enter username and password admin admin 3 Select Network from left menu 4 Select Use IP address below radio button Enter IP address subnet mask and default gateway Click Save...

Page 18: ...inverter inverter damage or the inverter not operating at all 5 2 Changing the grid standard 5 2 1 Procedure to set the grid standard NOTE This operation is for service technicians only The inverter...

Page 19: ...the strings if a leakage to ground has been detected Improper operation and damage to the inverter may result Once all DC tests have been completed close the fuse holders Measure leakage to ground to...

Page 20: ...hat is within start up and operating ranges the inverter will turn on After turn on the inverter will check internal parameters sense and monitor AC voltage hertz rate and the stability of the supply...

Page 21: ...he reactive power of the inverter App_Power Shows the apparent power of the inverter Work Mode Volt watt DRM NO 08 10 sec Work Mode Shows current working mode DRM NO Shows DRM Number VPV_Total 1000 0V...

Page 22: ...3 NEXT ENT OK ESC 01 01 2019 16 37 Figure 6 3 Set Time Press the UP DOWN keys to set time and data Press the ENTER key to move from one digit to the next from left to right Press the ESC key to save t...

Page 23: ...7 Daily Records The screen shows history of changing settings Only for maintance personel 6 6 3 Version The screen shows the model version of the inverter And the screen will show the software ver by...

Page 24: ...V 415 1S V 415 0 16S 207 V 304 2S V 207 0 16S 60 5Hz F 62Hz 2S F 2Hz 6 0 16S 57Hz F 59 5Hz 2S 57Hz F 0 16S 600V Rated L L 6 7 Advanced Settings Technicians Only NOTE To access to this area is for full...

Page 25: ...the previous menu 6 7 7 Special Settings This function is applicable by maintenance personnel only wrong operation will prevent the inverter from reaching maximum power 6 7 2 Grid ON OFF Grid ON Grid...

Page 26: ...346 415V Default 381V Figure 6 22 Volt VAR Voltage1 303V Voltage2 340V 1 NULL Description Inverter is not under any working mode 6 Normal operation 6 Normal operation 6 7 8 STD Mode Settings 1 Working...

Page 27: ...Fixed PF Description Inverter will output power with fixed power factor Setting Range 0 8 to 0 8 Default value is PF 1 5 Reac power Not Required Description Inverter will generate reactive power base...

Page 28: ...nge 0 8 to 0 8 Default value is PF 1 6 Normal operation 6 Normal operation 6 7 8 1 2 With Rule21 Standard selected NOTE The other three working mode P1 V Watt P1 V Var and P1 V P V Q are NOT applicabl...

Page 29: ...check the Volt watt and Volt var priority simply enter the working modes V Q V P indicates Volt Var First V P V Q indicates Volt Watt First 6 Normal operation 6 Normal operation 5 Reac power Not Requ...

Page 30: ...scope 61 64Hz the default setting 62Hz Press the Enter key to select the mode or frequency Press Up Down to set Press ESC to save the settings Figure 6 36 Freq Watt characteristic f min f nom f start...

Page 31: ...ximum power 6 7 8 5 Power Priority Figure 6 39 Power Priority This setting is used to set the priority between Active Power Control Watt and Reactive Power Control Var YES ENT NO ESC Select Var First...

Page 32: ...not change this setting unless specifically instructed to This function is used to calibrate inverter output energy and voltage It will not impact the energy count for inverter with RGM Two sections...

Page 33: ...ween PV and ground No need any control or settings The Anti PID module repairs the PID effect of the PV model at night When operating the inverter LCD screen displays PID repairing information and the...

Page 34: ...age displayed on the screen and the status of the screen status indicator lights Other readings obtained from the Information sub menu refer to Section 6 4 will also be helpful 5 PV array configuratio...

Page 35: ...Test DC switch OFF Check PV connections Check polarity Check voltage 860V Test DC Switch ON Check voltage 860V If DC voltage is 0 replace inverter Initializing Inverter stuck in this mode Inverter is...

Page 36: ...itch ON Test AC line for THD Multiple inverters turn one off Impedance matching adjustment or box Internal damage Wire came loose in shipping INI PRO Initialization Protection Master and Slave DSP hav...

Page 37: ...Ue 1500V DC In 315A Icu 20KA Type II In 20KA Imax 40KA Up 5 0KV Uc 1500V LM PVSZ CV G20 Manufactured by LONGMAX Monitor Bus voltage current of per string power status of SPD output DC MCCB status on...

Page 38: ...ompleted Record V AC in Notes 10 Grounding cable Good Poor INSTALLATION Check inverter condition after unpacking Install inverter mounting bracket according to installation instructions in user manual...

Page 39: ...cable to the communication port 1 Switch the grid supply main Switch AC ON rst 2 Switch the DC switch ON If the voltages of PV arrays are higher than start up voltage the inverter will turn on The re...

Page 40: ...eted Record address in Notes 7 Machine version For maintenance and reference please record the irmware revisions if applicable Completed Record with serial numbers 8 Operating parameter Record operati...

Page 41: ...ting tilt Output power Input DC voltage Insulation limit K PV start up voltage Grid V Max V Min Frequency Max Min Reactive compensation PF Coniguration MPPT Individual MPPT Parallel Monitoring RS485 E...

Page 42: ...to inverter site selection and installation 3 PHASE STRING INVERTERS KTL SERIES CSIF ST 016 A 0 INSTALLER S NAME INSTALLER S SIGNATURE COMPANY DATE Inverter serial numbers 1 2 3 4 5 6 7 8 9 10 11 12 1...

Reviews: