29
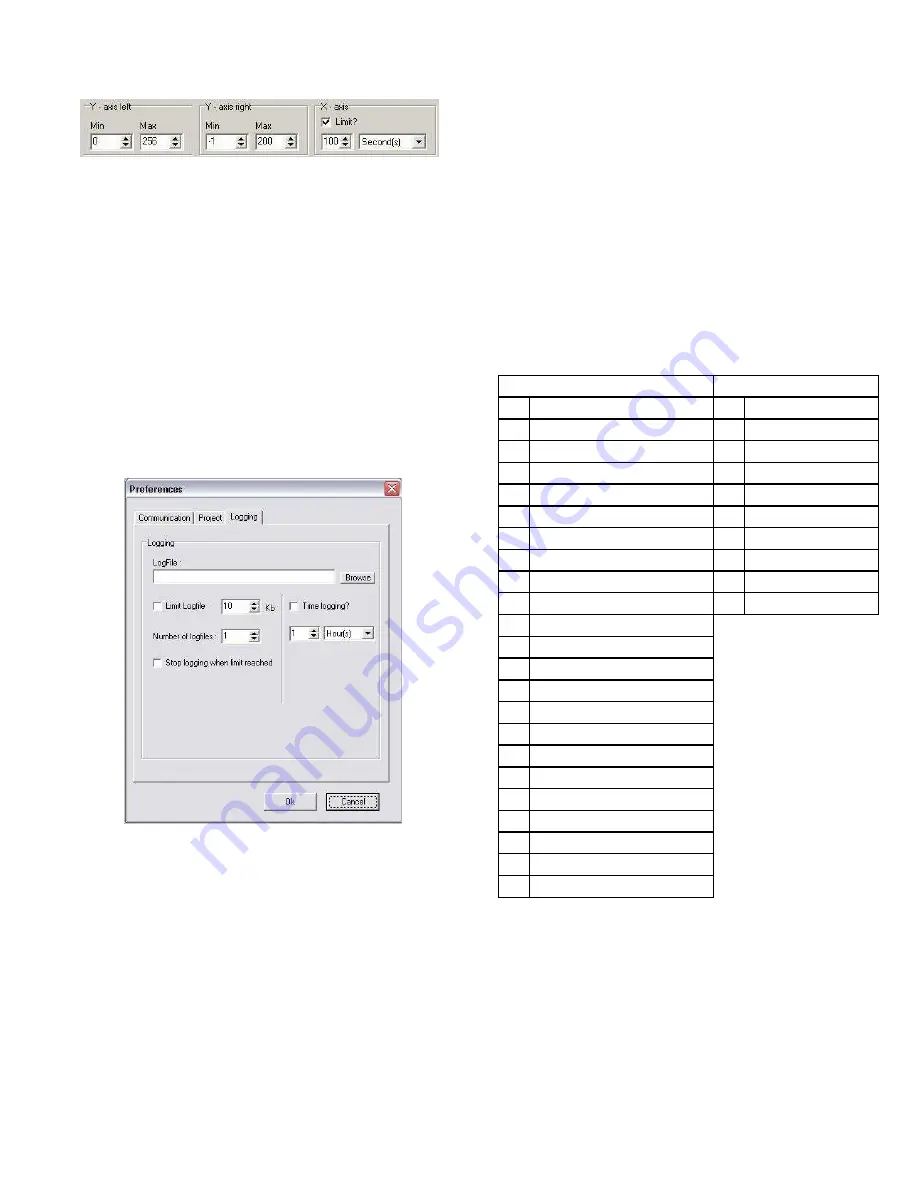
Figure 45: Adjust Viewing Area
To record the data that is shown on screen, go to the
Toolbar and click on Logging > Start Logging. A window will
pop up on screen asking for a file name for the log file to be
captured. DO NOT change the file type, as LabVision must
record the log file as .Csv. As soon as file name is confirmed
by clicking on ‘Open’, LabVision begins capturing the data
immediately.
Also notice that the status bar has changed from blue to red.
This demonstrates that LabVision is recording to the log file
specified. The amount of data collected can be limited to a
certain size inside LabVision. When a maximum memory
limit is set, this results in over-writing previously written data
in the same log. Therefore it captures the most recent
amount of data. To prevent this from occurring this feature
can be turned off by clicking on Options > Options > Logging
tab and uncheck the parameter ‘Limit Logfile’. With this
feature disabled the log file will be dependent on time as
opposed to memory size.
Figure 46: Unlimited Log File Size
When logging is complete click on Logging > Stop Logging.
Notice that the status bar has changed from red to blue. This
informs that Logging is complete.
To view a log file, Camus recommends using Microsoft®
Excel.
8.6.1
Procedure for Viewing Log Files in Microsoft®
Excel
1) Open Microsoft® Excel
2) Use a new spreadsheet, if Microsoft® Excel fails to
load a new spreadsheet. Click on File > New..
3) Data > Import External Data > Import Data..
4) A window appears titled ‘Select Data Source’
5) Identify the log file that was created and double-
click it
6) A new window will pop up titled ‘Text Import
Wizard’. Select Delimited. Click Next.
7) Place a checkmark beside ‘Tab’ and ‘Semi-Colon’
from the checkboxes provided. Click Next.
8) In the ‘Column data format’ section of the window,
ensure that ‘General’ is selected. Click Finish.
9) An ‘Import Data’ window will appear and check to
see that ‘Existing Worksheet’ is selected and the
text box reads: ‘=Sheet1!$A$1’ or ‘=$A$1’. This
allows the data to start to importing the data at cell
‘A1’ of the spreadsheet.
10) Click OK.
11) The log file will appear on the spreadsheet.
8.6.2
Analysis of Microsoft® Excel Log File
The log file parameters are divided into columns with a
reference to the time of data collection on each row. The
Status and State parameters are identified by numbers and
these can be translated into a description, listed below.
Table 25: Description of State and Status Parameters
State
Status
#
Description
#
Description
0
RESET_0
0 STANDBY
1
RESET_1
10 ALARM
2
STANDBY_0
14 BLOCK
3
SAFETY_ON
15 FROST_PROTECT
4
SAFETY_OFF
16 CH
5
PRE_PURGE
17 RESET_STATE
6
PRE_PURGE_1
18 STORAGE
7
IGNIT_0
19 TAP
8
IGNIT_1
20 PRE_HEAT
9
BURN_0
10 POST_PURGE_0
11 POST_PURGE_1
12 PUMP_CH_0
13 PUMP_CH_1
14 PUMP_HW_0
15 PUMP_HW_1
16 ALARM_1
17 ERROR_CHECK
18 BURNER_BOOT
19 CLEAR_E2PROM_ERROR
20 STORE_BLOCK_ERROR
21 WAIT_A_SECOND
Summary of Contents for DMC 753
Page 20: ...16 ...
Page 63: ...59 PART 14 EXPLODED VIEW PARTS LIST DYNAMAX WALL HUNG ...
Page 64: ...60 DYNAMAX FLOOR MOUNT ...
Page 71: ...67 PART 15 ELECTRICAL DIAGRAMS 15 1 DM 80 250 INTERNAL WIRING DIAGRAM WALL HUNG MODELS ...
Page 72: ...68 15 2 DM 210 750 INTERNAL WIRING DIAGRAM FLOOR MOUNT MODELS ...


