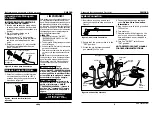
3. Conecte la manguera de alta presión
y el conjunto de pistola en la unidad.
4. Conecte la manguera de jardín según
se explica en Instrucciones de conex-
ión de la manguera de jardín.
5. Enchufe el cordón de corriente en un
tomacorrientes de 120 V con conex-
ión a tierra.
6. Abra la llave del agua.
7. Presione el gatillo y manténgalo pre-
sionado por 1 minuto para liberar la
presión y remover el aire atrapado en
el sistema.
8. Mueva el interruptor "ON/OFF"
(“ENCENDIDO/APAGADO”) a la posi-
ción "ON" ("ENCENDIDO").
NOTA: PARA OBTENER INSTRUC-
CIONES DE OPERACIÓN, CONSULTE
EL MANUAL DEL PRODUCTO.
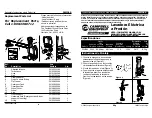
1. Inserte la lanza en la pistola y gírela
en el sentido de las agujas del reloj
hasta que llegue a su tope, como se
muestra en la Figura 7.
2. Verifique que el interruptor de
energía esté en la posición "OFF"
("APAGADO").
11 Sp
13 mm
Salida
Entrada
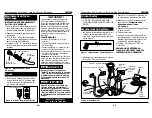
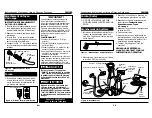
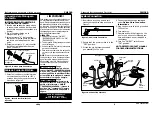
Figura 8 - Leyendas para la conexión
System Connection
Figura 7 - Conexión de la pistola y lanza
Tanque de
detergente
Interruptor
"On/Off"
(Encendido/
Apagado)
Pistola
Enchufe GFCI
Manguera de
alta presión
Manguera
de jardín
Orificio para llenar detergente
Cable de Corriente Eléctrica
Continuación
Instrucciones de montaje y lista de piezas
PW1380
2. SE DEBE HACER ESTO CADA VEZ QUE LA
UNIDAD SE ENCHUFE EN UN TOMACOR-
RIENTE.
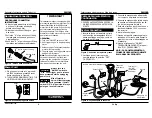
Garden Hose Connection
GARDEN HOSE CONNECTION
INSTRUCTIONS
1. Attach nipple adapter to inlet fitting
on the unit (this may already be
attached to the pump).
2. Attach quick connect fitting to gar-
den hose.
3. Pull side “A” of quick connect fitting
toward garden hose and push onto
nipple adapter.
4. Push side “A” of quick connect fitting
towards nipple adapter and release.
"A"
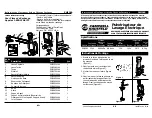
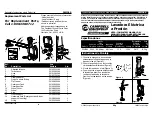
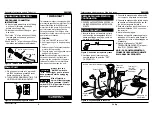
Figure 5 - Garden Hose Connection
Quick Connect Fitting
Garden Hose
Nipple
Adapter
! IMPORTANT !
This pressure washer is equipped with a
microswitch sensitive to water flow. This
Instant Start/Stop switch (ISS) senses
water flow in the pump. When the trig-
ger is released, water stops flowing
through the pump. The ISS then auto-
matically turns the motor off to protect
pump from overheating.
OPERATION
1. Turn the “ON/OFF” switch to “ON”.
2. Pull trigger on gun to begin spraying
water.
3. Release trigger. The pressure washer
motor will stop running.
4. To spray again, pull trigger and motor
and pump will restart.
Note
: Occasionally the motor may run
for a short time to bring fresh, cool
water into the pump even if trigger is
released. This is part of normal opera-
tion and will not damage the unit.
Always turn the
“ON/OFF” switch to
“OFF” then trigger gun to release
hose pressure before unplugging
power cord.
Risk of Injection.
Unit will start spraying
when trigger is squeezed if on/off
switch is in “ON” position. Always
point gun in safe direction.
!
WARNING
!
CAUTION
Call 1-800-330-0712
for Technical Service
Assembly Instructions and Parts List
PW1380
2
www.chpower.com
Power Cord
1. Plug the power cord into a ground-
ed 120V outlet and press the reset
button as shown in figure 6.
2. THIS MUST BE DONE EACH TIME THE
UNIT IS PLUGGED IN AN OUTLET.
Reset
Figure 6 - Grounded plug/reset button


