background image

To start

Pause

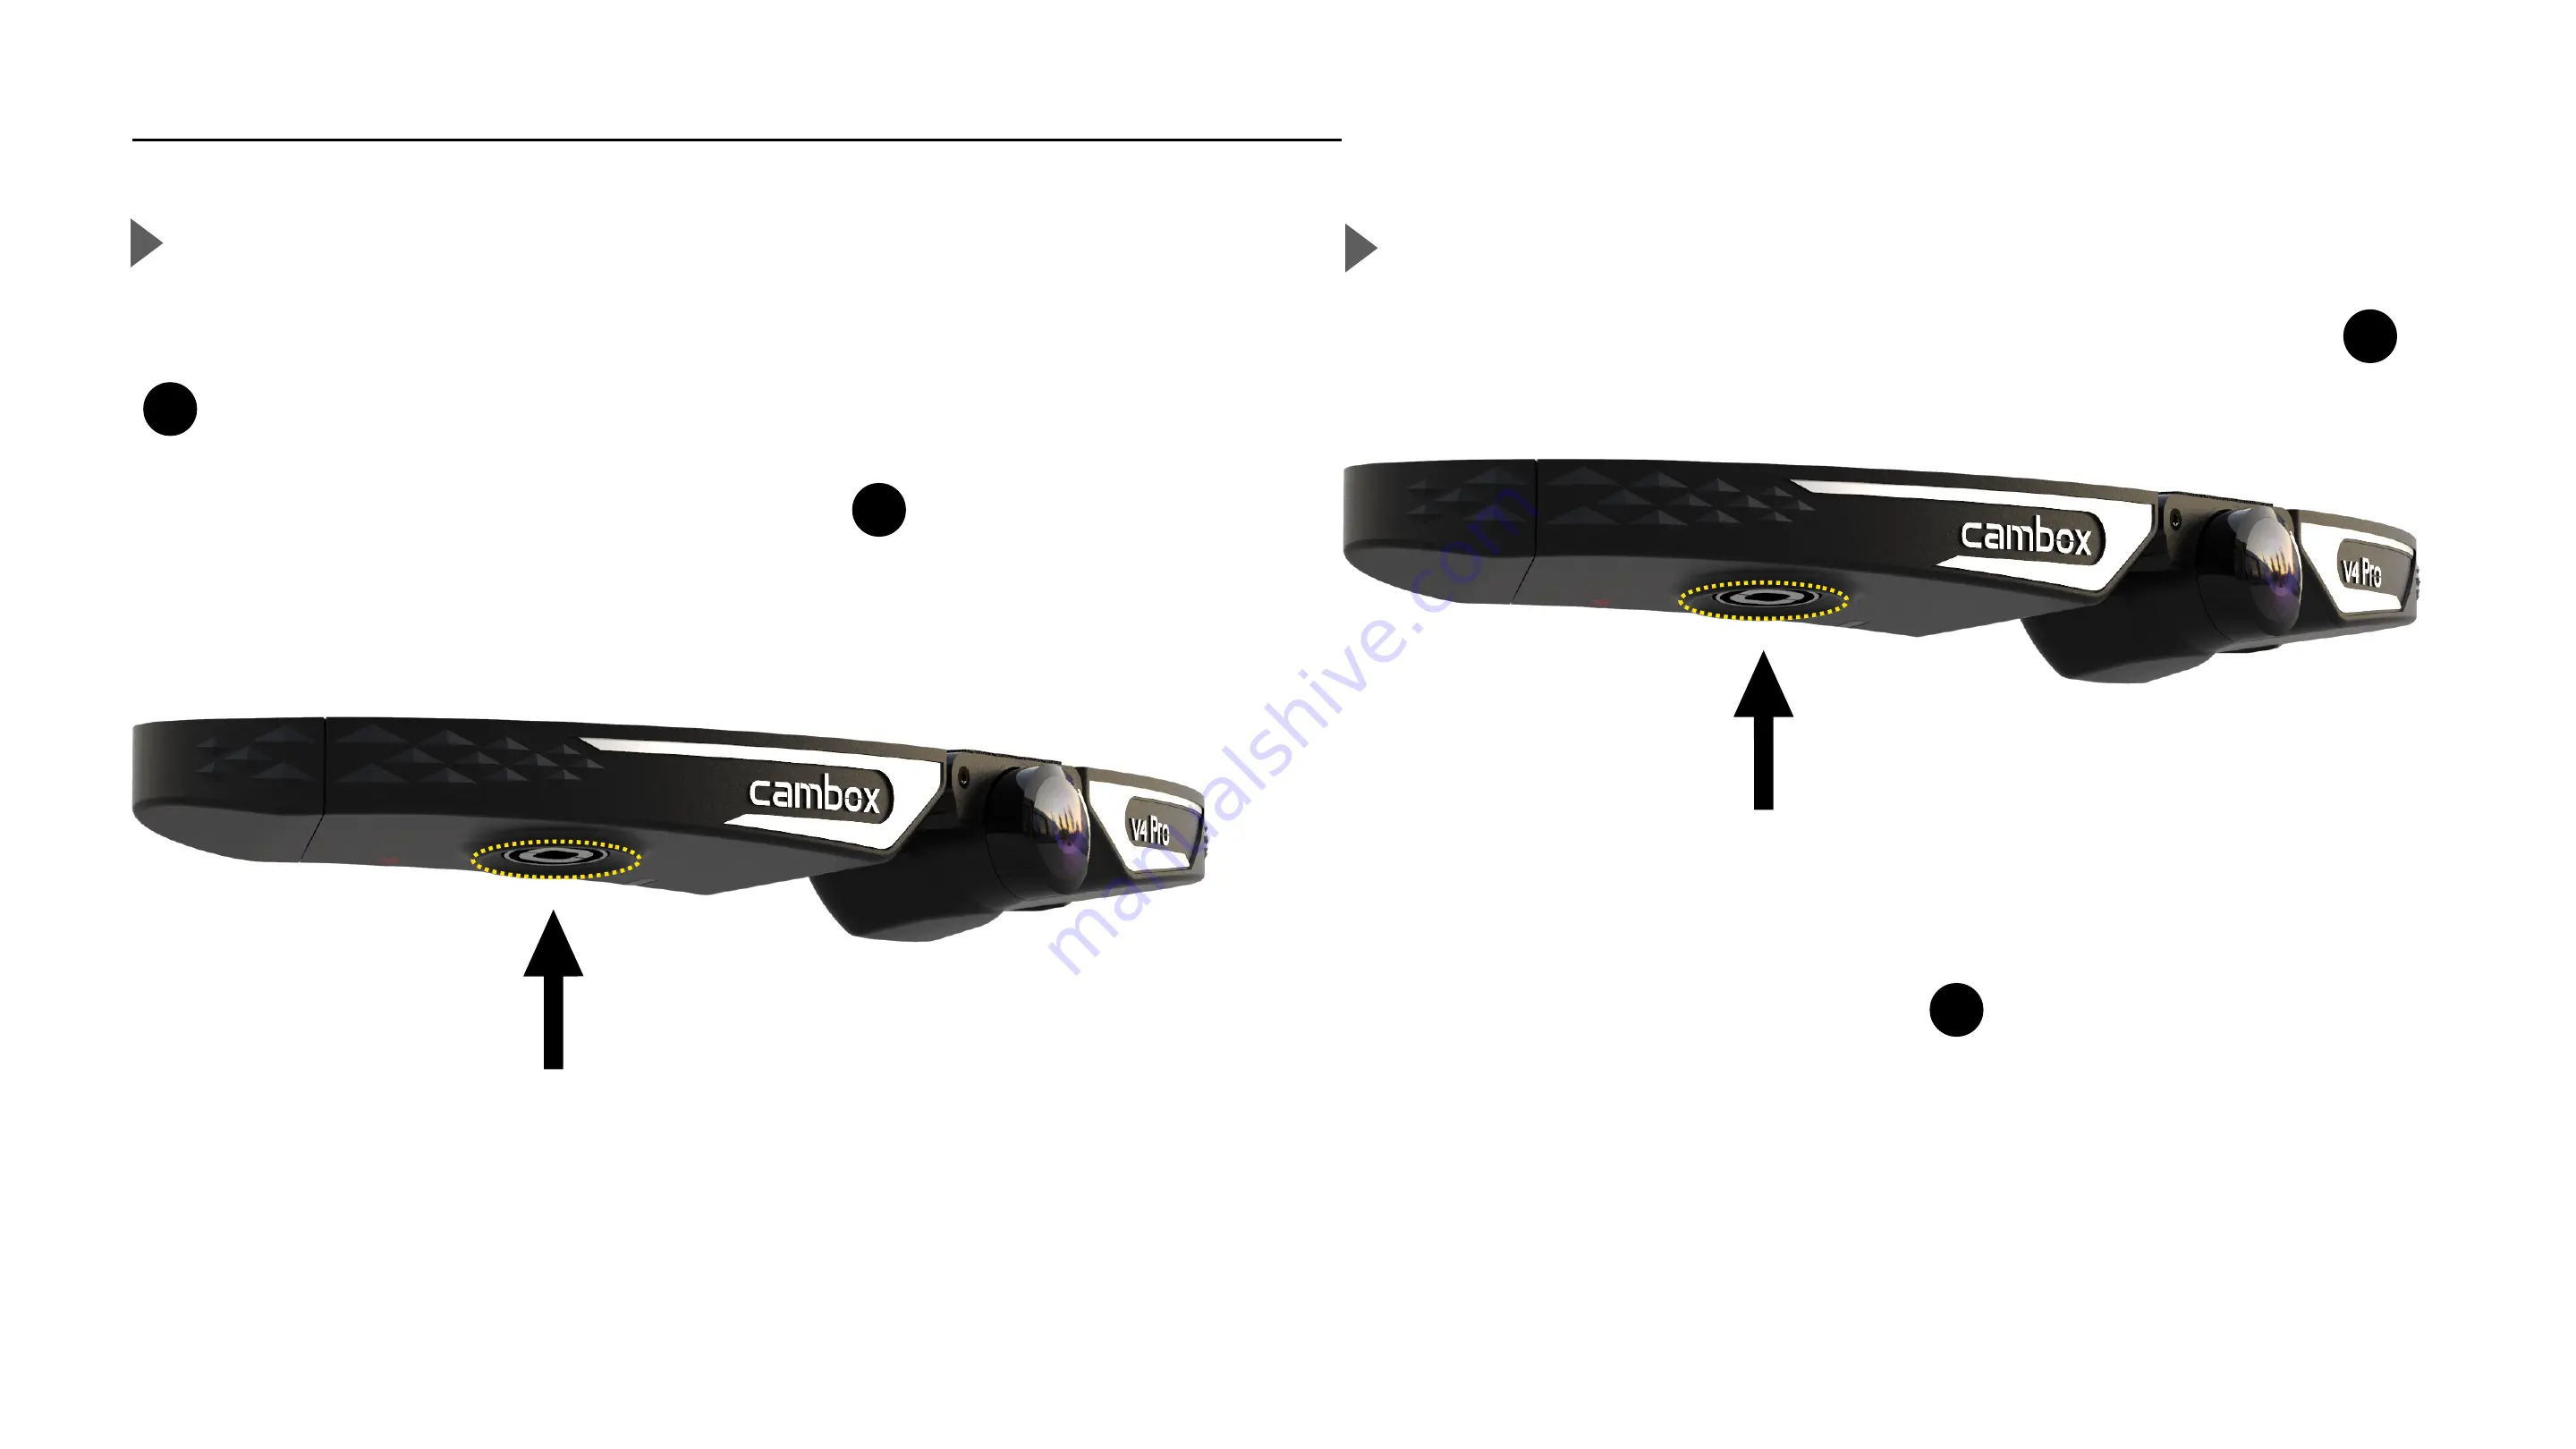
To stop recording, perform a quick press on the ON/OFF power button    
        of your camera to switch to pause mode. 

The camera emits a short vibration and the LED         changes from  
blinking green to solid red, confirming the camera has stopped recording. 
The camera is now on pause.

Perform a quick press

When on pause mode, perform a quick press on the ON/OFF button     
to start a new video. 

Recording

Perform a quick press

The camera vibrates twice and the LED         changes from solid red to 
blinking green, confirming that recording has resumed. 

4

2

2

4

8

Summary of Contents for V4

Page 1: ...V4 V4 V4 Pro User manual 26 04 2022 1 ...

Page 2: ...egistered brands and patents The CAMBOX brand and all its derivatives are registered and protected brands with international copyright laws The Cambox camera concept is protected with several international issued patents France FR 3005714 USA patent US 2016 0119512 AUS patent AU 2014267077 European Union EP 2997294 For more information about registered brands and patents you can email us at bonjou...

Page 3: ...ambox To start Light indicators summary Fasten your Cambox Remove your Cambox Set the viewing angle Transfer your fi les Cambox Smartphone App Settings list Trouble shooting Instructions to respect 1 2 5 6 7 8 9 10 18 20 22 3 ...

Page 4: ... 5 Camera status LED Battery status LED WiFi indicator LED WiFi button 10 9 9 10 USB C port battery charge fi les transfer Micro SD card port 1 8 Protective cap 7 1 6 Lens protective cap 2 4 3 5 6 8 7 Pin to realize the reset of the camera 4 ...

Page 5: ... condition for use The ambient temperature as well as the camera temperature must be above 10 C IMPORTANT If these conditions are not met the battery could lose autonomy The battery capacity is 1100 mAh In order to keep the camera in working order fully charge the battery every 3 months or so that it remains in optimal conditions of use 5 Ideal conditions for charging The ambient temperature as we...

Page 6: ...er Battery status When the camera battery level is too low the battery status LED changes LOW the LED blinks red CRITICAL the LED turns solid red When the Cambox reaches critical battery level the video recording and the Wi fi connection are automatically turned off CAUTION If your Cambox turns off automatically a few seconds after turning it on this is due to either a low battery a full or missin...

Page 7: ...ecord mode is activated the camera automatically starts recording when you turn it on When the Cambox is recording the camera status LED is blinking green and you hear 2 vibrations 4 4 2 Before using your Cambox be sure to check the following points 1 Is the battery fully charged 2 Is there enough free space on your micro SD card 7 ...

Page 8: ...es from blinking green to solid red con fi rming the camera has stopped recording The camera is now on pause Perform a quick press When on pause mode perform a quick press on the ON OFF button to start a new video Recording Perform a quick press The camera vibrates twice and the LED changes from solid red to blinking green con fi rming that recording has resumed 4 2 2 4 8 ...

Page 9: ...tion Solid white Camera is starting Blinking green Recording Solid red Pause Blinking purple Full or missing SD card Blinking blue Preview mode activated Wi fi LED status Description Blinking orange Wi fi connection pending Solid orange Connected to wi f 3 4 5 5 4 3 You can via the Cambox App change the camera LED brightness in the settings Ergonomics 9 ...

Page 10: ... it is recommended to place the fastener under your visor in order to memorize its future position Remove meticulously the paper protection of the velcro in such a way that your fi ngers do not touch the adhesive part Place the velcro fastener under the visor and press strongly on all the surface to ensure a good adhesion Present the Cambox horizontally in front of its velcro support Apply a press...

Page 11: ... one Once the fi rst wing is detached from its velcro support accompany the unfastening process of the Cambox by applying the same vertical and circular effort Remove the central part and apply the vertical and circular effort towards the extremity of the Cambox to end the removing operation Grab the strap on the edge of the Cambox wing and pull the strap upward while doing a circular movement tow...

Page 12: ...tal angle of 15 In order to accurately de fi ned the desired viewing angle download and install the Cambox App on your smartphone to check in real time your viewing angle thanks to the preview mode During the viewing angle set up be careful not to touch the camera lens with your fi nger as this could result in blurred or degraded images Before every use it is recommended to clean the camera lens u...

Page 13: ...SD adapter Via USB cable Plug the USB cord between your Cambox and your computer it will automatically detect a new device Via the SD card Activate the Cambox Wi fi by pressing the button by pressing this button the wi fi LED turns on and start blinking indicating it is ready to be paired Search on your device the list of available Wifi networks and connect to the network named by default Cambox V...

Page 14: ...r camera settings Please note that some features are not yet enabled in the app and will be added with the next released updates This is why we are inviting you to install the future updates as soon as these are available in order to always bene fi t from the latest features and fi rmware evolutions Cambox App 14 ...

Page 15: ...your Cambox Push brie fl y the camera Wi fi button The Wi fi LED will start blinking orange Push for 1 second the On O ff button of your camera Once the Power LED starts blinking green press brie fl y the On O ff button again to pause the camera The Power LED turns solid red 15 ...

Page 16: ...ork On your smartphone open your Wi fi settings Select the Cambox v4xx xxx network 3 Enter password The default password is 12345678 4 Connection successful Your camera is now paired to your smartphone Connect your Cambox to your smartphone 12345678 16 ...

Page 17: ...Open the Cambox App then select the Let s go button to start the experience You are now on the Cambox App home screen Activate preview mode Change settings Start Stop your record First steps with the Cambox App Access video gallery 17 ...

Page 18: ...rn solid blue and then blinking blue to indicate that video stream is on To disable this mode slide this same button to the left The Cambox power LED will turn solid red to indicate that the camera is now ready to start a new video recording Preview mode activation Once the preview mode enabled it is not possible to record a video at the same time Some modes settings and options presented are not ...

Page 19: ... 1080 2160 1280 1920 3840 This mode is the most powerful but also the most battery consuming mode To fully enjoy this mode you need to possess modern equipments TV laptop internet compatible with this mode This mode is the most frequently used nowadays It o ff ers a great compromise between video quality and fi le size perfectly adapted to TV laptop and social media This mode allows you to record ...

Page 20: ... thumbnails with information on fi le name date recording time and size On this screen you can playback the video via streaming without download in this case video will not be transferred to your smartphone To download or delete it select one of the 2 indicated button under the video You visualize a progress bar of your video download once at 100 the save share button will appear 20 ...

Page 21: ...V4 ISO Saturation Contrasts Ergonomics Enable the auto recording mode manage the camera LED brightness Admin Access the admin interface of your Cambox to know its version change its wi fi name or password restore to factory settings etc Settings of your Cambox The Pro mode features are only available on the Cambox V4 Pro models 21 ...

Page 22: ...Detailed video 22 ...

Page 23: ...nable electronic video stabilization Yes No Audio Enable microphones to capture audio Yes No Exposure De fi ne exposure value 0 1 2 3 4 5 6 7 8 9 10 11 12 13 14 15 16 17 18 Flip Flip image horizontally Yes No Mirror Reverse image vertically Yes No LED Mode Reduce the camera LED brightness Yes No 5 4 3 The sign indicate the factory default values of the Cambox Application version Version number of ...

Page 24: ... fi ne edge strength 0 1 2 3 4 5 6 7 8 9 10 11 12 13 14 Contrast Contrast management De fi ne contrast intensity 0 1 2 3 4 5 6 7 8 9 10 Saturation Colors intensity De fi ne color intensity 0 black white 18 warm colors 0 1 2 3 4 5 6 7 8 9 10 11 12 13 14 15 16 17 18 The advanced settings of the Pro Mode are only available with the Cambox V4 Pro models The sign indicate the factory default values of ...

Page 25: ...mera is heating During charging and recording cycles in 4K high de fi nition the camera can heat due to the numerous requests to the processor and components A thermal safety can turn on due to high temperature with a yellow LED 4 The LED 3 is blinking red The Cambox has reach a low battery level try to plug an external battery to extend the record duration The LED 3 is solid red The Cambox has re...

Page 26: ...sure your Cambox is not responding to any operation 2 Take the metal pin supplied with your Cambox 3 Turn your Cambox with the Velcro part facing up identify the reset hole 4 Insert the pin in the reset hole 5 Push gently until you feel a click in the integrated reset hole 6 Your Cambox has been reset you can now turn it back on 1 26 ...

Page 27: ... hurting someone Make sure not to drill bolt or generally speaking to transform your helmet this in order to ensure your safety level Respect all the applicable laws when using your Cambox its fasteners and accessories Recycling Please contact the competent local authority for recycling to have more information about this product Do not dispose with household waste Battery Do not attempt to remove...

Reviews: