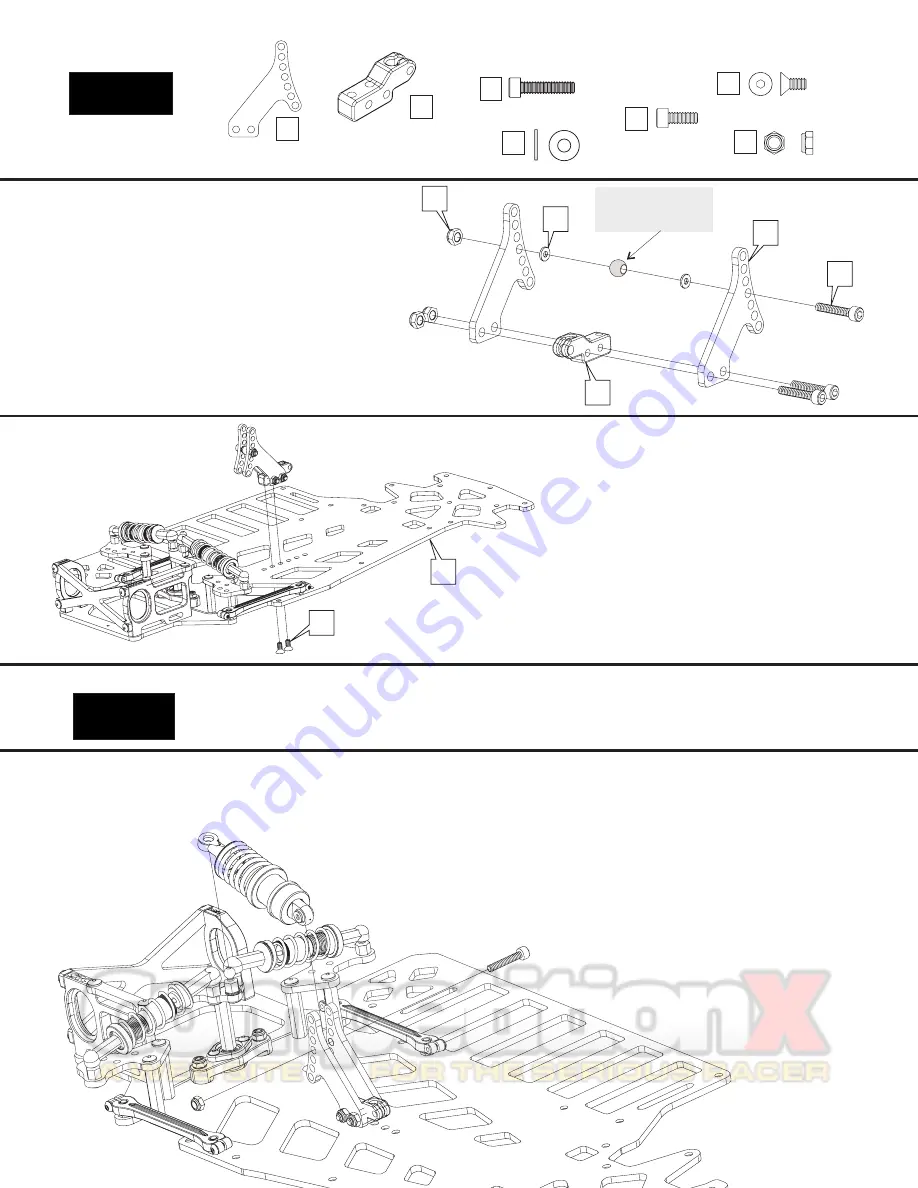
Bag 6
Graphite Shock
Mount Plates (x2)
Center Shock Mount
25
26
Aluminum Shock /
Antenna Mount
4-40 x 1/4”
Red Alum FH
23
Red Locknut
9
4-40 x 5/8”
Steel Cap Head
27
Brass Washer
28
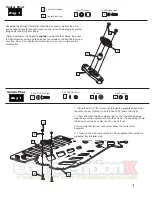
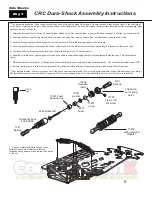
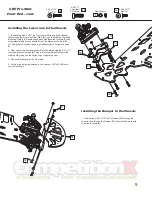
1 - Assemble shock mount as shown by inserting two
steel 4-40 x 5/8” cap head screws [27] through a graphite
plate [25], then through the aluminum mount [26], and
through the other graphite plate. Secure the screws and
tighten the assembly with two red locknuts [9].
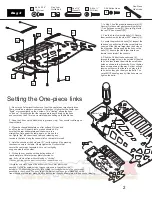
2 -
For now, slide the
third screw through one of the shock mount holes, slide
the washers over the screw, and lightly tighten with the
third locknut, just so we don’t lose the parts. Don’t
squeeze the graphite plates together.
The ball shown in the picture is a part of the center
shock, and we will get to this in bag 7.
6
4-40 x 1/4”
Steel Cap Head
29
25
28
27
26
9
23
6
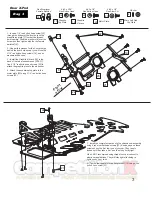
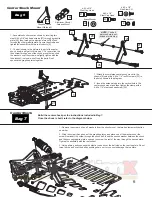
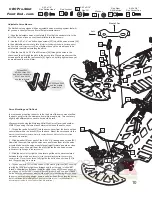
1 - Attach the completed center shock mount to the
chassis [6] using two 4-40 x 1/4” red FH screws [23] in
the holes shown in the diagram.
2 - Insert the antenna tube into the vertical hole in the
center shock mount and then tighten the clamp with a
4-40 x 1/4” steel cap head screw [29].
NOTE
- The ball
pictured here is not
included in this step.
Bag 7
Center Shock
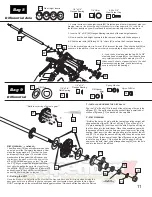
Build the center shock per the instructions included in Bag 7.
Once the shock is built, refer to the diagram below.
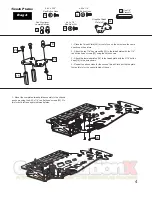
1 - Remove the screw, nut, and 2 washers from the shock mount, that we had temporarily bolted
on earlier.
2 - Slide the screw through one of the graphite plates, and place one of the washers over the
screw. Now insert the screw through the shock ball. Insert the second washer between the shock
and the second graphite plate, and push the screw the rest of the way through the second plate.
Tighten the assembly with the red locknut.
3 - Using pliers, gently squeeze the plastic rod end over the ball stud on the rear top plate. Do not
force the rod end over the ball by pushing down on it or you could damage the top plate.


