background image

2

 1. General

Dear customer,

Congratulations on purchasing a BURY hands-free car kit. You have chosen a high quality product that 
is extremely easy to use. 

Please read the operating manual carefully so that you can fully enjoy your BURY hands-free car kit. If 
you have any further questions concerning installation or operation of your car kit, please contact your 
dealer. He will be happy to give you reliable advice.

You can also contact our hotline. Our phone and fax numbers are listed in the chapter „Service“ at the 
end of the operating instructions.

Have a good trip!

 2. Security guidelines

Installation - who should do it
The installation of this system can be carried out by yourself but please 
observe the installation requirements of the automotive manufacturer 
(VAS 1978). During the installation, park the car at a place where the 
road traffic is not impaired. We recommend to let a specialised work-
shop perform the installation.

Power supply
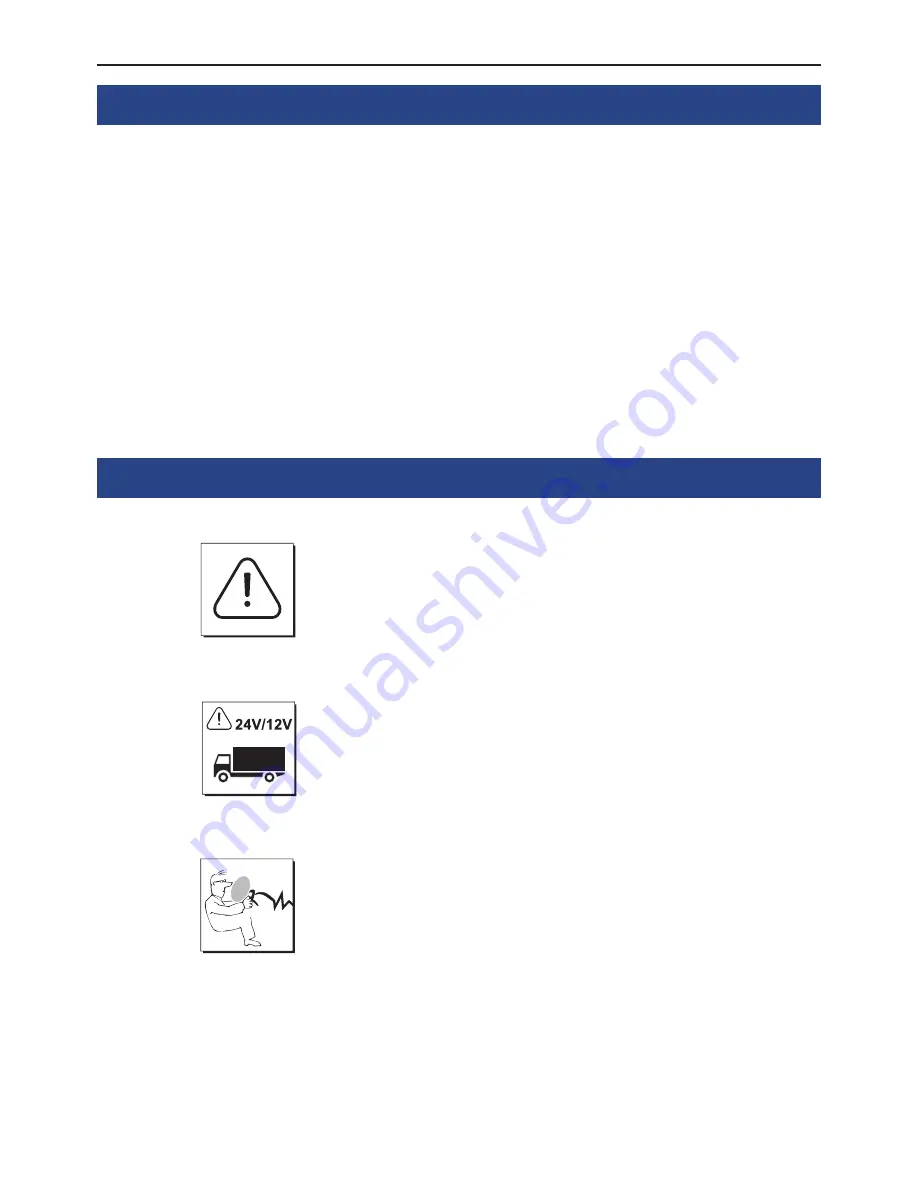
This system has been designed for the use in vehicles with an on-board 
supply system of 12 volts (passenger car). If you intend to install the 
device in a vehicle with an on-board supply system of 24 volts (lorry), 
please use a voltage converter. If you have queries regarding this sub-
ject, please contact our hotline.

Position, volume
Install the components of the device in the vehicle so that your field of 
vision is not impaired and the components are not mounted in the im-
pact  zone  of  the  passenger  compartment  or  in  the  airbag  inflation 
zones. The removal of coverings (with and without airbags) or compo-
nents of the dashboard requires – in some cases – special tools and 
special knowledge.

Introductory information

Summary of Contents for CC 9068

Page 1: ...ines 12 6 Using the hands free car kit for the first time 12 7 Handling possibilities 13 8 Voice control 13 9 Handling via Touch screen 14 10 Establishing a Bluetooth connection 15 11 Menu navigation...

Page 2: ...ents of the automotive manufacturer VAS 1978 During the installation park the car at a place where the road traffic is not impaired We recommend to let a specialised work shop perform the installation...

Page 3: ...r hotline Improper repair efforts can be dangerous for you Therefore only skilled personnel may perform inspections Important The driver is ultimately responsible for the safe operation X X and contro...

Page 4: ...4 Installation of the hands free car kit 3 Scope of supply 9 8 10...

Page 5: ...er screws for the holder and rubber cover adhesive tape cleaning cloth 3 Microphone 4 ISO cable harness 5 Extension cord 6 AUX IN cable 7 Micro USB charging cable 8 Quick user guide 9 Mobile phone and...

Page 6: ...uited for placing through small openings in the dashboard area This facilitates a practically invisible installation of the cable Take the length of the cable into account and make sure that it is of...

Page 7: ...7 Example of installation 1 Example of installation 2 1 2 3 4 5 6 1 2 3 4 5 6...

Page 8: ...of the insulation can be caused by friction rubbing Step 4 Install the electronics box at a convenient place in the vehicle This can e g be behind the radio in the glove box or in the centre console P...

Page 9: ...Connection for AUX IN cable for inputting of music 5 DISPLAY Connection for display if present 6 REMOTE CONTROL Connection for remote control with 3 buttons display if present 1 CHARGING PORT An exte...

Page 10: ...ront and rear Different installation options can be selected with the hands free car kit for that purpose Toggling between the installation options 1 and 2 is done in the menu You must open the option...

Page 11: ...is function is also supported by the radio The mute signal is then fed to the radio via the yellow cable of the ISO cable harness The cable is labelled with mute and must be connected to one of the th...

Page 12: ...connection to the car radio connection to the car radio 1 Mute 3 2 Mute 2 3 Mute 1 4 Ignition 5 Antenna 6 Illumination 7 Power 8 Ground 1 C RR 2 C RF 3 C LF 4 C LR 5 R LR 6 R LF 7 R RF 8 R RR 9 LINE R...

Page 13: ...jack This ensures that nei ther of the jacks is able to loosen as a result of vibrations 4 LINE IN To connect external music players 5 DISPLAY Multifunktionsdisplay Please plug the 5 pole plug of the...

Page 14: ...u can change the menu language again by selecting the More touch screen field then selecting the Settings in the Head menu and then changing the Language in the Device menu item Afterwards you will re...

Page 15: ...tically The HFCK signals that it is ready to receive a command by emitting an acoustic signal If you aren t sure of the right command to use then simply state HELP WHAT CAN I SAY The HFCK will then re...

Page 16: ...e HFCK can also be called via the touchscreen Every available command is pre sented as text sometimes with supporting graphics on the display The operation can be carried out via possibly existing arr...

Page 17: ...hown and the data from the telephone book SIM card and the address book storage of the telephone are transmitted to the HFCK Depending on the amount of stored data this can take a few seconds If the s...

Page 18: ...ed if you move too far away from the vehicle while taking your mobile phone with you and thus leave the reception ra dius of the HFCK Please note that the capacity of your mobile phone s storage batte...

Page 19: ...nd PLAYBACK Here are some more commands The complete entry will be deleted or the previous entry The last digit is deleted A telephone connection is being established The last number block will be del...

Page 20: ...characters for the fast search Via the display you get the information highlighting which additional letters the HFCK finds in your telephone book The rest is correspondingly greyed out Via the SELECT...

Page 21: ...are listed within your contacts using the Number category You get a maximum of just one number from the SIM card however this is always designated with SIM and four numbers from the tele phone memory...

Page 22: ...ich of these numbers you want to call Note In order to make voice recognition easier for the HFCK X X please do not use voice commands for your voice commands voice tags which are also used by the HFC...

Page 23: ...nger return to the main menu straight away As the different mobile telephone manufacturers menu guidance sy stems differ the selection options designations can also differ Please read your mobile phon...

Page 24: ...ion message You can access any SMS messages which have arrived subsequent to connecting the HFCK with your telephone in the menus NEW TEXT MESSAGES The envelope symbol appears in the status bar of the...

Page 25: ...n in the next menu item Your own code must be at least four figures long with a maximum of eight being allowed Select a telephone from the list Here every telephone can be con nected disconnected dele...

Page 26: ...vate the advanced help then in certain menus you receive additional assistance during voice control operation about the com mands which you are able to use With other commands the HFCK will ask you if...

Page 27: ...begins with the voice feedback Certain mobile telephones offer the possibility of being able to install and operate a navigation solution On many mobile phones the sug gested directions are only tran...

Page 28: ...ne call is available also in the LINE OUT socket on the box Display This menu point makes it possible for you to adjust the display in a range of different ways In order to avoid the blinding effect e...

Page 29: ...e packages This service is available against payment You can find out about it via the BURY hot line The BURY distributors in the different sales areas are also able to offer this service Please conta...

Page 30: ...smartphone dur X X ing the update If you have changed certain settings but the HFCK doesn t work in the way in which you wanted it to then you can reset the HFCK to the set tings which were stored in...

Page 31: ...ing indicates the remaining recording time that is available The current recording time is also displayed in the same way The maximum possible length of the memos totals two minutes If the recording t...

Page 32: ...istened to before the HFCK is switched off then after it is switched on a message appears via a pop up stating that a voice memo which has not yet been listened to is available If the Audio Feedback i...

Page 33: ...ate the volume of the voice of your discussion partner through the minus or plus field By pressing down the yellow arrows you reach a sub menu Here you are able to select a Keypad with which you are a...

Page 34: ...llowing options 1 Using swap you can switch between your different callers 2 You can reject the active call 3 You can reject the held call 4 You can activate the private mode 5 You can activate the mu...

Page 35: ...can reject the active call the conference ends 2 You can activate the private mode 3 You can activate the mute 4 You can activate the keypad If you receive a further call during a conference you can...

Page 36: ...ase exercise your rights of purchase If subsequent to agreement with your contractual partner the product is to be sent directly to the manufacturer then please send it along with a detailed descripti...

Page 37: ...s the CE approval pursuant to the R TTE 1999 5 EC regulation e1 type approval pursuant to the 72 245 EEC 2006 28 EC regulation Electro magnetic compatibility in vehicles You can request a conformity d...

Reviews: