


- 6 -
SIM Card
Your SIM card is provided by your wireless carrier and is required to provide functionality
to your new Burnerphone. If your wireless retailer did not install your SIM, it can easily be
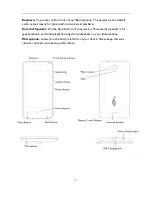
done in a few seconds. First, remove the battery cover by starting at the battery cover
release on the lower left of the device. Lift up. Remove the battery (if installed). Remove
the SIM card out of the plastic credit card size holder paying attention to not damage the
SIM or the nest. Slide your SIM in your device shiny side down with the cut corner in the
upper left. Replace your battery and battery cover door.
Start Up
After installing your SIM Card and charging the device battery, you are now ready to
power on your phone. Press and hold the power button until your new device vibrates.
You should see the Burnerphone logo on the display. When powering on for the first
time or after a Factory Reset, the Welcome Screen will be displayed. Please be patient
during the first start up as your device is configuring necessary files and settings for
operation. Device network registration times may take up to five minutes in certain
situations so please be patient. Click okay to complete initial setup.
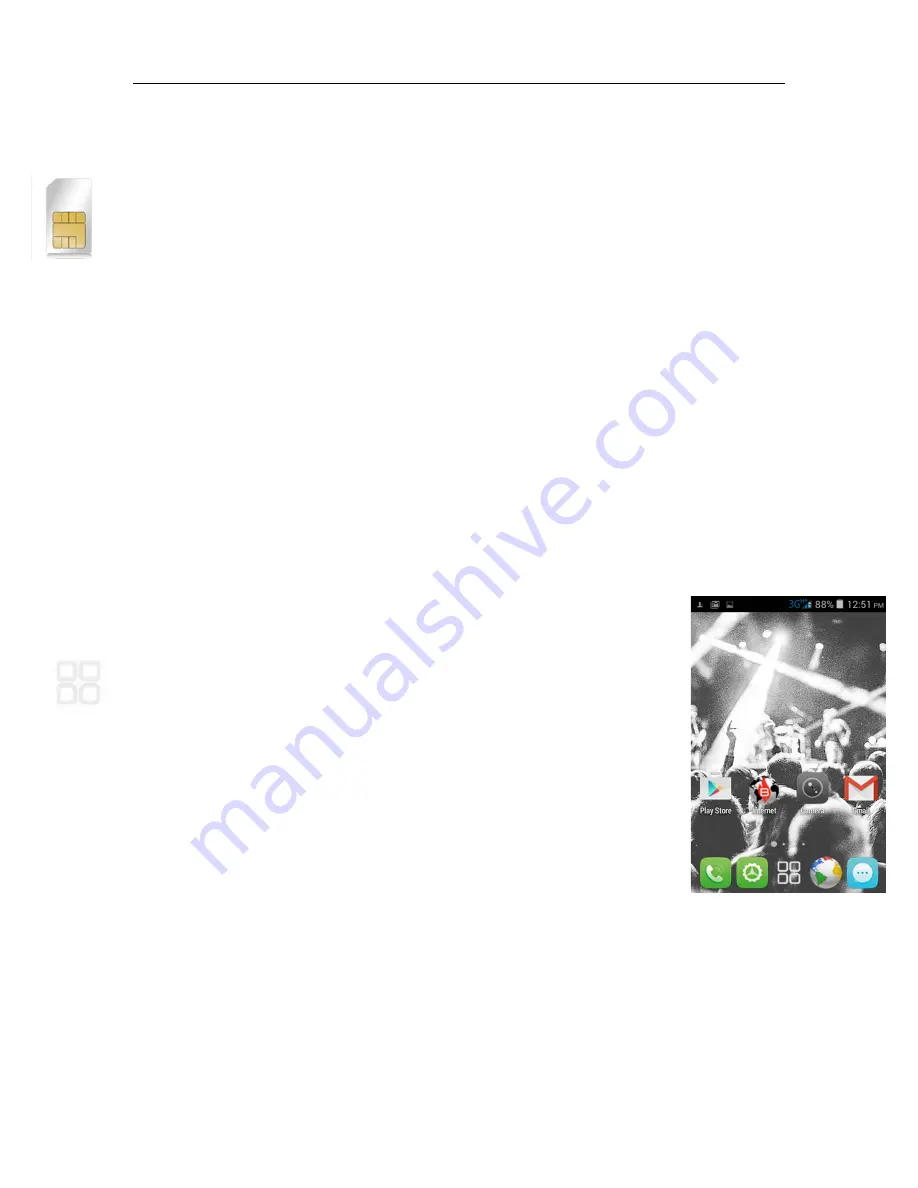
Home Screen
From the Home Screen, you can quickly access common features and
view notifications of missed calls, received messages, and connection
status.
Select an application icon to access its features and functionality. Press the
Home Screen symbol to return to your Home Screen at any time.
Keyboard: Entering Information
Regardless of which application you are using, you can enter information
using the built in on-screen Android keyboard.
Using the On-screen Keyboard:
When an application requires text or
numeric input, select the input box to display the on-screen keyboard. Select the keys on
the keyboard to enter the proper characters. Select the return key to complete your
input.


