


SecuTronic
English I
6
Menu Administrator / Time functions / Set date
Menu Administrator / Delay time
Menu Administrator / Time functions / Autom. ST/WT
• Switch on the lock using the
key.
• Then press
.
• The “
Main menu
“ appears.
• Scroll with the 1 or 2 key until the menu
item “
Administrator
“ is highlighted.
• Confirm with
.
• “
Main menu / Administrator
“ appears.
• Scroll with the 1 or 2 key until the menu
item “
Time functions
“ is highlighted.
• Confirm with
.
• “
Time functions
“ appears.
• Scroll with the 1 or 2 key until the “Date“
menu item is highlighted.
• Confirm with
.
• Enter the administrator code to acquire the
authorisation for programming.
• The date can be set via the keypad.
• Confirm with
.
• “
Data has been saved
!“ appears.
• Press any key.
The delay time sets up a required waiting time
before a function is performed and can consequent-
ly prevent quick opening in the event of a robbery.
After the delay time has elapsed, a valid and fully
authorised entry must be repeated in order to gain
access.
• Switch on the lock using the
key.
• The press
.
• The “
Main menu
“ appears.
• Scroll with the 1 or 2 key until the menu
item “
Administrator
“ is highlighted.
• Confirm with
.
• “
Administrator
“ appears.
• Scroll with the 1 or 2 key until the menu item
“
Time functions
“ is highlighted.
• Confirm with
.
• “
Time functions
“ appears.
• Scroll with the 1 or 2 key until the
• menu item “Delay time“ is highlighted.
• Confirm with
.
• Enter the administrator code to acquire the
authorisation for programming. Where a delay
time has already been set, it must first be run
through.
• The delay time (0-99 minutes) can be set
via the keyboard.
• Confirm with
.
• “
Data has been saved
!“ appears.
• Press any key.
Automatic update between Central European Sum-
mer/Winter Time.
• Switch on the lock using the
key.
• Then press
.
• The “
Main menu
“ appears.
• Scroll with the 1 or 2 key until the menu
item “
Administrator
“ is highlighted.
• Confirm with
.
• “
Administrator
“ appears.
• Scroll with the 1 or 2 key until the menu
item “
Time functions
“ is highlighted.
• Confirm with
.
• “
Time functions
“ appears.
• Scroll with the 1 or 2 key until the
• menu item “Autom. ST/WT“ is highlighted
• Confirm with
.
• Enter the administrator code to acquire the
authorisation for programming.
• The automatic time changeover can be
switched on or off via key 1 or 2.
• Confirm with
.
• “
Data has been saved!
“ appears.
• Press any key.
Menu Administrator / Programming
Menu Administrator / Programming / Firmware update
Menu Administrator / Programming / Reorganise
Menu Administrator / Programming / Database update
A firmware update installs the latest software
version. Reorganise sorts the database.
This function is not enabled at present.
• Please ensure that the batteries are full before
updating the firmware.
• Please copy the new firmware version to
a FAT-32 formatted microSD card and insert it
into the microSD card slot.
• Switch on the lock using the
key.
• The press
.
• The “
Main menu
“ appears.
• Scroll with the 1 or 2 key until the menu
item “
Administrator
“ is highlighted.
• Confirm with
.
• “
Administrator
“ appears.
• Scroll with the 1 or 2 key until the
“Programming“ menu item is highlighted.
• Confirm with ON/Enter
• “Programming“ appears.
• Scroll with the 1 or 2 key until the menu
item “
Firmware update
“ is highlighted.
• Confirm with
.
• Enter the administrator code to acquire the
authorisation for programming.
• The message “
Confirm current original manufacturer
Firmware version using Enter
“ appears.
• Confirm with
. Thereafter there is no
need to do anything further in the process.
• The message “Do not interrupt power“ appears.
• The message on the display disappears for
some time.
• When the update is complete, the message
“Firmware update completed“ appears.
• Switch on the lock using the
key.
• The press
.
• The “
Main menu
“ appears.
• Scroll with the 1 or 2 key until the menu
item “
Administrator
“ is highlighted.
• Confirm with
.
• “
Administrator
“ appears.
• Scroll with the 1 or 2 key until the
“Programming“ menu item is highlighted.
• Confirm with ON/Enter
• “Programming“ appears.
• Scroll with the 1 or 2 key until the menu
item “
Reorganise
“ is highlighted.
• Confirm with
.
• Enter the administrator code to acquire
the authorisation for programming.
• “
Reorganise is running
“ appears.
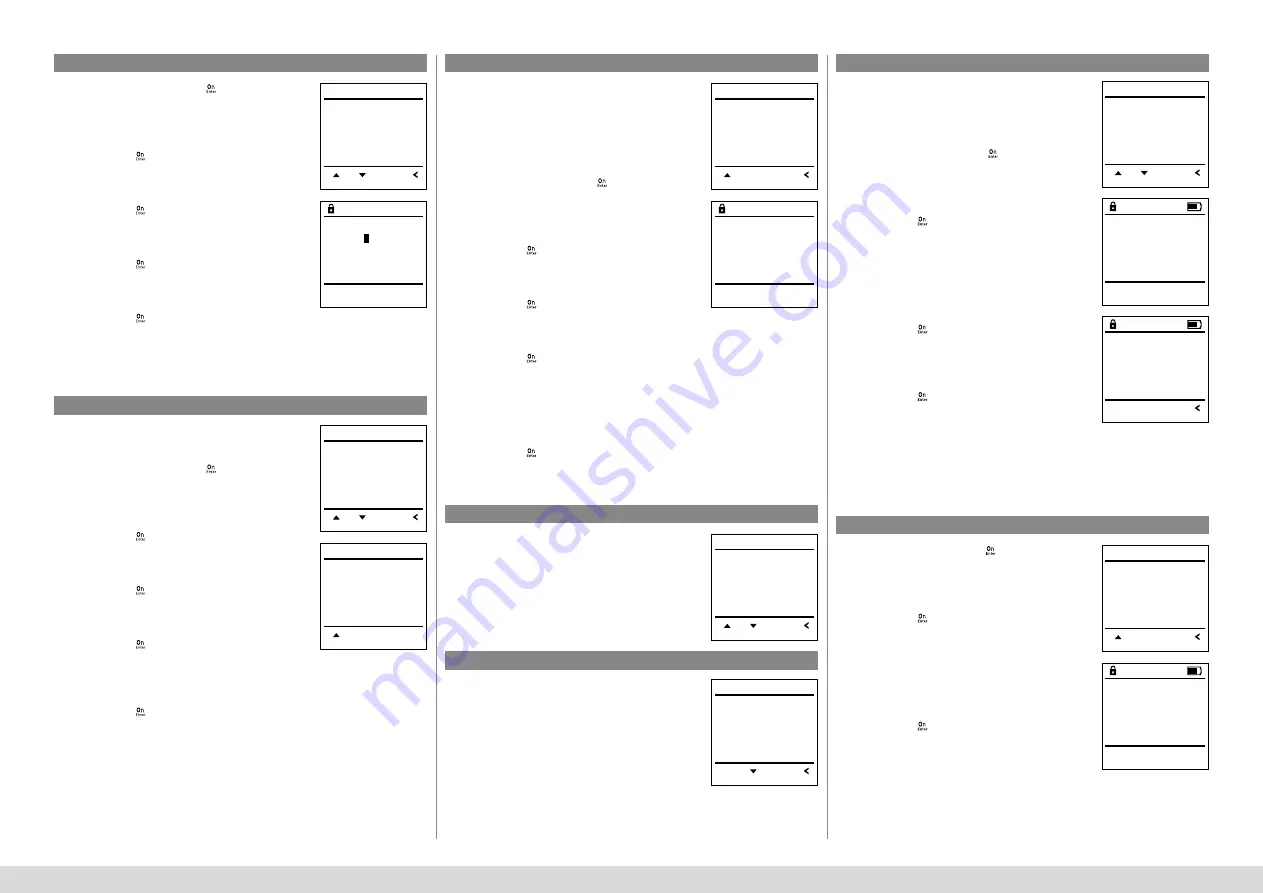
Date entry
D.M.Y 00.00.00
FUNC: M
Delay time
[00] min
FUNC: M
Autom. ST/WT
[ON]
FUNC: M
1:
Time entry
Date entry
Autom. ST/WT
Delay time
FUNC:
1:
2:
T I M E R F U N . . .
Time entry
Date entry
Autom. ST/WT
Delay time
FUNC:
1:
T I M E R F U N . . .
Time entry
Date entry
Autom. ST/WT
Delay time
FUNC:
1:
2:
T I M E R F U N . . .
User
Timer functions
Programming
Processes
FUNC:
1:
2:
A D M I N
Databaseupdate
Firmwareupdate
Restructure
FUNC:
2:
P R O G R A M M I N G
Databaseupdate
Firmwareupdate
Restructure
1:
2:
FUNC:
P R O G R A M M I N G
Databaseupdate
Firmwareupdate
Restructure
1:
FUNC:
P R O G R A M M I N G
Confirm current
original firmware
version with Enter!
FUNC: M
Restructuring
in progress!
Firmwareupdate
complete!
FUNC: