18
T401S Indicator User Instructions
Indicator applications
3.4 Checkweighing application
This section applies if your indicator has the Checkweighing application enabled.
3.4.1 SELECT key default function
In the Checkweighing application you can view the gross, net and tare display values
by repeatedly pressing
SELECT
.
3.4.2 Special key functions
The following keys have an extra function in this application:
F1
Press
F1
to set the target weight or upper and lower limits, as described
below.
3.4.3 Checkweigh operation
Checkweighing allows a quick, visual check of the acceptability or unacceptability of an
item’s weight.
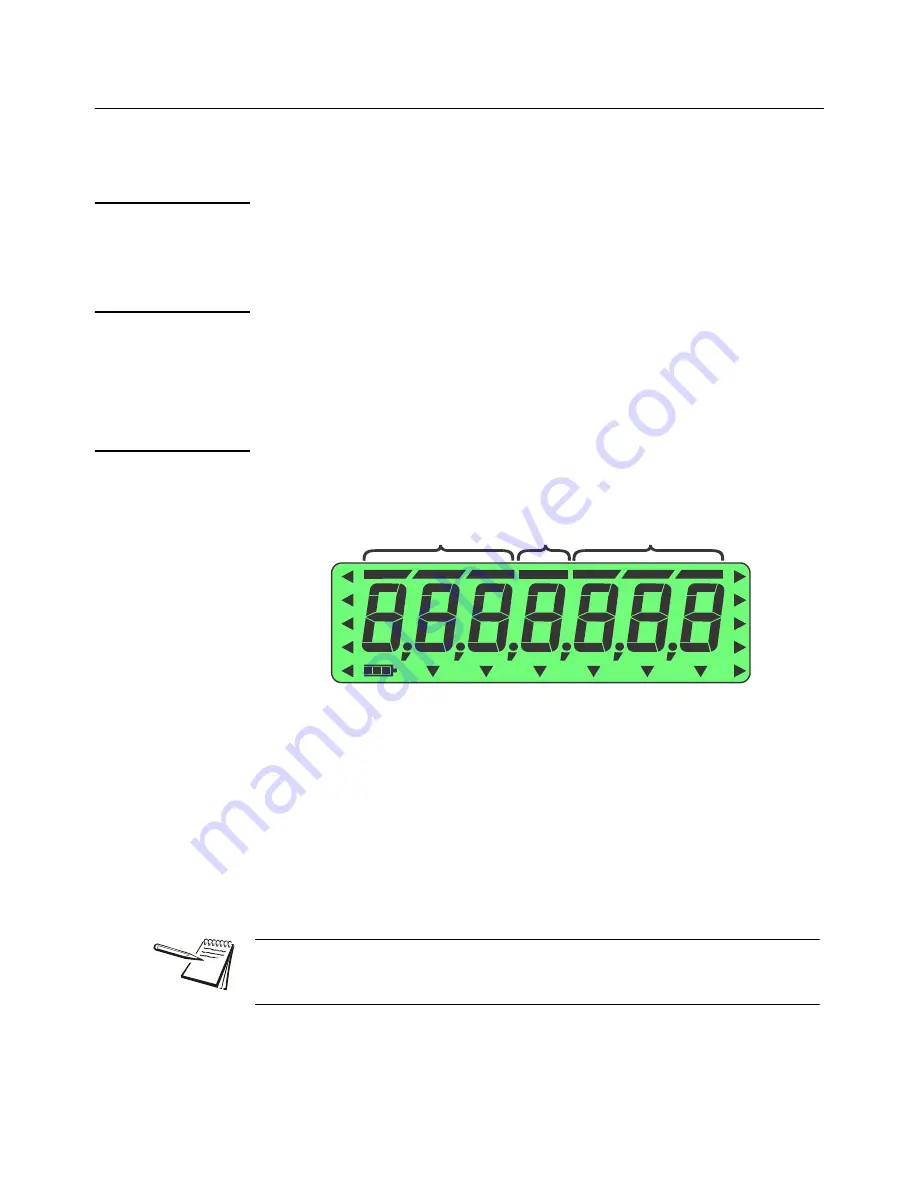
shows the checkweighing bargraph at the top of the display.
Figure 3.1 Checkweighing bargraph
There are two ways to set a target weight:
l
Weigh the target object
- If you use this method the acceptable weight will
be the actual weight of the target sample ± a predefined range (default is ±1
division).
l
Key in upper and lower weight limits
- If you use this method the
acceptable weight is any weight which falls between the upper and lower
limits.
Each of these is explained below.
Under
Over
Accept
The checkweighing annunciators are based off of net weight so if a tare is active only
the net weight is considered for checkweighing. If there is no tare, gross weight is
used as the basis for the annunciators.


