4-20
Taking Measurements and Analyzing Data
CREATING AN ANALYZER RECIPE
An Analyzer recipe contains your selected analytical functions, 2D analyses, and filters. If your
system includes the 3D mapping package, it also contains the default plot and 3D analysis/filter flow.
IMPORTANT!
The Analyzer recipe that is open when you save a Vision recipe becomes
part of that Vision recipe. This means that the analyses and filters that it contains will
automatically be applied to every future dataset. For more information, see
To create an Analyzer recipe:
1
Take a new scan measurement.
2
Select your analytical functions and cursor bandwidth settings as explained in
Setting the Cursor Locations and Bandwidths on page 4-14
3
Select your analyses and filters in the Analysis Toolbox as explained in the next section.
4
Click the
Open Database
button
at the button of the Database window and then open the database
that you want to associate with this Analyzer Recipe.
5
On any Ribbon tab, select
Save > Analyzer Recipe
.
6
To make this Analyzer recipe a part of the currently open Vision recipe, select the
Default Analyzer
check
box on the toolbar on top of the Data Analyzer.
Using the Data Analyzer and Analysis Toolbox
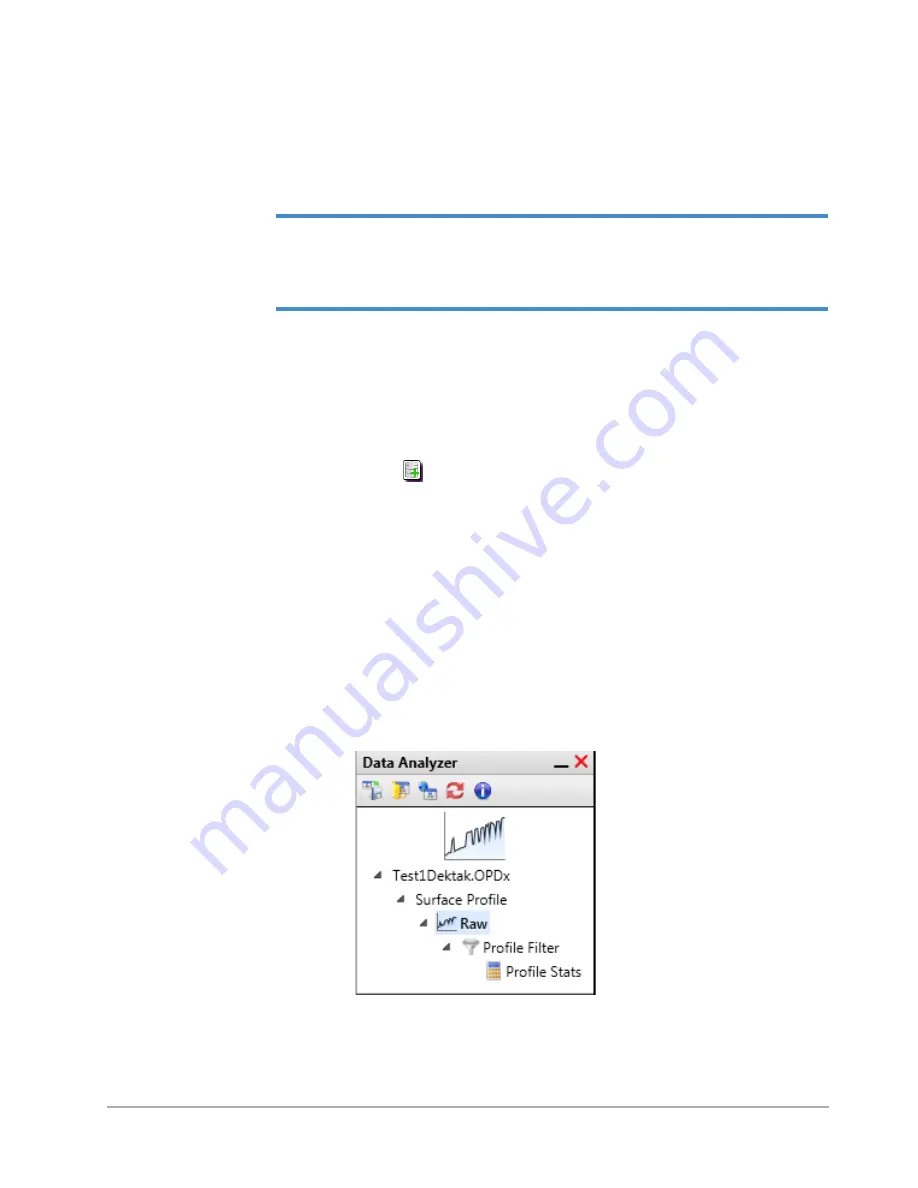
An Analyzer recipe is associated with each dataset and appears in the Data Analyzer (see
) whenever that dataset is active. An Analyzer recipe consists of the name of the active
dataset, the dataset type (for example, Surface Height), the Raw Data analysis, and any other analyses
and filters that have been selected in the Analysis Toolbox (see
Figure 4-26: Data Analyzer
Summary of Contents for DektakXT
Page 1: ......
Page 2: ...P N 980 365 DEKTAKXT STYLUS PROFILER USER MANUAL ...
Page 8: ...Table of Contents v Applying Filters 5 11 Performing Analyses 5 12 3D Mapping Optiion 5 13 ...
Page 9: ......
Page 25: ......
Page 67: ......
Page 81: ......


