Embroidery
5-17
1 —
2 —
3 —
4 —
5 —
6 —
7 —
8 —
?
!
9 —
CONTENTS
Index
1
Selecting Patterns from an Embroidery Card
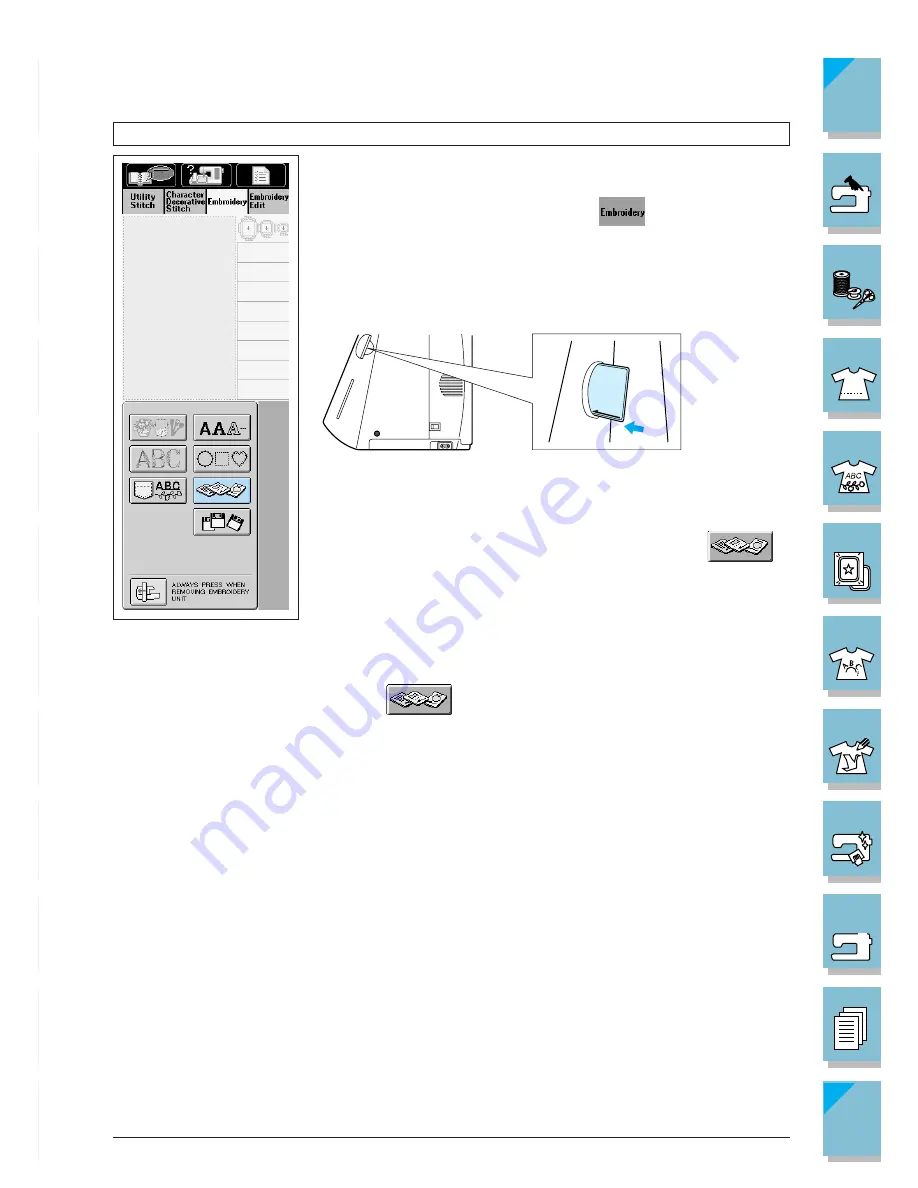
1. When the screen at left is displayed, you can insert the embroi-
dery card.
* If a different screen is showing, press
to display the screen
at left.
* Insert the card completely into the slot on the right side of the
machine. Insert the embroidery card so that the end with a printed
arrow is facing the front.
CAUTION
• Only insert or remove the embroidery card when
is
displayed, or when the machine is turned off.
• Do not insert the card in a direction other than that shown by
the arrow on the card, and do not force the card into the slot
strongly. Do not put any object except for the embroidery cards
into the slot. Otherwise, your machine may be damaged.
2. Press
. The patterns on the embroidery card are dis-
played on the selection screen.
3. The method for selecting patterns is the same as that described
on pages 5-8 to 5-16.
CAUTION
Use only embroidery cards intended for use with this machine.
Using other cards may cause your machine to operate incor-
rectly.
1
Insert completely.
Summary of Contents for ULT-2001
Page 1: ......
Page 33: ...1 22 Setting Up 1 2 3 4 5 6 7 8 9 CONTENTS Index Contents of Other Categories ...
Page 34: ...Setting Up 1 23 1 2 3 4 5 6 7 8 9 CONTENTS Index ...
Page 57: ...1 46 Setting Up 1 2 3 4 5 6 7 8 9 CONTENTS Index ...
Page 73: ...2 16 Getting Ready to Sew 1 2 3 4 5 6 7 8 9 CONTENTS Index ...
Page 168: ...Sewing Character Decorative Stitches 4 25 1 2 3 4 5 6 7 8 9 CONTENTS Index More Examples ...
Page 291: ...7 16 My Custom Stitch 1 2 3 4 5 6 7 8 9 CONTENTS Index ...
Page 311: ...9 16 Troubleshooting 1 2 3 4 5 6 7 8 9 CONTENTS Index ...
Page 313: ...A 2 Appendix 1 2 3 4 5 6 7 8 9 CONTENTS Index ...
Page 319: ......


