


Using Scan-to-SV-100B Function
56
4
4
Usin
g Co
nven
ient
Fu
nct
ions
Usin
g Co
nven
ient
Fu
nct
ions
3
Place the document to be scanned on the multi-function device, and start scanning.
¨
The status lamp (center green) flashes, and data is transferred from the multi-function
device to the unit.
•
For details, see "Scan to USB (Media)" section in the documentation for the multi-function
device.
•
Once scanning starts, a folder named "BROTHER" is created in the root directory of the
unit's memory card. The scanned data is stored in this folder.
¨
Once the document transfer is complete, the status lamp (center green) changes to an
illuminated state.
4
Once scanning is complete, disconnect the USB cable from the unit.
¨
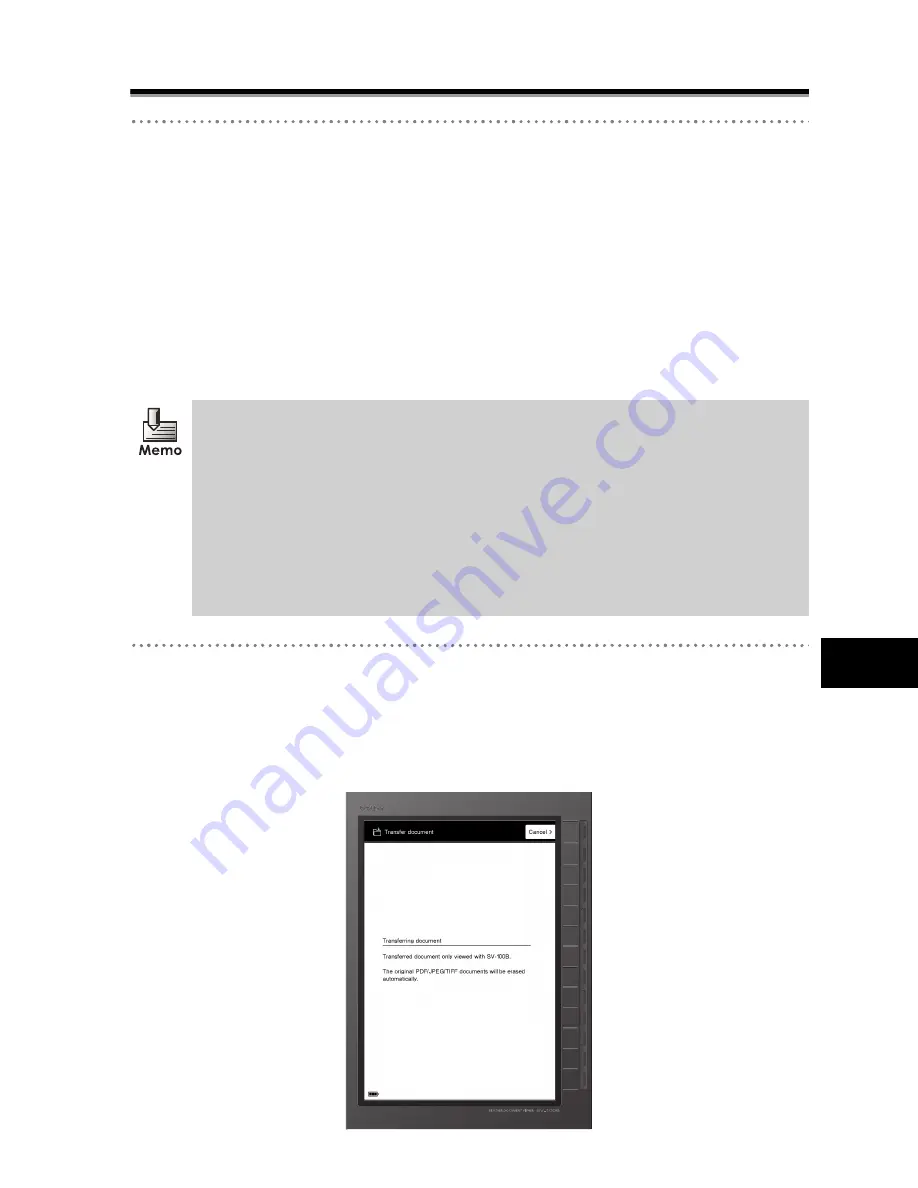
The [Transfer document] screen is displayed, and the scanned data is converted to the
unit's proprietary file.
•
To abort document transfer, select [Cancel]
•
The only graphic format supported by the Scan-to-SV-100B function are PDF,
JPEG and TIFF from a Brother multi-function device. Conversion to the unit's
proprietary file is not guaranteed if you manually save the graphic data (PDF, JPEG,
TIFF) via a PC or a non-Brother multi-function device.
•
If the graphic format is set to PDF and TIFF on the multi-function device, multiple
pages are converted to one proprietary file.
If the graphic format is set to JPEG on the multi-function device, each page is
converted to one proprietary file.
•
With Scan-to-SV-100B function, the optimal scan setting for the multi-function
device is 150 to 200 dpi in color.


