18
Ch. 3 Functions
Fu
nc
ti
o
n
s
5
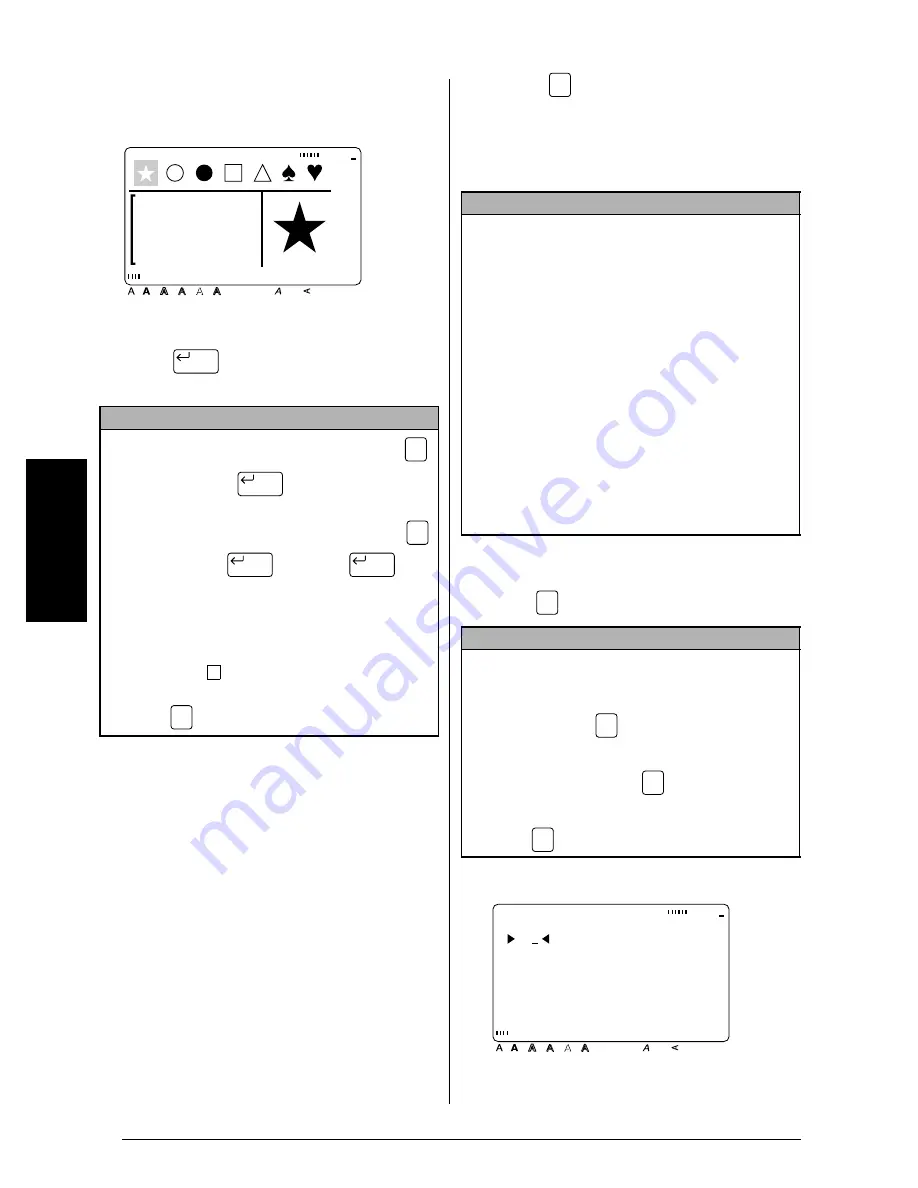
Press
. The selected symbol is added
to the text.
Barcode (
)
The
Barcode
function allows you to add your
desired barcode to your label. In addition, the
various barcode parameters enable you to cre-
ate custom barcodes.
To create a barcode:
1
Press .
NOTE
☞
To enter a series of symbols
, hold down
before pressing
. Then, continue add-
ing characters by selecting them as explained in
steps
2
through
4
, and holding down
while pressing
. Press just
after
selecting the last symbol in the series.
☞
Some symbols typed into templates (
Template
function) and backgrounds (
BACKGROUND
function of the
FORMAT
menu) appear on the
display as “
”.
To view an enlargement of the
symbol
, move the cursor below it, and then
press .
Style
Italic Vertical
Caps
Alt Template Zoom
Back-
ground
Half
Cutter
36mm
24mm
18mm
12mm
9mm
6mm
1
1/2"
1"
3/4"
1/2"
3/8"
1/4"
A
New Block
Code
New Block
Code
New Block
New Block
×
Zoom
Image
NOTE
☞
This section will explain how to enter a barcode
into your text. It is not intended as a compre-
hensive introduction to the concept of barcod-
ing. For more detailed information, please
consult one of the many reference books avail-
able.
☞
Since this machine is not specifically designed
for special barcode label-making, some bar-
code readers may not be able to read the labels.
☞
Barcodes should be printed on white labels
with black ink.
☞
It is recommended that barcodes be printed
with the
MARGIN
function (
FORMAT
menu)
set to
WIDE
and the barcode
WIDTH
parame-
ter set to
WIDE
; otherwise, barcodes may be
difficult to read.
NOTE
☞
To change the data or parameters of a barcode
that has already been added to the text
, position
the cursor in the middle of the barcode mark
before pressing
.
☞
To return to the previous screen without keep-
ing any changes
, press
.
☞
To return to the text without adding a barcode
,
press
at any time.
Barcode
Barcode
Barcode
Cancel
Barcode
**
PROTOCOL:CODE39
Style
Italic Vertical
Caps
Alt Template Zoom
Back-
ground
Half
Cutter
36mm
24mm
18mm
12mm
9mm
6mm
1
1/2"
1"
3/4"
1/2"
3/8"
1/4"
A
[FORMAT]:PARAMETER
[SYMBOL]:SPECIAL
CHARACTER
Summary of Contents for P-touch PRO PT-9400
Page 8: ...1 Ch 1 Before You Start Before You Start Chapter 1 Before You Start ...
Page 14: ...7 Ch 2 Getting Started Chapter 2 Getting Started ...
Page 19: ...12 Ch 2 Getting Started Getting Started ...
Page 20: ...13 Ch 3 Functions Chapter 3 Functions ...
Page 67: ...60 Ch 3 Functions Functions ...
Page 68: ...61 Ch 4 Using Labels and Stamps Chapter 4 Using Labels and Stamps ...
Page 81: ...74 MACHINE SPECIFICATIONS ...
Page 82: ...75 Appendix Appendix ...
Page 103: ......
Page 105: ......
Page 106: ...GUÍA DEL USUARIO ...
Page 109: ...ii ...
Page 149: ...39 ...
Page 150: ...40 ...


