Brother DCP-585CW Quick Setup Manual Download Page 15

15

For Wireless Network Users

Wirele

ss Network

10

Confirm your network environment (Infrastructure Mode)

The following instructions will offer two methods for installing your Brother machine in a wireless network 
environment. Both methods are for infrastructure mode, using a wireless router or access point that uses DHCP 
to assign IP addresses. Choose a configuration method and proceed to the page indicated.

a

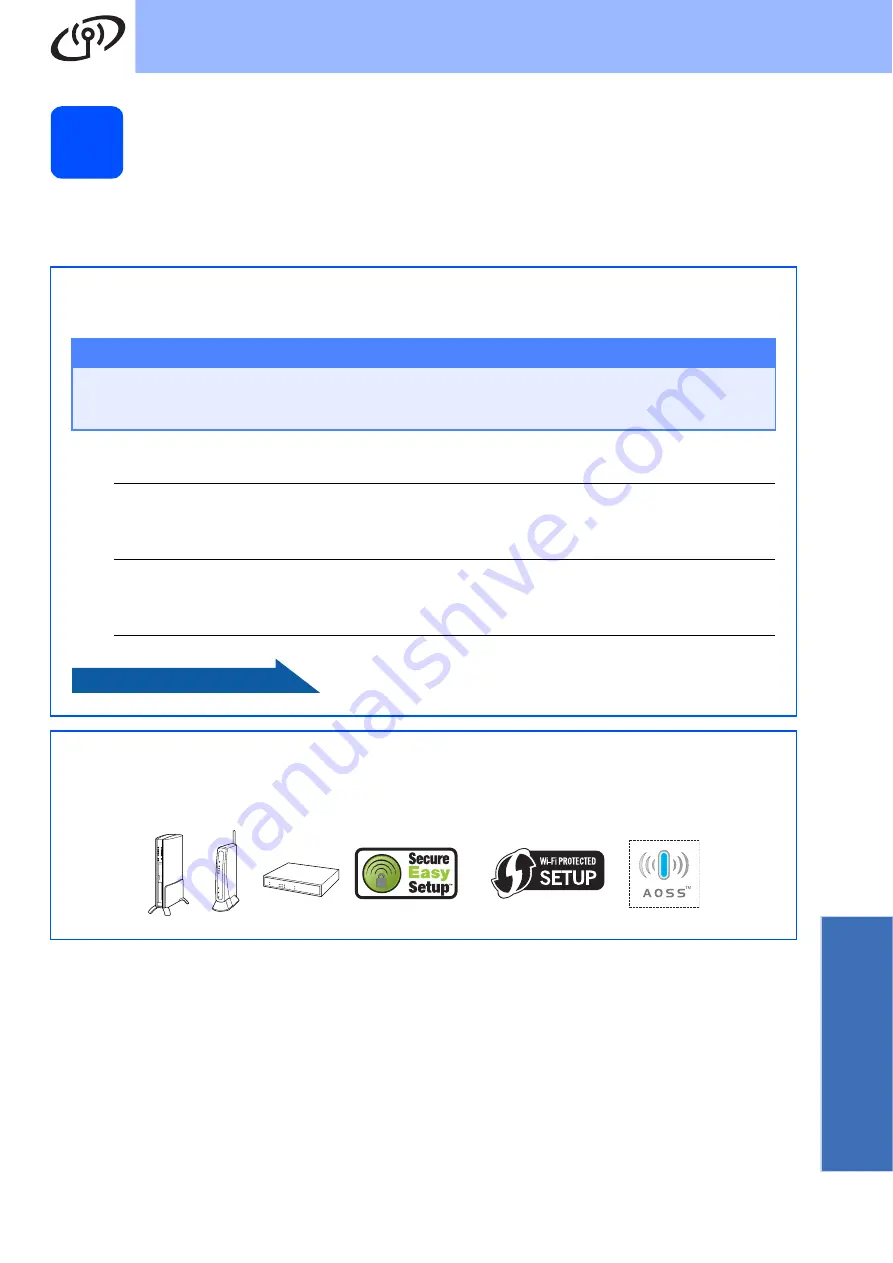
If your wireless router/access point does not support SecureEasySetup™, Wi-Fi Protected Setup™ 
or AOSS™, 

write down the wireless network settings

 of your access point or wireless router in the 

area below.

Important

If you do not know this information (Network Name, WEP key or WPA2-PSK (Pre-Shared Key)), 
you cannot continue the wireless setup. You should see the documentation provided with your 
access point or wireless router, consult the router manufacturer, or your system administrator.

SSID (Service Set ID or Network name)

Authentication (Open System or Shared Key)/Encryption Type (None or WEP)
WEP Key (if needed)

WPA/WPA2-PSK Encryption type (TKIP or AES) (if needed)
WPA/WPA2-PSK (Pre-Shared Key) (if needed)

Now go to

page 16

b

If your wireless router/access point supports automatic wireless (one-push) setup 
(SecureEasySetup™, Wi-Fi Protected Setup™ or AOSS™), you can find instructions in the Network 
User's Guide on the CD-ROM. To set up your machine in any other wireless environment (Ad-hoc 
mode) you can find instructions in the Network User's Guide on the CD-ROM.

Summary of Contents for DCP-585CW

Page 1: ...se keep these bags away from babies and children a Remove the protective tape and film covering the scanner glass b Remove the green protective packing a by lifting the front of the machine and then pulling down on the packing part c Remove the plastic bag b containing the ink cartridges from on top of the paper tray d Make sure you have all components WARNING Warnings tell you what to do to preve...

Page 2: ...ust the paper side guides to the paper with both hands g Close the paper tray cover h Slowly push the paper tray completely into the machine i While holding the paper tray in place pull out the paper support until it clicks and then unfold the paper support flap 3 Connect the power cord a Connect the power cord WARNING The machine must be fitted with an earthed plug 4 Choose your language a Press ...

Page 3: ...e until it clicks After all the ink cartridges are installed close the ink cartridge cover 6 Check the print quality a Press Colour Start b Check the quality of the four colour blocks on the sheet black yellow cyan magenta c If all lines are clear and visible press Yes to finish the quality check If you can see missing short lines press No and go to d d The LCD asks you if the print quality is OK ...

Page 4: ...or b to choose Initial Setup Press OK c Press a or b to choose Date Time Press OK d Press a or b repeatedly to enter the last two digits of the year and then press OK e Repeat for Month and Day and Hours and Minutes in 24 hour format f Press Stop Exit ...

Page 5: ...ed Network Wireless Network 8 Choose your connection type For USB interface cable Windows go to page 6 Macintosh go to page 8 For Wired Network Windows go to page 10 Macintosh go to page 12 For Wireless Network Windows and Macintosh go to page 14 ...

Page 6: ...lready connected an interface cable 10 Install MFL Pro Suite a Put the supplied CD ROM into your CD ROM drive Follow the on screen instructions b The CD ROM main menu will appear Click Install MFL Pro Suite c Follow the on screen instructions d Choose Local Connection and then click Next The installation continues e When this screen appears go to the next step 11 Connect the USB cable a b c Import...

Page 7: ...played make your selection and follow the on screen instructions 13 Finish and restart a Click Finish to restart your computer After restarting the computer you must be logged on with Administrator rights Now go to Proceed to Install Optional Applications on page 20 2 1 3 Important DO NOT cancel any of the screens during the installation It may take a few seconds for all screens to appear Finish T...

Page 8: ... with Administrator rights 10 Connect the USB cable a b c d Important Make sure there are no memory cards or a USB Flash memory drive inserted Important DO NOT connect the machine to a USB port on a keyboard or a non powered USB hub Connect the machine directly to your Macintosh LAN USB Important Make sure that the cable does not restrict the cover from closing or an error may occur 2 1 3 ...

Page 9: ...screen appears click OK For Mac OS X 10 3 x or greater the installation of MFL Pro Suite is now complete f For Mac OS X 10 2 4 to 10 2 8 users click Add g Choose USB h Choose XXX XXXX where XXX XXXX is your model name and then click Add i Click Print Center then Quit Print Center The installation of MFL Pro Suite is now complete Note Please wait it will take a few seconds for the software to insta...

Page 10: ...strator rights b Disconnect the machine from the power socket 10 Connect the network cable a b c d 11 Connect the power cord a Connect the power cord Important Before installation if you are using personal firewall software other than Windows Firewall anti spyware or antivirus applications temporarily disable them Important Make sure that the cable does not restrict the cover from closing or an er...

Page 11: ... UDP port 137 f The installation of the Brother drivers will automatically start The installation screens appear one after another g When the On Line Registration screen is displayed make your selection and follow the on screen instructions 13 Finish and restart a Click Finish to restart your computer After restarting the computer you must be logged on with Administrator rights Now go to Proceed t...

Page 12: ...e are no memory cards or a USB Flash memory drive inserted If you have previously set up your machine for a wireless network and then want to set it up on a wired network you should check that the machine s Network I F is set to Wired LAN The wireless network interface will be inactive with this setting On your machine press Menu Press a or b to choose Network and press OK Press a or b to choose N...

Page 13: ...this screen appears click OK For Mac OS X 10 3 x or greater the installation of MFL Pro Suite is now complete f For Mac OS X 10 2 4 to 10 2 8 users click Add g Make the selection shown below h Choose XXX XXXX where XXX XXXX is your model name and then click Add i Click Print Center then Quit Print Center The installation of MFL Pro Suite is now complete Note Please wait it will take a few seconds ...

Page 14: ...K Press a or b to choose Factory Reset and then press OK Press twice to choose Yes Note The following instructions are for infrastructure mode To set up your machine in any other wireless environment you can find instructions in the Network User s Guide on the CD ROM You can view the Network User s Guide by following the instructions below 1 Turn on your computer Macintosh Insert the Brother CD RO...

Page 15: ... do not know this information Network Name WEP key or WPA2 PSK Pre Shared Key you cannot continue the wireless setup You should see the documentation provided with your access point or wireless router consult the router manufacturer or your system administrator SSID Service Set ID or Network name Authentication Open System or Shared Key Encryption Type None or WEP WEP Key if needed WPA WPA2 PSK En...

Page 16: ... on page 21 Press OK when you have entered all the characters e Press a or b to choose Infrastructure then press OK f Use the a b and OK keys to choose one of the options below If your network is configured for Authentication and Encryption you must match the settings used for your network No Authentication or Encryption Choose Open System press OK then choose None for Encryption Type and press OK...

Page 17: ...our settings Go to i i Your machine will now try to connect to your wireless network using the information you have entered If successful Connected will appear briefly on the LCD If your machine does not successfully connect to your network verify your network settings collected in step 10 on page 15 then repeat a to h to make sure you have entered the correct information If your access point does...

Page 18: ...e installation of the Brother drivers will automatically start The installation screens appear one after another h When the On Line Registration screen is displayed make your selection and follow the on screen instructions 14 Finish and restart a Click Finish to restart your computer After restarting the computer you must be logged on with Administrator rights Now go to Proceed to Install Optional...

Page 19: ...ck OK For Mac OS X 10 3 x or greater the installation of MFL Pro Suite is now complete g For Mac OS X 10 2 4 to 10 2 8 users click Add h Make the selection shown below i Choose XXX XXXX where XXX XXXX is your model name and then click Add j Click Print Center then Quit Print Center The installation of MFL Pro Suite is now complete Important Make sure there are no memory cards or a USB Flash memory...

Page 20: ... FaceFilter Studio before you start the installer for FaceFilter Studio Help Double click the downloaded file from the folder you specified and follow the on screen instructions for installation 3 Install BookScan Whiteboard Suite supported by Reallusion Inc a Open the main menu again by ejecting and then reinserting the CD ROM or by double clicking the start exe program from the root folder b The...

Page 21: ...ess OK e Press to choose Yes f Press to choose Yes g The machine will restart re connect cables once this is complete Entering Text for Wireless Settings Press a or b repeatedly to select a character from the list below abcdefghijklmnopqrstuvwxyzABCDEFGHIJKLMNOPQRSTUVWXYZ0123456789 space _ Press d or c repeatedly to move the cursor Note Making corrections If you entered an incorrect letter and wan...

Page 22: ... connect your machine to electrical sockets on the same circuit as large appliances or other equipment that might disrupt the power supply CAUTION Avoid placing your machine in a high traffic area Avoid placing your machine on a carpet DO NOT expose the machine to direct sunlight excessive heat moisture or dust DO NOT connect your machine to electrical sockets controlled by wall switches or automa...

Page 23: ...ord Doing this might cause an electrical shock DO NOT put your hands on the edge of the machine under the document cover or the scanner cover Doing this may cause injury DO NOT put your hands on the edge of the paper tray under the paper tray cover Doing this may cause injury DO NOT touch the area shaded in the illustration Doing this may cause injury When moving the machine you must lift it from ...

Page 24: ...other Customer Service This product must be installed near an electrical socket that is easily accessible In case of an emergency you must unplug the power cord from the electrical socket to shut off the power completely This product should be connected to an AC power source within the range indicated on the rating label DO NOT connect it to a DC power source or inverter If you are not sure contac...

Page 25: ...s product from the power socket and refer all servicing to Brother Authorized Service Personnel under the following conditions If liquid has been spilled into the product If the product has been exposed to rain or water If the product does not operate normally when the operating instructions are followed adjust only those controls that are covered by the operating instructions Incorrect adjustment...

Page 26: ...ent is marked with the above recycling symbol It means that at the end of the life of the equipment you must dispose of it separately at an appropriate collection point and not place it in the normal domestic unsorted waste stream This will benefit the environment for all European Union only International ENERGY STAR Compliance Statement The purpose of the International ENERGY STAR Program is to p...

Page 27: ...indebtedness Certificates of Deposit Armed Forces Service or Draft papers Passports Postage Stamps cancelled or uncancelled Immigration Papers Welfare documents Cheques or Drafts drawn by Governmental Agencies Identification Documents badges or insignias Licences and Certificates of Title to motor vehicles Copyrighted works cannot be copied Sections of a copyrighted work can be copied for fair dea...

Page 28: ...s a trademark of Buffalo Inc Wi Fi WPA and WPA2 are registered trademarks and Wi Fi Protected Setup is a trademark of Wi Fi Alliance Each company whose software title is mentioned in this manual has a Software License Agreement specific to its proprietary programs All other brand and product names mentioned in this manual are trademarks or registered trademarks of their respective companies Compil...

Reviews: