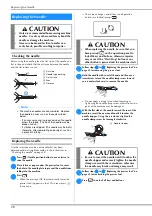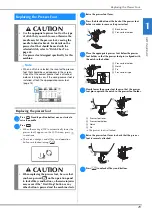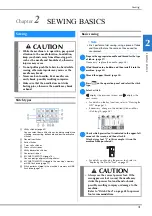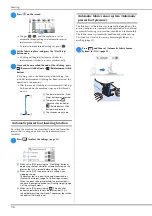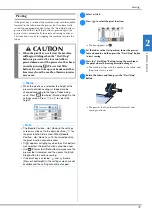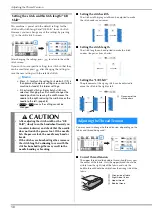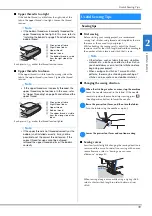
Replacing the Presser Foot
30
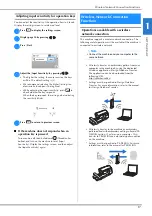
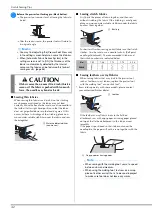
Removing and attaching the presser foot
holder
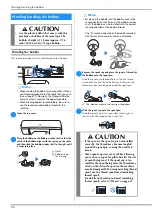
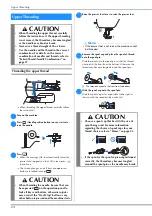
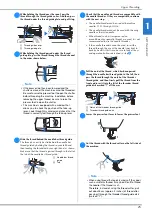
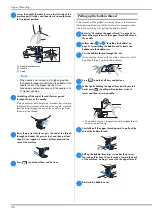
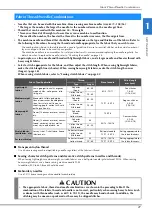
Remove the presser foot holder when cleaning the machine or
when installing a presser foot that does not use the presser
foot holder, such as the walking foot and Free motion open
toe quilting foot “O”.
■
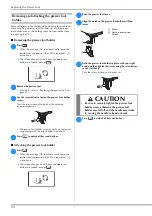
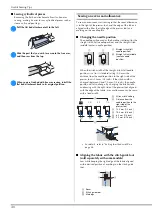
Removing the presser foot holder
a
Press .
• When the message [OK to automatically lower the
presser foot?] appears on the LCD screen, press
to continue.
The screen changes, and all keys and operation
buttons are locked (except
).
b
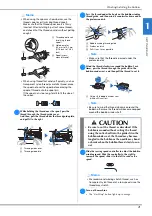
Remove the presser foot.
• For details, refer to “Replacing the presser foot” on
page 29.
c
Use the screwdriver to loosen the presser foot holder
screw.
Turn the screw toward the back of the machine
(counterclockwise).
• The presser foot holder screw can also be loosened
or tightened with the disc-shaped screwdriver.
d
Press
to unlock all keys and buttons.
■
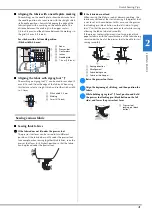
Attaching the presser foot holder
a
Press .
• When the message [OK to automatically lower the
presser foot?] appears on the LCD screen, press
to continue.
The screen changes, and all keys and operation
buttons are locked (except
).
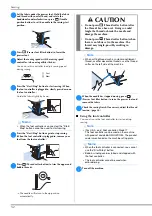
b
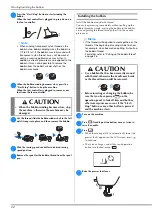
Raise the presser foot lever.
c
Align the notch in the presser foot holder with the
screw.
d
Hold the presser foot holder in place with your right
hand, and then tighten the screw using the screwdriver
in your left hand.
Turn the screw toward you (clockwise).
e
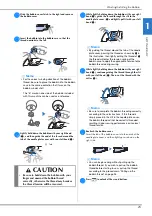
Press
to unlock all keys and buttons.
1
Screw
2
Notch in presser foot
holder
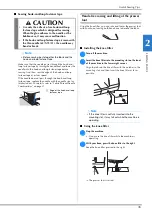
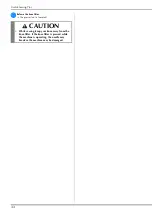
CAUTION
• Be sure to securely tighten the presser foot
holder screw, otherwise the presser foot
holder may fall off and the needle may strike
it, causing the needle to bend or break.
a
b
Summary of Contents for 888-G30
Page 2: ......
Page 80: ...MY CUSTOM STITCH 78 ...
Page 121: ......
Page 122: ......
Page 123: ......

