Upper Threading
26
n
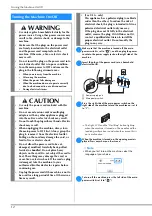
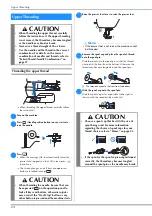
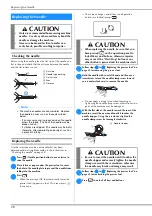
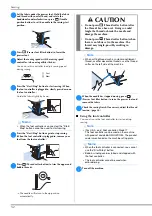
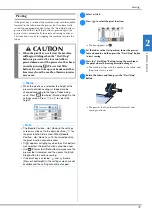
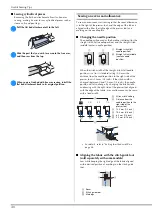
Lower the needle threader lever on the left side of the
machine until it clicks, and then slowly return the lever
to its original position.
1
Needle threader lever
2
Needle
3
Hook
o
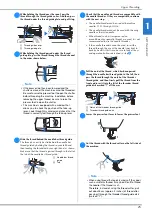
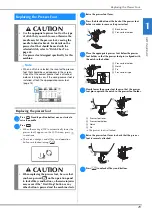
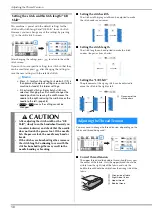
Carefully pull the end of thread that was passed
through the eye of the needle.
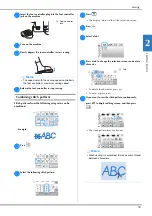
If the needle was not completely threaded, but a loop in
the thread was formed in the eye of the needle, carefully
pull the loop through the eye of the needle to pull out
the end of the thread.
p
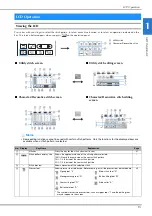
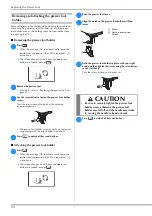
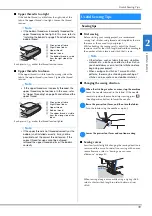
Raise the presser foot lever, pass the end of the thread
through and under the presser foot, and then pull out
about 10 cm (approx. 4 inches) of thread toward the
rear of the machine.
q
Press
to unlock all keys and buttons.
Pulling up the bobbin thread
If the threads will be pulled to create gathers or the thread at
the beginning of sewing will be finished, for example, when
free motion quilting, first pull up the bobbin thread.
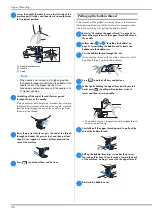
a
Refer to “Threading the upper thread” on page 24 to
thread the machine with the upper thread and thread
the needle.
b
Follow steps
a
to
f
“Installing the bobbin” on
page 22 for installing the bobbin and to insert the
bobbin into the bobbin case.
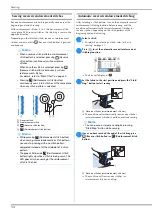
c
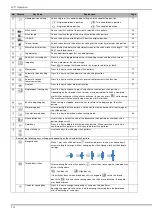
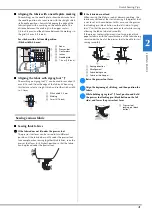
Pass the bobbin thread through the slot.
Do not cut the thread with the cutter, otherwise it will
be difficult to pull up the bobbin thread.
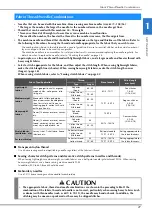
d
Press
to unlock all keys and buttons.
e
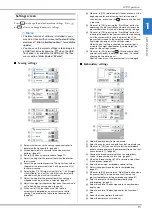
While lightly holding the upper thread with your left
hand, press
(Needle position button) twice to
lower and then raise the needle.
The bobbin thread is looped around the upper thread
and can be pulled up.
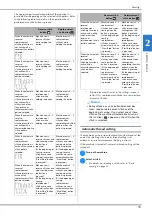
f
Carefully pull the upper thread upward to pull out the
end of the bobbin thread.
g
Pull up the bobbin thread, pass it under the presser
foot and pull it about 10 cm (4 inches) toward the back
of the machine, making it even with the upper thread.
h
Reattach the bobbin cover.
Note
• If the needle is not raised to it's highest position,
the needle threader cannot thread the needle. If the
needle is not at the highest position, turn
handwheel counterclockwise until the needle is at
its highest position.
1
2
3
Summary of Contents for 888-G30
Page 2: ......
Page 80: ...MY CUSTOM STITCH 78 ...
Page 121: ......
Page 122: ......
Page 123: ......

