2. Installation
Starting Up the P-102
User Manual
Moving the P-102
1. Use a lift to lift the P-102 off the pallet and place it on the floor.
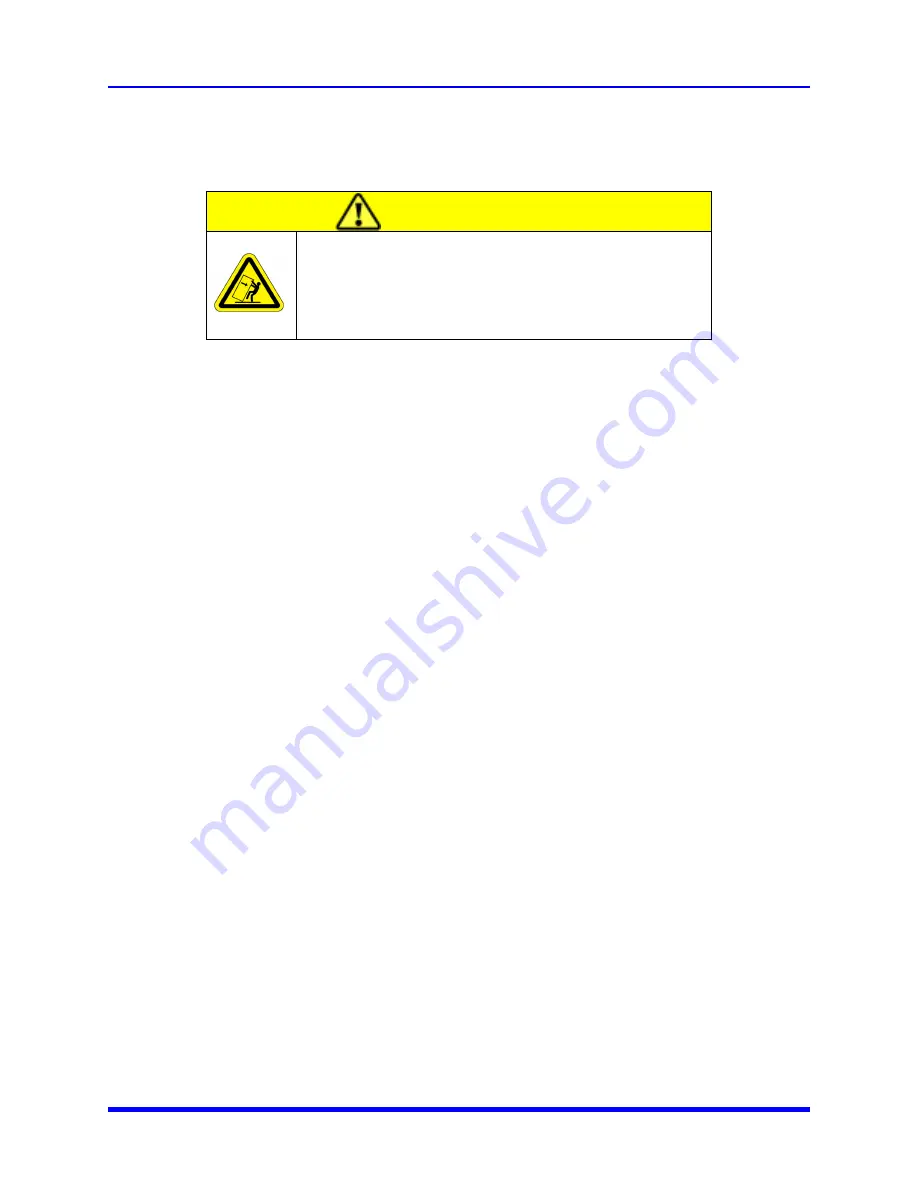
CAUTION
Tip Hazard
Tip hazard exists when moving the P-102 up or down a ramp.
Be sure to prevent the P-102 from tipping when using a ramp.
2. Roll the P-102 carefully to where the tool is to be installed. Be sure the floor is smooth and there is
no tip hazard. Roll the P-102 very carefully if it must roll up or down a ramp. This may cause a tip
hazard.
3. The system may be operating continuously. It should be turned off any time the fore- or roughing
pump(s) are to be turned off.
Starting Up the P-102
1. Start the unit by turning on the front panel switch.
l
You can hear the compressor and condenser fans start running.
l
The Power light on the front panel lights.
l
Within about 5-10 minutes, cooling begins in the cold probe.
If the compressor turns off during initial start up, turn the switch off for 5-10 minutes, then turn the
switch on again to restart the P-102.
Do not operate the unit for more than 15 minutes. This causes moisture to accumulate on the cold
probe.
2. Turn off the unit.
3. Warm the cold probe.
4. Dry the cold probe.
5. Inspect all vacuum sealing surfaces where the cold probe or cryobaffle is to be used. The surfaces
must be clean and free from scratches or other imperfections that might result in vacuum leaks.
Protect these surfaces at all times.
6. Remove any contaminants by wiping them with a clean cloth moistened with alcohol.
2-19
Brooks Automation


