Mercury Series User Manual
11
Step 3
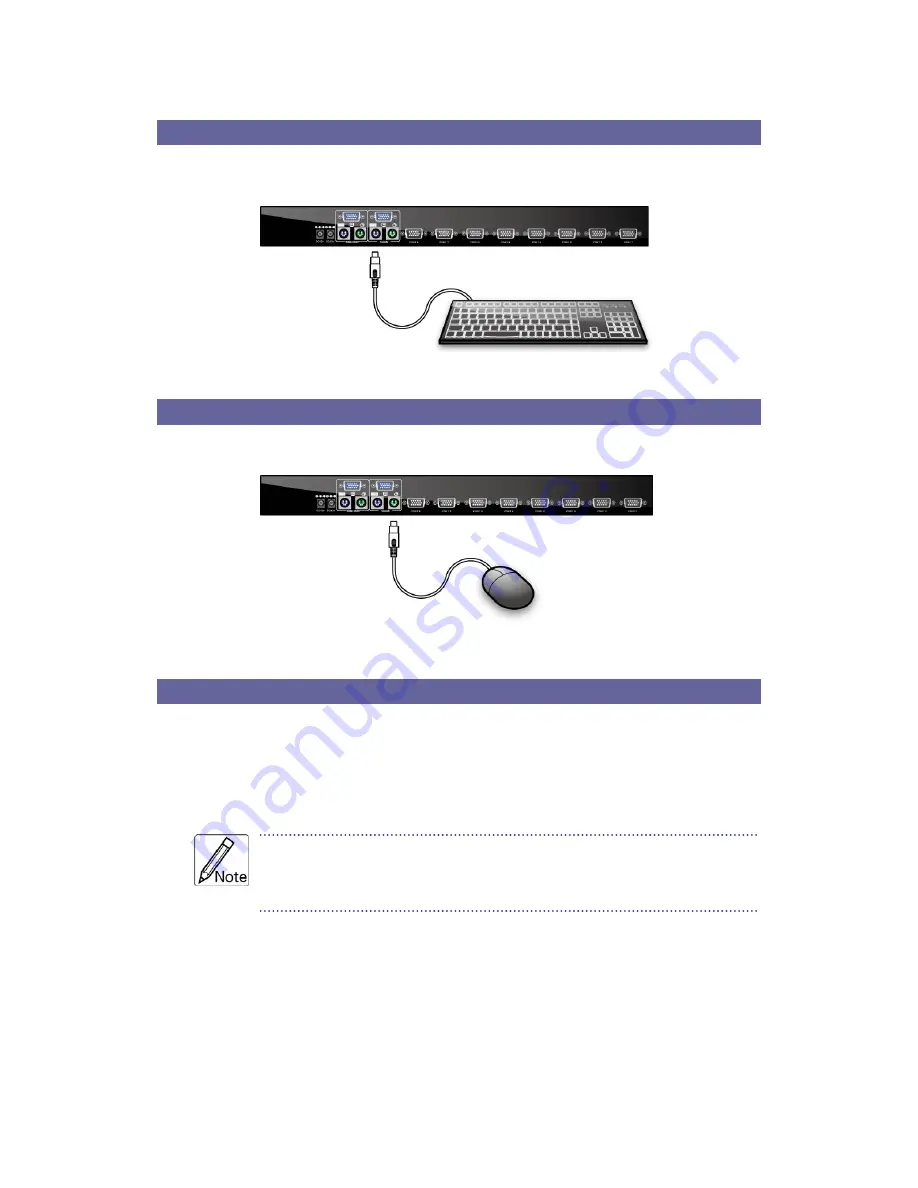
Please connect PS/2 Mini Din 6-pins purple connector on keyboard to console
port on PS/2 KVM as illustrated below:
Figure 8. Keyboard Installation
Step 4
Please connect PS/2 Mini Din 6-pins green connector on mouse to console port
on PS/2 KVM as illustrated below:
Figure 9. Mouse Installation
Step 5
Please use KVM cable to connect computer and PS/2 KVM. Plug the end with
only one HDDB 15-pin to PS/2 KVM computer port, and the other end of the
cable with HDDB 15-pin and two PS/2 Mini Din 6-pin to back of computer.
Please use the above method to connect every computer to PS/2 KVM.
One end of this cable only has one HDDB 15-pin connector, the
other end has three connectors- one HDDB 15-pin and two PS/2
Mini Din 6-pin.
Summary of Contents for Mercury 8 / 16
Page 1: ...Mercury Series Stand Alone Modular PS 2 KVM Switch User Manual Rev 2 0 ...
Page 7: ...Mercury Series User Manual 5 Figure 1 Mercury 8 16 Dimensions ...
Page 9: ...Mercury Series User Manual 7 Figure 2 Mercury 8D 16D Dimensions ...
Page 18: ...Mercury Series User Manual 16 Figure 14 Daisy Chain ...
Page 23: ...Mercury Series User Manual 21 Figure 19 Set Super User Password ...


