background image

7712206-User Manual-EN-2019-9 


3 | 22 


Safety instructions


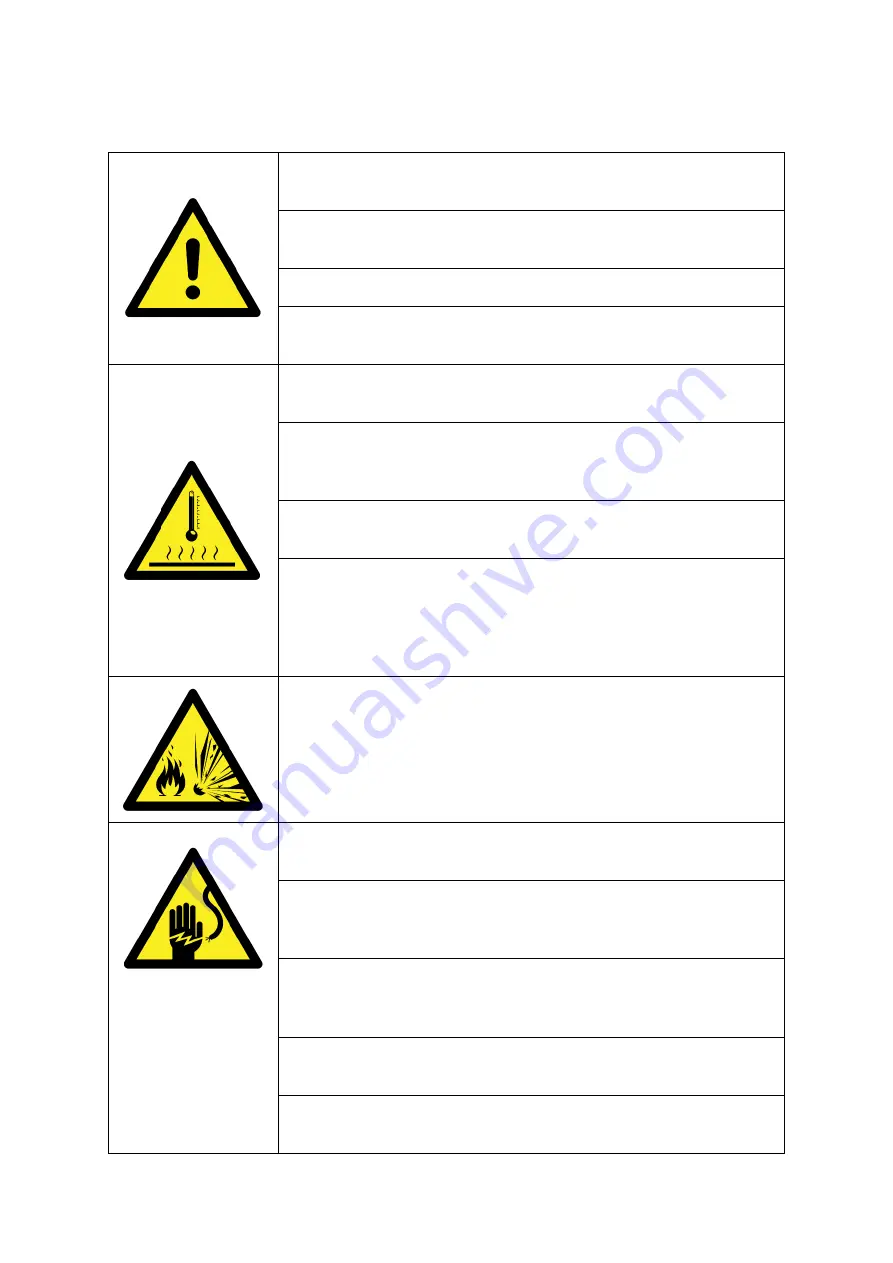
Keep children away from packaging materials. Plastic bags can cause 
choking. 

Make sure the power cable(s) are undamaged. Do not use the product if 
the power cable(s) are damaged due to risk of fire and electric shock. 


The product must be positioned on a flat and stable surface before use. 


Connectors and clamps should be checked and tightened if necessary, 
before each use to avoid leaks. 


The surface of the product gets very hot. Do not touch hot steel parts 
during use due to risk of scalding and burns. 

Learn the function of the valves before you fill the tank with water. Use 
blind caps on unused output ports due to risk of spillage of boiling/hot 
liquid that may cause scalding and burns. 

Do not fill the tank passed the maximum mark. During boiling, reduce 
the power to avoid boil over. Risk of scalding and burns. 

The product has a powerful pump. Before using the pump, make sure 
valves are set to the correct position. The pump speed can be adjusted 
on the touch screen. Too much flow through the pump, for example 
during circulation over the grains can cause liquid to spray outside the 
tank. Risk of scalding and burns. 


The heating elements are designed to heat liquids and must not be 
turned on without being completely submerged. Boiling liquids will 
evaporate and reduce the volume in the tank over time. During 
circulation the liquid around the malt pipe will be reduced. Make sure 
there is always enough flow to keep the heating elements covered. The 
product must not be used without supervision  


Make sure the power cables are inserted correctly. There are grooves in 
the connectors that needs to match the sockets. 

During cleaning, the power supply must be disconnected. The machine 
must not be sprayed down on the outside. The electrical control system 
is protected from water splashes, but not spraying water. 

The product is mostly constructed of highly conductive materials. Only 
use the product on circuits with a residual circuit breaker due to risk of 
electric shock in the event of an electric component failure. 

The power cable(s) must be disconnected when the product is not in 
use. 

If you find a fault with the product that may pose a risk, stop using the 
product and contact the manufacturer or the reseller. 

Summary of Contents for B150pro

Page 1: ... 1 22 Thank you for buying this product We hope you will be satisfied with it If you have any questions please contact your local dealer or with us directly Contact information can be found on www brewtools com User manual ENGLISH ...

Page 2: ...7712206 User Manual EN 2019 9 2 22 CONTENTS Safety Instructions 3 22 Introduction 4 22 First time use 5 22 Using the system 9 22 FAQ 19 22 Specifications 21 22 Declaration of Conformity 22 22 ...

Page 3: ...low through the pump for example during circulation over the grains can cause liquid to spray outside the tank Risk of scalding and burns The heating elements are designed to heat liquids and must not be turned on without being completely submerged Boiling liquids will evaporate and reduce the volume in the tank over time During circulation the liquid around the malt pipe will be reduced Make sure...

Page 4: ...um recommended boil volume B40pro B80pro B150pro The key concept of these brewing systems is to use Tri Clamp connections for tool free and sanitary use These offer great flexibility and offers the user the choice of different setups based on your preference TC 34mm silicone gasket clamp and 19mm hose barb This user manual will teach you how to prepare the system for the first time how to use it c...

Page 5: ...hat only allows the connector to be installed correctly Do not use excessive force when plugging in the connectors The optional return temperature sensor should go through the left silicone grommet that is already installed Flip the system the right way up and install the 3 way valve on the right side as shown below Install the pump temperature sensor in the sensor adapter included with a gasket b...

Page 6: ... dip should be installed on the right outlet port inside the tank It is recommended to moisten the o rings before use The dip tube position can be adjusted to your preference More details on this subject is described in the Dip tube section of the later on Center pipe 16x2mm dip tube 18x2mm and mash hat 22x2mm Install 3 blind caps on the open ports indicated below to avoid spilling If you have ext...

Page 7: ... and the sensor and heating elements gaskets are not leaking Tighten if necessary Also check that all TC clamps are tightly installed The TC clamps might require tightening after use due to the variations in temperature The filter The filter included is made from expanded metal and might have some tension Make sure the filter is flat Flatten by hand if necessary The filter should be cleaned before...

Page 8: ...circuit breaker limitations You can choose between 10A 13A 15A and 16A for each circuit in the control system Take note that this feature is based on standard voltage ranges and variations may occur We recommend testing different settings to find the best option for your location The display and the control system are always powered by the main power input If you lose power on the main circuit the...

Page 9: ...y download and prompt the user to install it If the user does not update right away the new software will automatically be installed during the next startup The software is constantly being updated and new features added so we will not cover the software in this user manual Visit our website www brewtools com or scan the QR code to get the latest information on our Pro series software Valves The s...

Page 10: ...uid flow green in the 3 way valves based on the handle position The bottom valve has an extended handle which makes it possible to control from the right side of the control system There is a sticker showing the flow based on the handle direction Bottom valve sticker ...

Page 11: ...etting to know the system to prevent the heaters becoming exposed Exposing the heating elements will burn them and make them difficult to clean They might also warp expand due to the high heat You can use the mash paddle or equivalent to push the dip tube down when the mashing is complete to get as much wort as possible pumped to the fermenter later in the process Dip tube in the upper position Di...

Page 12: ...g of the brew air may be trapped inside the pump To vent it start the pump for a few seconds stop it and start it again Repeat if necessary The pump must be installed as shown below If you install it in a different position it may affect the lifetime of the pump and make it difficult to vent the air out Correct position of the pump Correct position of the pump ...

Page 13: ...e malt pipe holders The latches on the malt pipe may need some adjustment They should move freely Push them together to remove it from the latch holder Adjust as necessary and reinstall the latch The lower pin on the latch can be bent to position using a suitable tool Lifting the malt pipe The handle on the malt pipe is designed to be easily removed for cleaning and use of future accessories Make ...

Page 14: ...7712206 User Manual EN 2019 9 14 22 Different setups The system can be set up in many ways Below we show 3 recommended options based on your accessories Standard setup Two valve setup ...

Page 15: ...ide of the malt pipe This is done by pumping the wort out through the lower port red and into the tank again on the left port green Use a dip tube to make sure the wort is circulating around the malt pipe This will give you a more accurate temperature and prevent the heating elements burning the sugars You can circulate through the counterflow cooler if you have that B40pro Circulating during the ...

Page 16: ...n during combined circulation Sparging The system ship as standard with a sparge pipe This pipe will sit outside the center pipe during the mashing process When lifting the malt pipe the sparge pipe will lift with it thus extending the center pipe If you are sparging from a second water heater we recommend connecting the sparge water on the front facing port on the right 3 way valve This allows yo...

Page 17: ...lpool functionality We recommend using our custom counterflow cooler accessory It is designed for maximum flow to get a good whirlpool while cooling the wort We recommend circulating through the counterflow cooler and back into the tank on the left side with a dip tube on the inside to create a whirlpool When the desired return temperature is reached can be measured with optional return temperatur...

Page 18: ...d cooler is sufficient Tubes should be replaced when severely discolored If valves start leaking due to wear or stuck particles we offer a rebuild kit for them O rings and gaskets are replaced as needed The pump impeller should be checked from time to time to make sure no particles or grains are stuck ...

Page 19: ...ardened inside locking the impeller Q The selected sensor is showing N A A If the selected sensor shows N A on the display it means the system isn t reading the sensor Check the connection and restart the system If the problem persists contact the dealer or manufacturer Q Why is the tank and pump sensor showing different temperatures A The temperature sensor in the pump outlet can be affected by a...

Page 20: ...rice hulls and the correct crush grade is key We recommend resting the mash not circulating over the grain bed the first 20 minutes of the mash process Q Should I stir the grains during mashing A It is important that all the grains are wet and mixed well with the mash water If you get a stuck mash you should stir lightly but stirring will generally reduce the clarity of the wort Q Can I use the st...

Page 21: ... 2 MicroSD Hoses 16x25mm silicone food grade B80pro Dimensions excl packaging 67 5 h x 62 w x 62 d cm Dimensions with one side valve 67 5 h x 72 w x 62 d cm Dimensions with two valves 67 5 h x 82 w x 62 d cm Packaging dimensions 60 h x 60 w x 78 d cm Weight excl packaging 25 5 kg Weight incl packaging 30 5 kg Tank dimensions Ø50 cm height 46 cm Tank volume 90 liters rec maximum boil volume 80 lite...

Page 22: ...actured in compliance with the following directives Low Voltage Directive LVD 2014 35 EU Electromagnetic Compatibility EMC Directive 2014 30 EU Restriction of Hazardous Substances RoHS Directive 2015 863 EU The products are developed and assembled by Apparatus AS Grimstad Norway www apparatus no post apparatus no Øyvind Stokkan CEO Espen Pettersen CTO ...

Reviews: