12 / 32
2. Under 'Join us today' enter the personal user data and click on 'Sign up'.
3. After successful registration and verification of the e-mail address under the user account, select
the menu item 'Devices'.
4. Under 'Your devices' click on the link 'Create device' and follow the instructions to create a new
device. For 'Model' select the 'W100 Series' option under 'CCL'. For 'Link type' select the option
'Pro Weather Link'.
5. A 'weathercloud ID' and a 'key' are automatically generated by the service, which are needed for
the following configuration of the weather station.
NOTICE! Use a valid e-mail address for registration. Otherwise the service can not be used.
17 Setting up an user account for other weather
services (e.g. AWEKAS)
1. You have the possibility to use a weather service of a third party provider, as shown here with the
example of AWEKAS.
2. Enter the following web address in the address bar of the web browser for the 'AWEKAS' service:
https://join.awekas.at
3. Fill in all the necessary information.
4. Make a note of the information: Username, Password, Geographic latitude (Latitude) in decimal
degrees (e.g. 48.30591), geographical longitude in decimal degrees (e.g. 14.2862).
NOTICE! Use a valid e-mail address for registration. Otherwise the service can not be used.
18 Configuration / Setting up a WIFI connection
1. At first start-up or by pressing the WIFI / SENSOR button for 6 seconds, the station switches to AP
mode. In this mode the ward is ready for WIFI setup.
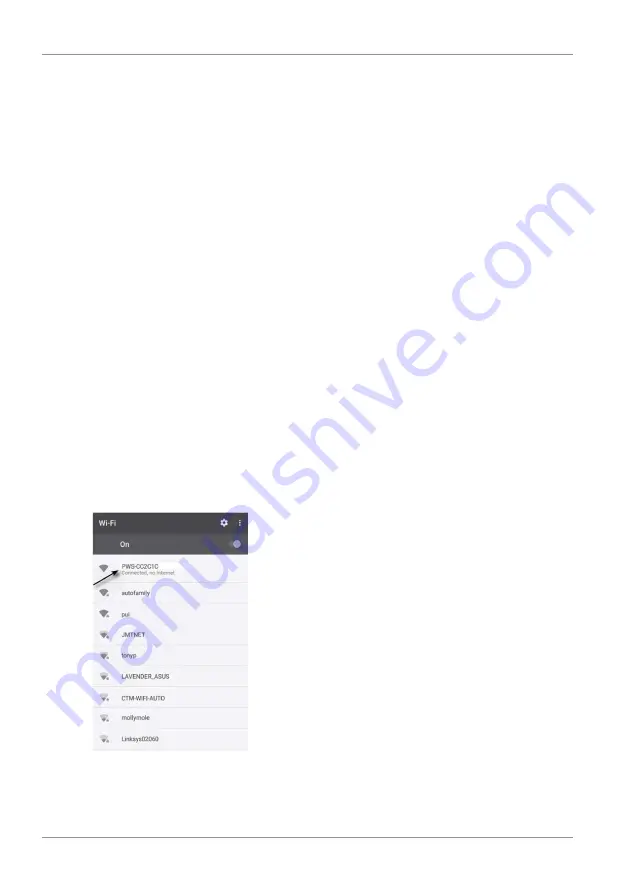
2. The station now creates its own WIFI network to which you can connect to your smartphone or
computer. Search and connect to the SSID of the WIFI station (example: PWS-XXXXXX)
Illustration 4:
WIFI connection status:
Summary of Contents for 7002586
Page 3: ...English 4 Deutsch 18 ...


