background image


Kapitel: 

BASIC FEATURES


CEUS Version 2.0 


19 

BASIC FEATURES 


Recording 


Note: 

Custom recordings can only be saved in designated folders. This assists in finding your 

recordings more easily later on. Please note the information in the display. 
 
For further information, please read the chapter “Additional Features.” 


By pressing the low C-sharp beneath the Record symbol, a countdown timer will start at 2 se-
conds before recording begins. 


You may begin recording afterwards. 


If you wish to stop the recording, press the left arrow button. 
 
 
The following is displayed:  


Your piece will be saved on the internal hard drive (HDD) in the Bösendorfer file format. 
It can now be transferred as a file to other computers by using a USB stick or via the network 
connection. 
 
You can also record directly onto the USB stick. 
 
For further information, please see “Copy piece or folder” on page 27. 


Note: 

A maximum of 96 pieces may be saved to a given CEUS folder. Not all USB sticks availa-

ble for purchase work with the CEUS. (See “Troubleshooting” on page 52.) 


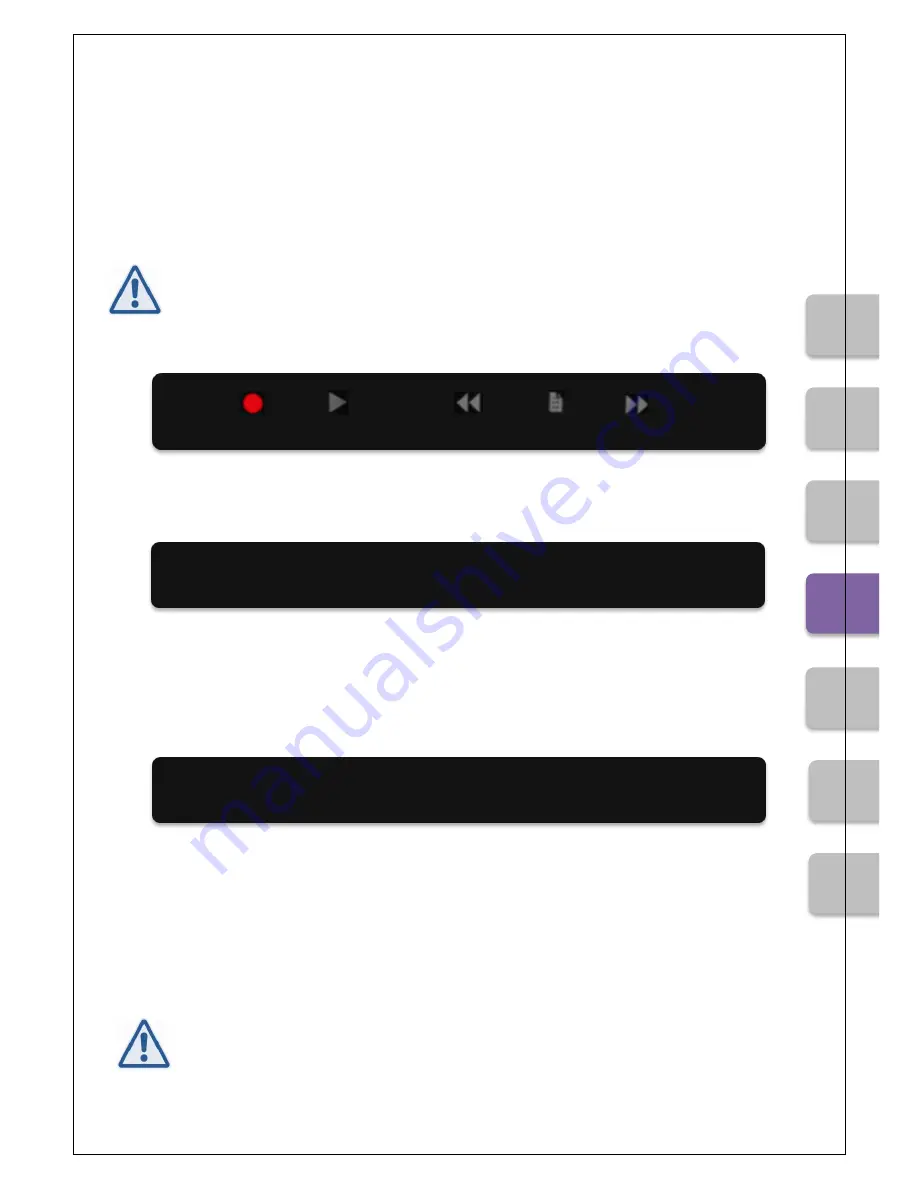
Record starts in        2 sec


Save track, please wait...


Summary of Contents for CEUS

Page 1: ...CEUS User Manual for CEUS Version 2 0 L B sendorfer Klavierfabrik GmbH B sendorferstra e 12 A 1010 Vienna mail boesendorfer com www boesendorfer com Telephone 43 1 504 66 51 0 43 1 505 35 18...

Page 2: ...o gether his or her own personal piano recital Professional recording studios music conservatories and academic institutions are also our customers We have therefore provided for an open architecture...

Page 3: ...n 11 2 Select piece 11 3 Play piece 11 RECORD QUICK START 12 1 Select folder 12 2 Start recording 12 OPERATION 14 Before turning the CEUS on 14 Turning on the CEUS 14 OVERVIEW 16 Piano keys basic oper...

Page 4: ...k menu 32 Volume 32 Transpose 32 Playback mode 32 Playback display 33 Playback pause 33 Piece menu 34 Recording menu 34 Recording display 34 Network menu 35 Turn MIDI on off 35 Active MIDI channel 36...

Page 5: ...pieces but continues to show the following System startup 52 Playback does not sound like the recording 52 Playback of virtually generated files MIDI becomes quieter at extreme volumes 53 During playb...

Page 6: ...fiers that produce heat 9 Do not defeat the safety purpose of the polarized or grounding type plug A polarized plug has two blades with one wider than the other A grounding type plug has two blades a...

Page 7: ...from the electrical out let otherwise there is a risk of electrical shock Under no circumstances should benzene paint thin ners detergents or chemically treated cleaning cloths be used to clean the B...

Page 8: ...ich this declaration relate is in conformity with the following standard s or other normative documents s EN 60065 2002 EN 61000 3 2 2000 A2 2005 EN 61000 3 3 1995 A1 2001 A2 2005 EN 61000 6 2 2005 EN...

Page 9: ...end please observe all local state and federal regula tions that relate to the disposal of products that contain lead batteries plastics etc NOTICE Service charges incurred due to lack of knowledge re...

Page 10: ...moved without disconnecting cables Turning off the display occurs automatically upon closing the keyboard cover Fully MIDI compatible Ports USB LAN MIDI data transfer via USB stick Hard drive or USB s...

Page 11: ...CEUS Version 2 0 10 QUICK START OPERATION OVERVIEW BASIC FEATURES ADDITIONAL FEATURES SETTINGS SERVICE...

Page 12: ...emo Jazz Now press the piano key underneath the folder symbol The folder Demo Jazz then appears Pressing the folder symbol key again will open the folder You can select the piece within a given folder...

Page 13: ...art recording Once the folder has been selected you can start recording by pressing the Record key located beneath the Record symbol Then wait for the two second countdown Once the piece is finished s...

Page 14: ...CEUS Version 2 0 13 QUICK START OPERATION OVERVIEW BASIC FEATURES ADDITIONAL FEATURES SETTINGS SERVICE...

Page 15: ...and the mains switch are located on the underside of the piano at the back end near the piano s rear leg Connect the power cord to a fused power outlet with at least 1700 watts of capacity This is th...

Page 16: ...CEUS Version 2 0 15 QUICK START OPERATION OVERVIEW BASIC FEATURES ADDITIONAL FEATURES SETTINGS SERVICE...

Page 17: ...ng the corresponding piano key triggers the desired operation How hard or soft the key is struck is irrelevant You may strike the keys pp pianissimo possibile mf mezzo forte or even silently as you li...

Page 18: ...ficient to trigger a button s function Connections For CEUS 2 0 the communication box is located on the lower left side of the piano inside the rim near the leg 1 USB slave prepared 2 USB for USB stic...

Page 19: ...CEUS Version 2 0 18 QUICK START OPERATION OVERVIEW BASIC FEATURES ADDITIONAL FEATURES SETTINGS SERVICE...

Page 20: ...ay begin recording afterwards If you wish to stop the recording press the left arrow button The following is displayed Your piece will be saved on the internal hard drive HDD in the B sendorfer file f...

Page 21: ...the arrow buttons Volume Transpose Change settings Revert to standard settings Auto Standby Damper point Revert to standard settings volume transpose and dampers revert to their initial values Playbac...

Page 22: ...eneath the symbols displayed above Open folder Enter the folder one level lower by pressing the piano key beneath the symbol displayed above Exit folder Go up one level by using the arrow button Note...

Page 23: ...vel Pieces and folders are arranged in alphabetical order Automatically named pieces are ar ranged by recording number 00 96 with numbers listed before letters 0 9 before A Z Upon restarting the CEUS...

Page 24: ...y for manipulations made to the internal CEUS hard drive and any consequences therefore including failure loss of data system errors viruses etc S P U L E N F I S 1 B Rewind fast forward piece Playbac...

Page 25: ...CEUS Version 2 0 24 QUICK START OPERATION OVERVIEW BASIC FEATURES ADDITIONAL FEATURES SETTINGS SERVICE...

Page 26: ...piano keys beneath the symbols lit up above To delete a piece play the low C on the piano located beneath the Piece Menu symbol until it appears in the display If you wish to delete the piece now pre...

Page 27: ...play shows the following Press the OK key Numbers and letters now appear over every functional key Press the corresponding keys to rename your piece The low F sharp on the piano beneath the left doubl...

Page 28: ...stem and should not exceed 18 characters Copy piece or folder Select the piece that you wish to copy by using the piano keys beneath the highlighted sym bols To copy play the low C sharp on the piano...

Page 29: ...es onto a USB stick we recommend using an original B sendorfer USB Stick Place the USB stick in the CEUS connection box select USB and the desired folder and press the OK button For larger file sizes...

Page 30: ...beneath the highlighted symbols above you can now search for the directory into which you wish to place the piece as in piece selection mode Once you have found a suitable folder press the OK button...

Page 31: ...CEUS Version 2 0 30 QUICK START OPERATION OVERVIEW BASIC FEATURES ADVANCED FEATURES SERVICE SETTINGS...

Page 32: ...e display shows the desired function To make changes the selected function first needs to be activated by pressing the OK button A red blinking arrow next to the selected menu shows that this is now a...

Page 33: ...eave the menu select the arrow button Cancel Back Playback menu Volume The value null displays the original recording setting Transpose The value null displays the original recording setting Playback...

Page 34: ...hus compile your own program This function is also possible with the USB stick If you wish to access pieces as usual select the following Playback display Here you can select whether the title and pla...

Page 35: ...nal Features menu Rename piece or folder See page 26 Delete piece See page 25 Move piece or folder See page 28 Copy piece or folder See page 27 Recording menu Recording settings can be changed in this...

Page 36: ...output or the network connection For further details see Connection box in the Overview menu Turn MIDI on off If MIDI is turned on CEUS will receive and perform MIDI data commands and send its own MID...

Page 37: ...tive MIDI data received are performed but not sent to the MIDI Out port As long as external MIDI data are received data generated on the CEUS cannot be outputted Note The mode MIDI not active was deve...

Page 38: ...oftware please get in touch with your B sendorfer contact person CEUS format The new software version 2 0 also offers to anyone no longer wishing to settle for the MIDI format the possibility of lossl...

Page 39: ...rk delay xx x seconds Possible values are 0 5 20 0 seconds of latency between network participants Due to the preset latency data are transmitted lossless ly in terms of musical quality Latencies that...

Page 40: ...isplay The factory setting is zero Date and time Here you can set the date and time Format DD MM YYYY HH MM SS Service menu The Service menu should only be used by CEUS technicians or advanced users F...

Page 41: ...CEUS Version 2 0 40 QUICK START OPERATION OVERVIEW BASIC FEATURES ADVANCED FEATURES SETTINGS SERVICE...

Page 42: ...e Service menu is open Changes that are made in the absence of technical knowledge may cause system failure Continue pressing the piano key beneath the piano symbol until the display shows the fol low...

Page 43: ...recordings are not affected by calibration The calibration only exerts an influence on playback During calibration the CEUS sometimes hits the keys very hard fff This makes great de mands on the instr...

Page 44: ...e 12 17 or 21 will be displayed depending on your model of piano The key numbers displayed correspond to the usual MIDI standard If necessary change the number with the arrow buttons to begin with any...

Page 45: ...he calibration with the left arrow button To continue calibrat ing press the OK button In case you wish to return to the main menu continue pressing the left arrow button until the display shows the f...

Page 46: ...return to their starting positions after a couple of seconds When the procedure has finished the display will show the following Select the next desired touch menu item and confirm it by pressing the...

Page 47: ...umber with the arrow buttons to begin with any desired key Model 290 first key 12 Model 225 first key 17 Models 170 185 200 214 280 first key 21 Calibration begins with the selected key number upon pr...

Page 48: ...he Service menu Calibrating the pedals individually Unlock the Service menu Select the following menu item with the arrow buttons Press the OK button and select the following menu item with the arrow...

Page 49: ...alue 109 has been set Calibration begins with the una corda pedal upon pressing the OK button and ends with the damper pedal The following is now displayed If necessary you may pause calibration by pr...

Page 50: ...r com To update the CEUS software we recommend the you always use the B sendorfer USB stick Copy both of the files rom mot combo exe directly onto the USB stick Insert the USB stick into the piano s U...

Page 51: ...case the firmware for the solenoids is older than that of the new update version the dis play will show the following Confirm by pressing the OK button to perform the update The display will now show...

Page 52: ...ay reads as follows Press the OK button A red blinking arrow appears in the display Using the arrow buttons navigate to the following display and confirm by pressing the OK button Now press the left a...

Page 53: ...and cable in the bass area of the keybed Caution Shut down the system before inserting the keyboard cable Is the red power LED in the display lit The power LED can be found above the first white piano...

Page 54: ...lume If needed order the optional additional CEUS power supply During playback some keys work while others do not Thermal switches have been activated Test individual keys by transposing a recording A...

Page 55: ...wrong level USB appears on the display only at the HDD level Not all USB sticks available for purchase are CEUS compatible Symptoms Display does not show pieces and instead shows System startup Updat...

Page 56: ...l USB or HDD has too little capacity Delete files or store them externally to free up storage space Damaged drive USB stick or the HDD is defective File is already open If a piece is already being pla...

Reviews: