Software Setup and Module Configuration
You must have DataLink II version 3.0a or higher installed in your PC. This module has been factory configured as
described in the setup box located at the top of this page. If you purchased this module as an upgrade to an existing
system, you will need to update your car configuration file before you will be able to access the information from
this module. Please refer to the setup instructions below. If this module was purchased with a complete data logger
system from Racepak and it is not an upgrade to an existing system, no further setup is required and you do not need
to perform the steps below. However, it is highly recommended that you the read through all of the instructions to
familiarize yourself the software setup procedure.
Before you can use this module as an upgrade to an existing V series data logger you will need to update the logger
configuration file in your PC by following the steps below.
1.
Connect your PC to your data logger via the serial interface cable that was provided with your data logger.
2.
Turn the power on to the data logger and the air/fuel sensor controller.
3.
Start the DataLink program on your PC.
4.
Open the data logger configuration file by selecting
Open Car Configuration
under
File
from the menu bar.
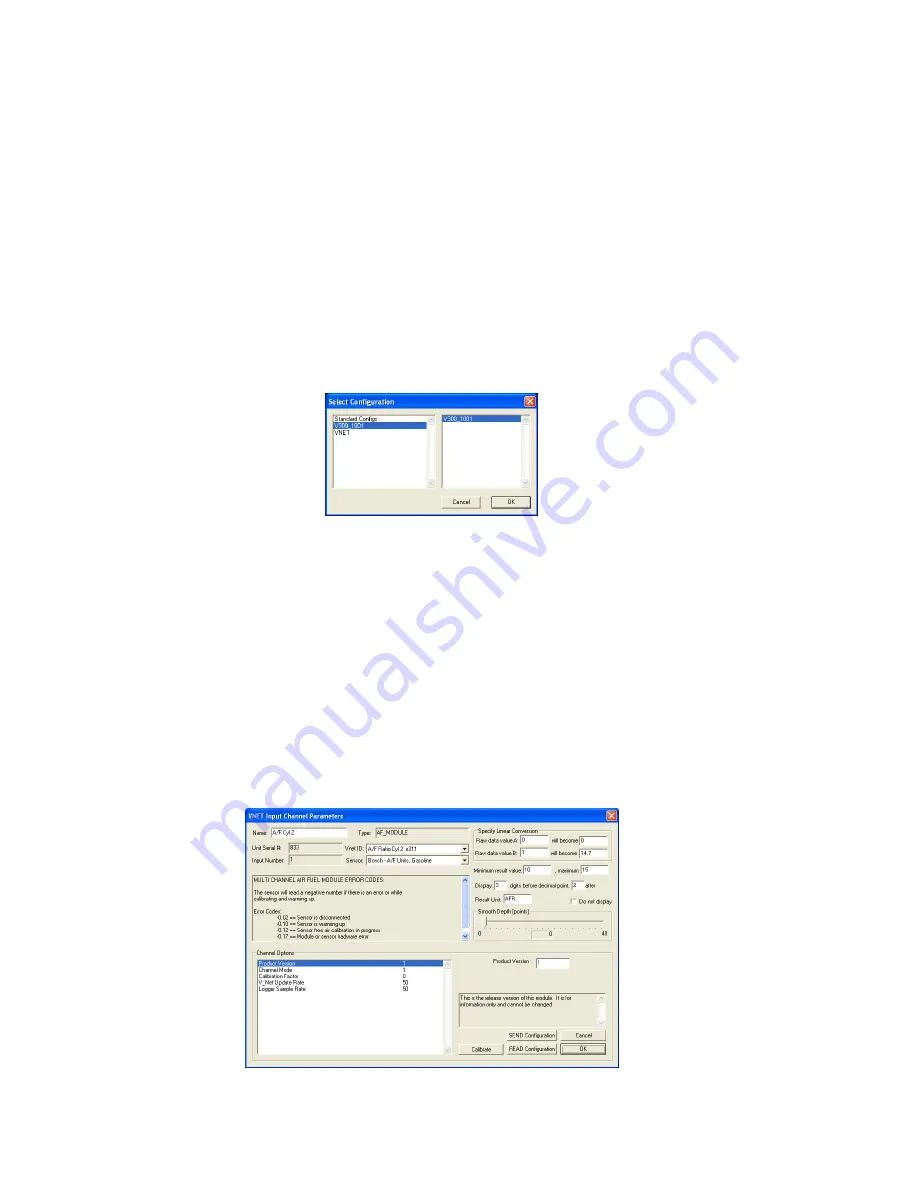
The following dialog box will appear.
5.
Select the configuration that contains your logger type and serial number. Example: V300_1001
6.
Left click on
Edit
from the menu bar then select
Read VNET Config
.
7.
A message box will appear and you should see data scrolling down. When finished you should see a message
stating
DEVICES READ SUCCESSFULLY
, click on the OK button. If you get any error messages check the
serial cable and power connections and try again.
8.
Save the updated configuration file by left clicking
File
on the menu bar and selecting
Save
.
You should now see four new channel buttons added to the configuration file representing this module. The buttons
will be labeled “A/F Cyl 1”, “A/F Cyl 3”, “A/F Cyl 5” and “A/F Cyl 7”.
Changing the Module Setup:
The default parameters should work fine for most applications. If you need to edit the setup parameters on this
module, position the mouse cursor over the button of the channel you wish to modify and click the right mouse
button. The VNET Input Channel Parameters dialog box will be displayed.


