background image

!

Instruction Manual

Contents

Components Name and Function........... 3

Preparation before use......................... 4

Model:  

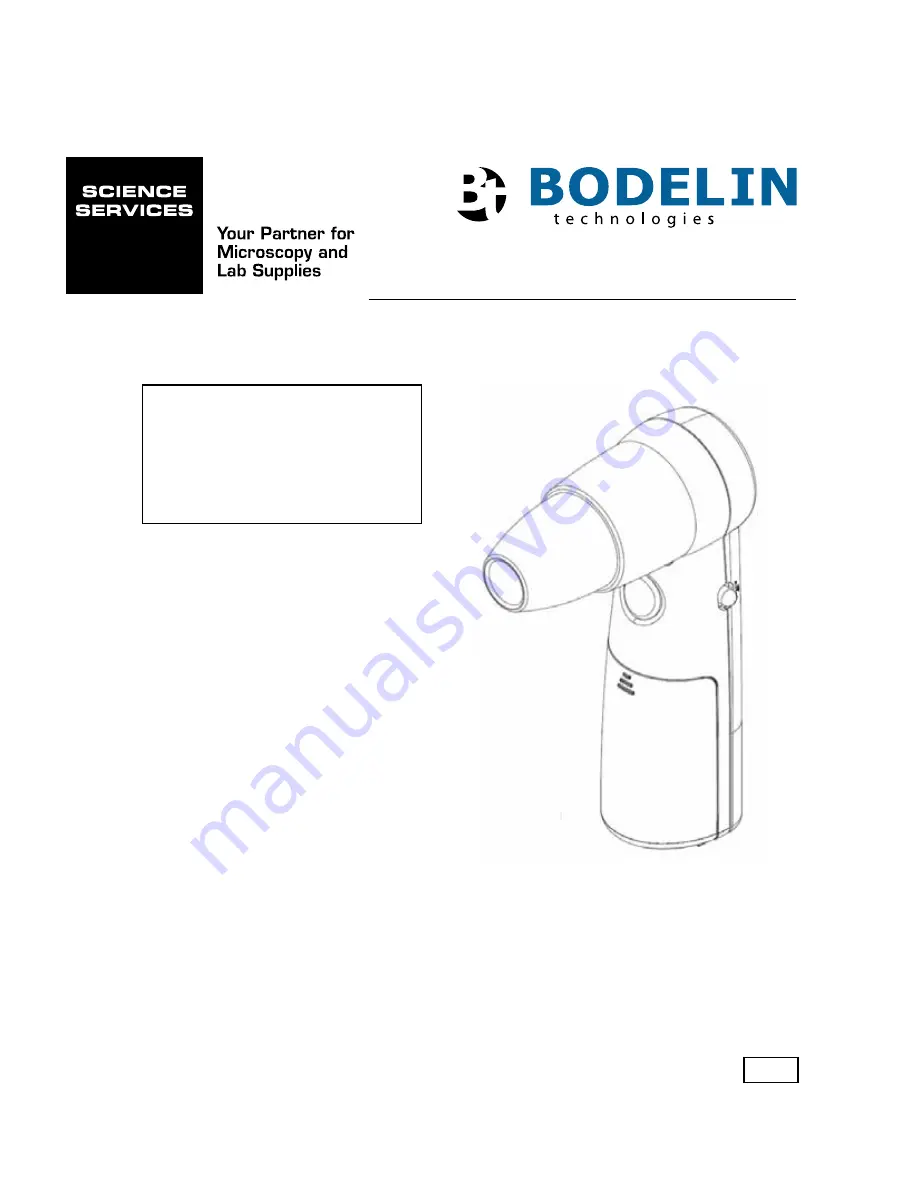
ProScope Mobile

Using the ProScope Mobile................ 5~7

Removing and Installing a Lens............ 9

Maintenance.................................... 10

FAQ and Troubleshooting................... 11

Wi-Fi handheld microscope for use with the Apple iPhone, iPod touch, or iPad.*

* iPhone, iPod touch, and iPad are registered trademarks of Apple, Inc.

Specifications................................... 12

Image Adjustments............................ 8

FCC Statement................................... 2

**Important: The ProScope 
Mobile only works on Apple 
iOS devices including iPhone, 
iPad and iPod touch. This 
device DOES NOT WORK with 
Mac or PC computers.

v1.3.1

Summary of Contents for ProScope Mobile

Page 1: ...10 FAQ and Troubleshooting 11 Wi Fi handheld microscope for use with the Apple iPhone iPod touch or iPad iPhone iPod touch and iPad are registered trademarks of Apple Inc Specifications 12 Image Adjus...

Page 2: ...PART 15 OF THE FCC RULES OPERATION IS SUBJECT TO THE FOLLOWING TWO CONDITIONS 1 THIS DEVICE MAY NOT CAUSE HARMFUL INTERFERENCE AND 2 THIS DEVICE MUST ACCEPT ANY INTERFERENCE RECEIVED INCLUDING INTERF...

Page 3: ...Indicator Indicates power is ON 5 Tripod Mount Connect to ProScope stand or any standard tripod 6 Camera Button Still picture capture or freeze 7 Battery Cover For battery access and installation 8 P...

Page 4: ...rt 3 AA batteries Battery cover removed Insert 3 AA batteries paying attention to the polarity You may use alkaline or Ni MH Do not mix battery types or mix new batteries with old batteries Rechargeab...

Page 5: ...e ProScope Mobile camera follow these steps 1 On your device choose Settings 2 Turn Wi Fi ON 3 Select AirMicro from the wireless network menu Every ProScope Mobile unit can be different in this exampl...

Page 6: ...selectable value between 2 254 which represents a unique IP address for this device In this example the IP Address is 192 168 119 100 Input Subnet Mask 255 255 255 0 Note if your AirMicro network numb...

Page 7: ...ur camera the searching screen will appear until it finds the camera Note if the searching screen persists check to make sure your AirMicro network is the active Wi Fi network selected After the ProSc...

Page 8: ...is QVGA 320X240 but can be changed to VGA 640X480 To toggle between QVGA and VGA do the following With the main Power Switch in the OFF position press and hold the Camera Button while turning the Pow...

Page 9: ...you can then gently pull the lens straight up and off Installing a Lens To install a lens line up the hash mark on the lens and the hash mark on the ProScope Mobile body then press down gently until t...

Page 10: ...b or microfiber cloth but do not use paper Wipe only in one direction so the debris is swept off the imager rather than just moved around Finish with a light blast of compressed air to remove any loos...

Page 11: ...multitasking bar at the bottom of the screen If you don t initially see the AirMicro app flick left to see more apps To force the AirMicro app to close Touch and hold the app icon until it begins to...

Page 12: ...nge about 10m from a Wi Fi connected device Access Format ad hoc mode Antenna Internal Chip Multilayer antenna Frequency 2 4GHz band width SSID AirMicroNNN IP Address 192 168 NNN 1 Camera Screw 1 4 20...

Reviews: